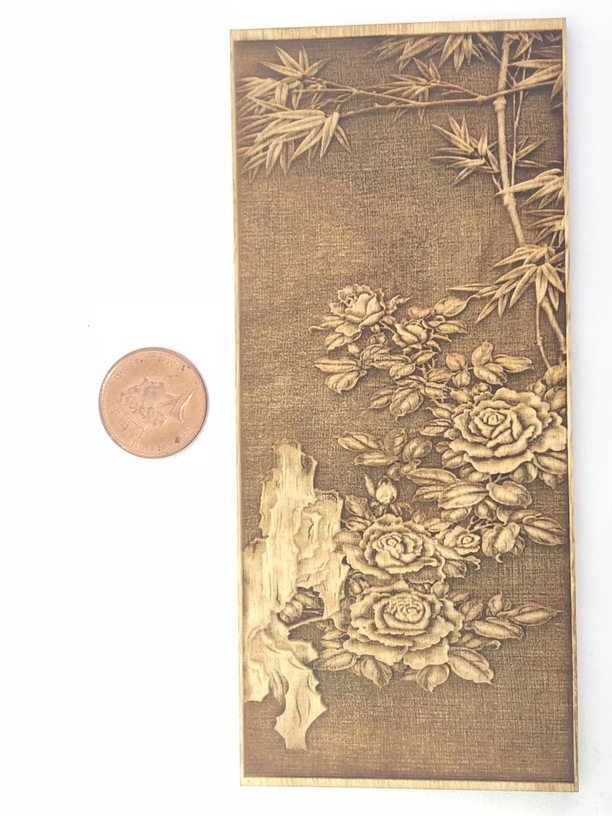
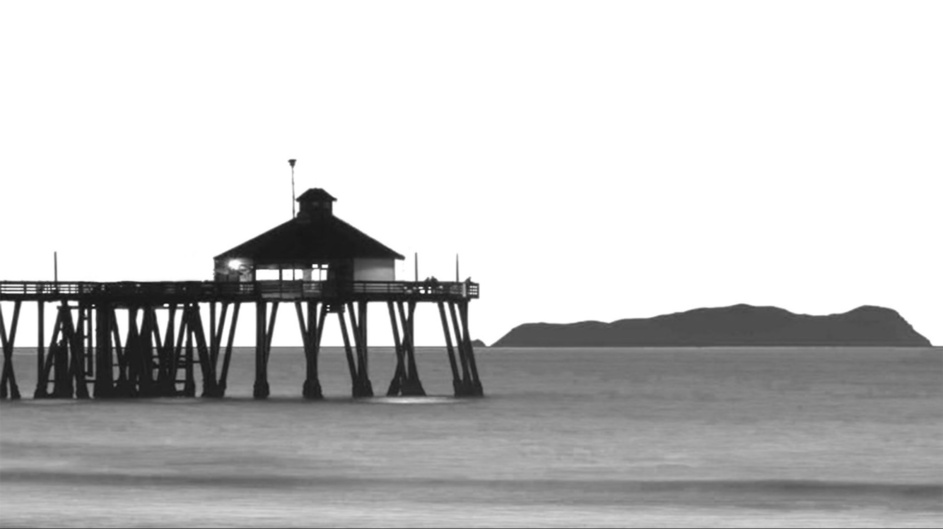
I was about to hit 3d engrave on an image I am about to do, in your image, is the white the highest stuff and black is the depth it engraves? Take a look at my image. It seems by your image that I might have to invert my image.
Yes you need to invert it for a start but it would be more complicated than that. The roof would need to go over a range so it would appear to slant and so with the wall below it. As it is the shadow of the roof on the wall would come up higher than the rest of the wall and the water generally would need leaving alone rather than inverting and perhaps the same for the mountain beyond the sky would be near black, but any clouds you could pull out would be barely lighter than the rest of the sky and not darker.
There would be a lot more depending on how much effort you wanted to drop into it. Or you could build most in actual 3d and make a height map from it.
Wonderful work and thanks for sharing. Your comments on inverting the image - but not necessarily the entire image ; this really helps me with a couple of projects I’m working on.
Did you do some with a fox? In a box? On a train? In the rain… Sorry - that popped into my head LOL
Seriously - Nice engraving, did you make the greyscale mapping? Came out really well !! What are the dimensions?
I did quick so you get an idea… it varies pic to pic anyway… your designer eyes will make te difference… but the image you choose to use, makes the difference…
In that case for example, I would work a bit making the background 100% black and leave just the flowers etc with depth map! (I hope you know what I mean)
Also, there are different ways of doing it… but if you don’t have any knowledge with 3D Softwares, the crazy bump software is a good tool to “make it up”.
I use Autodesk Maya to create my 3D’s and with that, create 3D Depth Maps. have a look for:
3D Depth Map in Maya on Youtube you will find a bit to clarify a bit more!
Sorry if the video is a bit rushy but I didn’t want the file to be HUGE for uploading and the video to be boring! as there is no talking and texts…
If you need any help let me know and I’m more than happy to help!