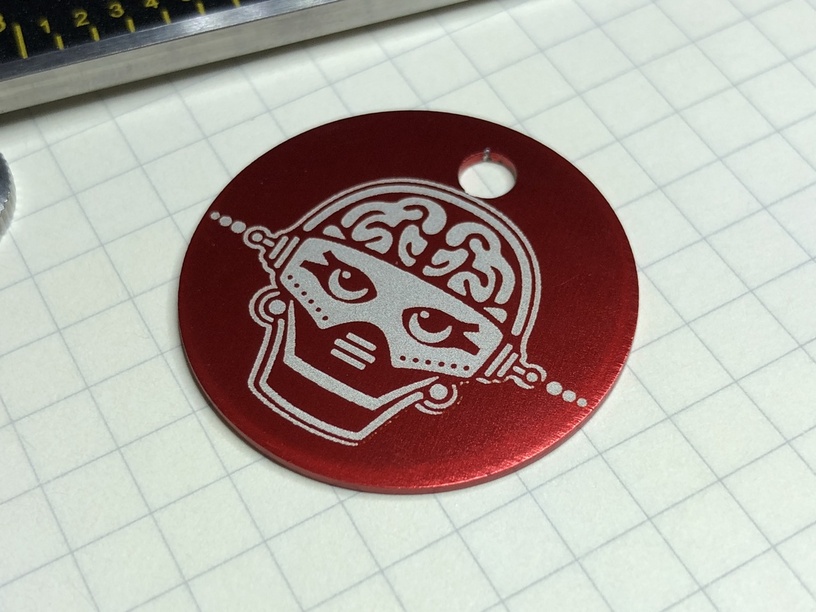
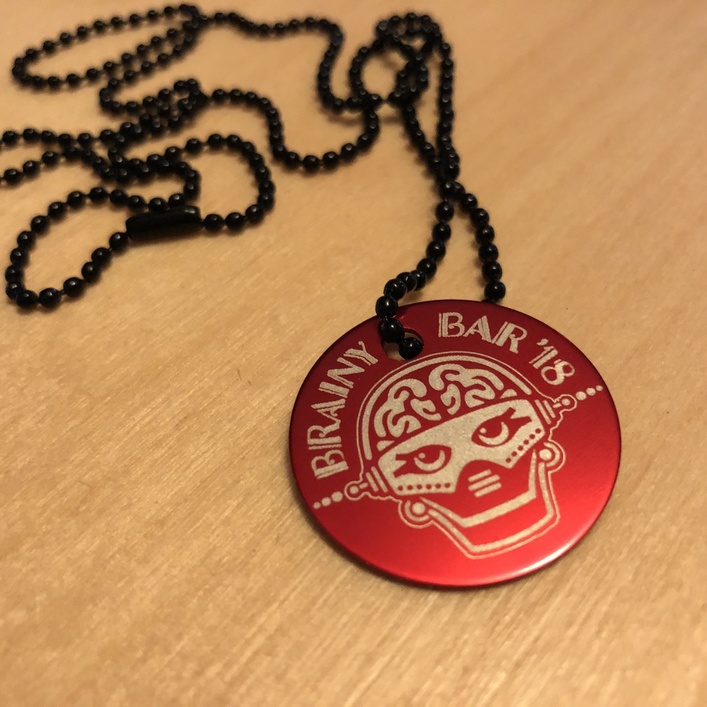
Working on a project for artsy round aluminum tags. First pass worked great! Still tweaking the design, and will probably play more with the settings, but wow! love them!!
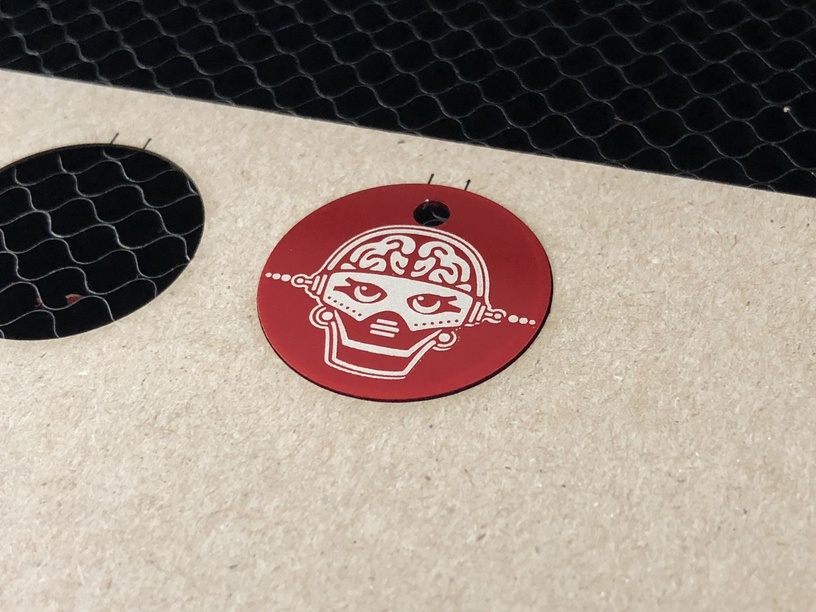
i have a pass that cuts a hole in my cardboard, then i turn on the layer to etch the tag and drop the tag into the hole to get it all centered properly. I keep the cardboard in place with heavy magnets. I also have a layer for the back side of the tag which i turn on after I flip the tag. sweet!
The jigs are a great idea – not only do they fix alignment challenges, but tight ones like your help keep the air “assist” from blowing around light items. I’ve had tags and dice with noticeable blurring caused by the air assist until I started jigging them or otherwise fixing them in place.
the redesign: i went with the suggestion i saw here in the forum about using a cut line for the thin outline, SO much better! consistent thickness, and clean. yay!
You would have to anchor the jig against something that doesn’t change, (like the front of the machine and one of the sides of the tray), cut it, and then place it in exactly the same place the next time you use it.
The program automatically saving the last known position should take care of it, as long as there hasn’t been movement of any kind or any changes to what shows on the screen.
In theory. (Don’t know if any kind of improved alignment software being pushed through would change anything up.)
I’ve had recalibration throw off alignment by more than a mm without opening or touching anything, and it ruined a run with an initial incomplete cut when I tried to do another pass. How likely is that to work, assuming recalibration?
yeah i decided it was quick enough, with higher degree of success to use a waste piece of cardboard and cut a jig each time. my next one will do 12 tags at a time. as long as i’m in the same session, i should be able to do several dozen at a go. that’s the theory anyways.
I recently did a bunch of aluminum luggage tags and dog tags. I found that I needed to mask them in order to not get spidering and get a clean image. Do you find that you have the same issue? It was a real drag to have to mask each, then scratch off the mask. Then goo gone the residue. Any tips? I am using a raster image as the file is too detailed to make a vector.
I have noticed that not all anodized aluminum is the same. I bought some “anodized” business cards and they came out very poorly. I could find no combination of settings that didn’t blur the artwork.
Then I tried an anodized surface from a different vendor and the artwork came out crisp like a laser printer, no masking needed. It was a night and day difference.
I think the product that didn’t come out well was actually not anodized at all. I think it was just some kind of ink on the metal, because they only sold 4 colors: cyan, magenta, yellow, and black… exactly what a printing press uses.
I made a large piece of cardboard with a GFUI usable sized cutout. Larger cardboard settled precicely in between the edges of the front garage door. Then I just had to place that in and then put in various jigs to reuse. For production use to go back and forth for projects it works. Otherwise I cut a new one. I have lots of cardboard!