This is a birthday gift for a friend. A little rough, but I think it came out pretty good for a first attempt! The box is cherry plywood with Howard Feed-n-Wax conditioner applied. The flask is powder-coated stainless steel engraved at 500/100 @ 450 lpi.
Next time, I think I’ll increase the speed on the flask engraving slightly; some of the details are not as crisp as I would like. I still need to polish up a few details and glue the light sensor in place, but all in all, I’m pleased with the result.
What audio chip did you use for the song recording…I want to make something similar for my friend who is getting married. Looking on Amazon there are a lot to choose from.
Hi James,
I used these very cheap chips which I had lying around. The sound quality is pretty tinny, but making a resonator out of the box improved the quality to a surprising degree!
Just saw this and WOW! Holy wow! This looks GREAT. I am new to glowforge and wanted some tips on engraving flasks and saw this - the whole presentation is great!
When you did your flask did you have to hold it down at all? With any kind of heat tape or anything? I get concerned it will flop around once the laser starts.
Wow beautiful. Could you give me some pointers on how to make a flask? What settings are you using? What material setting? I tried and it only did the center of the design, I cant sleep so I have to figure this out, help Please
This was the first jig I made and the first flask I engraved, so my approach was a bit half-assed. There are much easier ways of doing this!
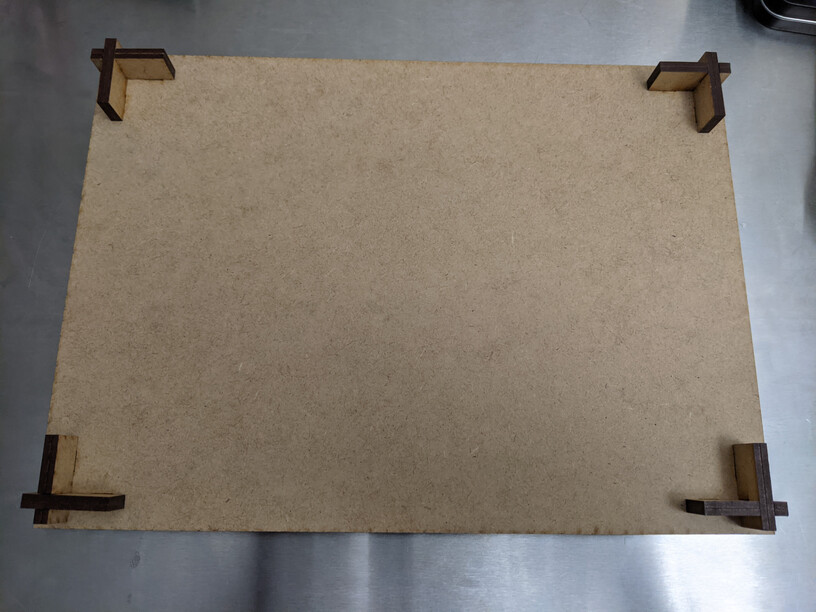
I only had 1/8" MDF on hand, so I made my jig out of that, but doubled everything up to make it 1/4" thick. The base of the jig has .75" legs supporting it.
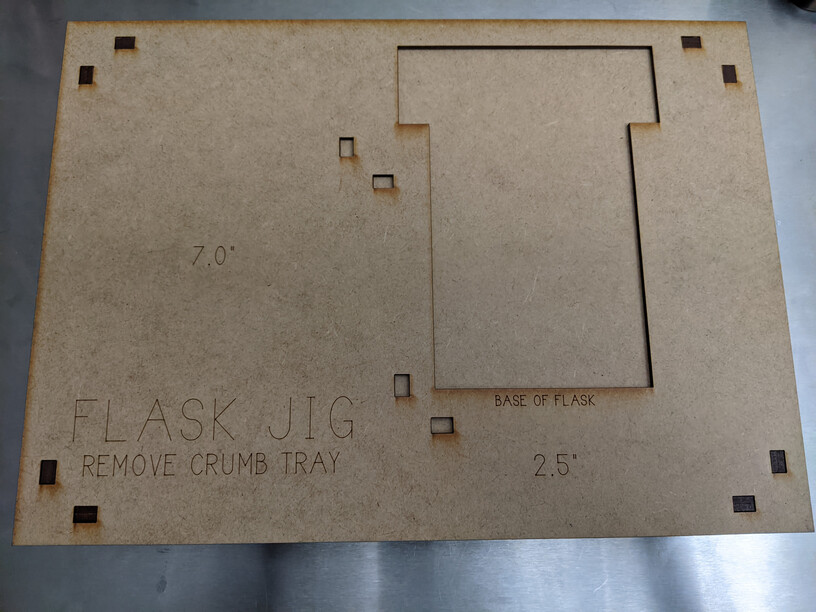
The top is two sheets, with the flask cradle cut out of the top only. The T shape is to accomodate the open lid of the flask (in either direction). The 1/8" lip is enough of a frame to hold the flask in place. (I have no idea why there are extra pegholes in the middle, but I don’t think it was intended.)
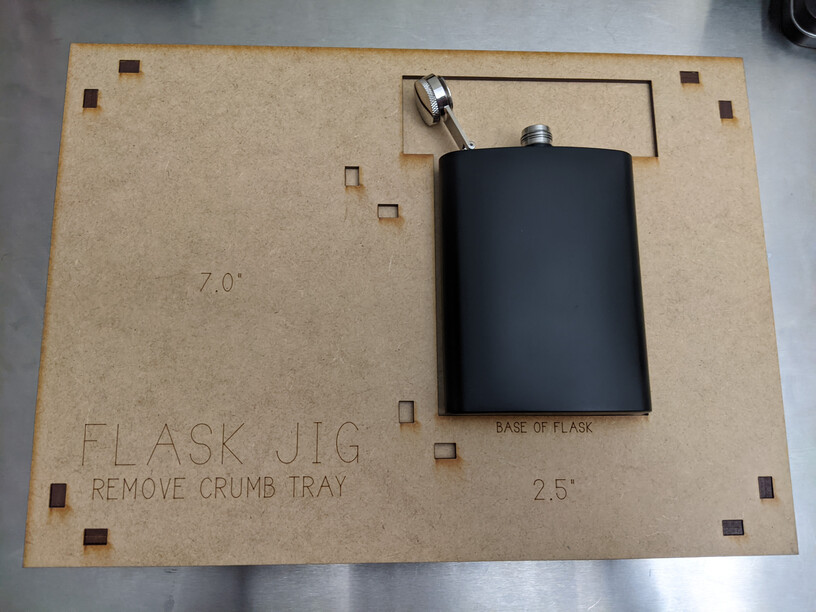
I remove the crumb tray, and place the flask in the cradle. Because it’s convex, it doesn’t rock or move around. Note that the cap is off: I was told that the flask can build up pressure if it’s sealed and heated. I used 500/100 @ 450lpi, but there’s room for improvement.
In the future, I’ll use 1/4" MDF, I’ll make cradles for multiple flasks, and I’ll make the jig design and the flask design in the same document so I don’t have to worry about positioning it manually. (I hate monkeying with the camera alignment.)
I originally engraved one of these 8oz flasks, but they’re out of stock and may have been discontinued. Since then, I’ve been using these 6 oz flasks, which are available in different colors. They all seem to work great with the same settings.
I am actually trying to do these this week but can find files to download the resting board. Been holding back since I also hate trying to align it just right free handed.
I position the art in the same file that I design the flask in. As long as you can ensure that the lower left edge is in the same position, it should line up nicely.
This is a very rough jig, but may be enough to get you going. It’s meant for 0.25" material.
First, cut the base. Make sure the lower left corner is in a position that you can repeat exactly; cut some spacers if needed, and use the ruler tool to position the art precisely.
When that’s done, position a new board in the exact location as the first, and cut the upper half of the jig.
Place the top jig onto the base plate. Interlock two risers and insert them into the holes in the corner. Repeat for each corner. When assembled, the jig should be 1.25" high.
Now you can use the same template used to make the jig to position your artwork. Once it’s positioned, the purple guide should line up with the jig perfectly. Ignore the purple guide and leave the art visible.
Meaning - since the flask is curved did you take the average height? Max / Min / Other?
Rather than setting it manually, I did a quick no crumb tray jig and tried autofocus on the center of the flask, but the edges of the engrave aren’t that great.
Love to soak up some experience from others since mistakes aren’t kindling with these
Love to see what others have come up with from a box point-of-view. Liked the MP3 touch… love to see the rest of the box and how you set that up.