https://community.glowforge.com/uploads/short-url/z2jpz9XBZ7q1tJcXMgF5lrRwMRw.mp4
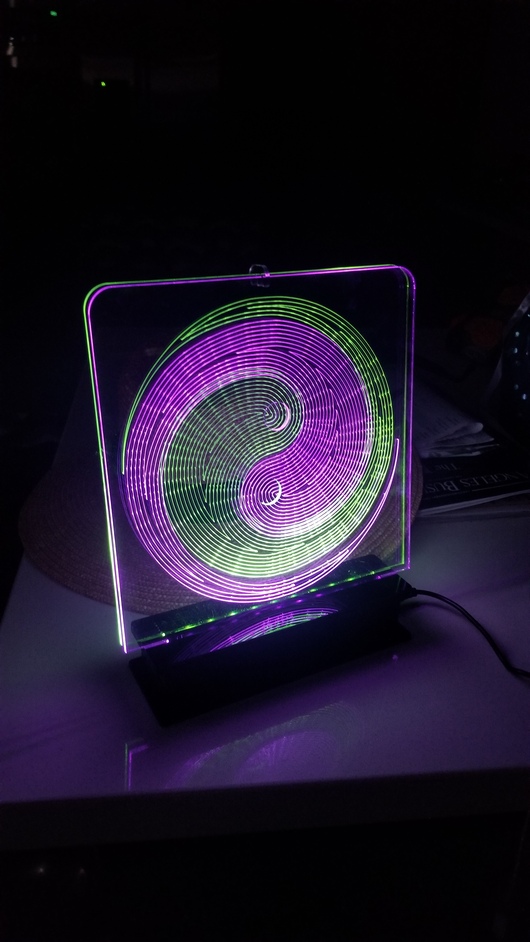
I saw a project on sparkfun that looks much like this but called for the base to be 3-d printed. I had all the other parts on hand (LED panels, micro controller, and such) and inkscape does spirograph, soo…2 versions, 5 panel and 8 panel.
79 Likes
That’s really cool looking. Reminds me of the tiles that they used in one of the Star Trek series to control the computers.
5 Likes
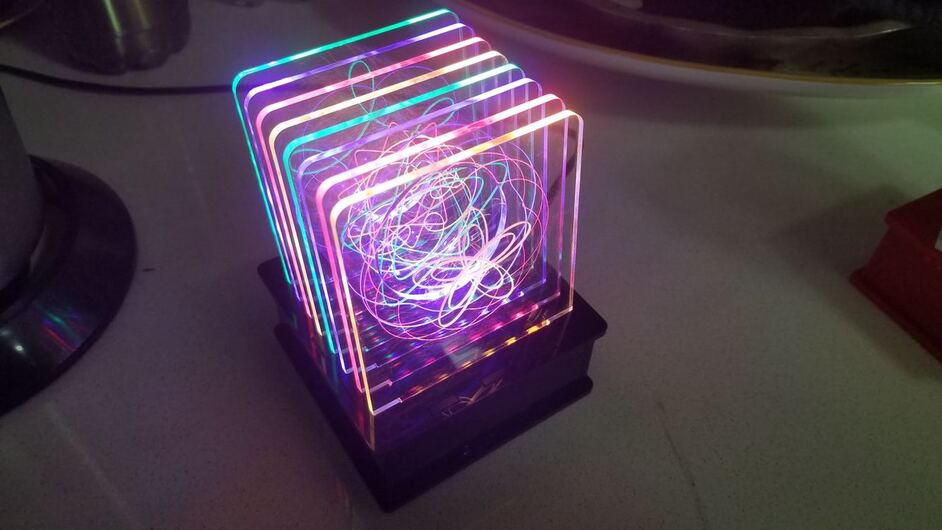
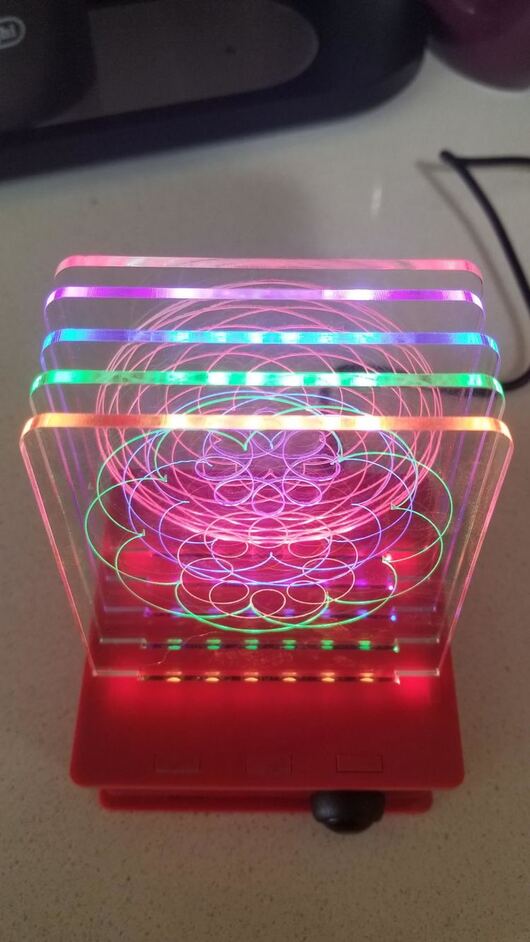
the panels can be removed and reordered. If I make another, I will close up the gap a bit so they sit straighter.
2 Likes
So friggin’ beautiful! I don’t want to pry too much, but to confirm, you have five different colored led strips in there? Was that something you put together?

4 Likes
Very very cool! Would be cool to have each LED on a timer so the total design changes constantly.
5 Likes
So pretty!!!
1 Like
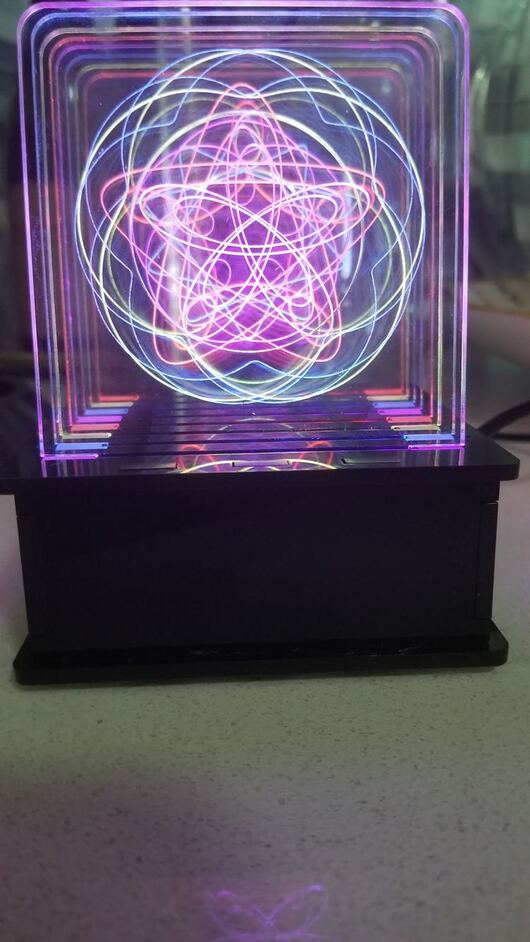
The light source for each is an led panel made by Adafruit. the smaller one is 5 rows of 8 and the other is 8 rows of 8. I love Adafruit as they have helped me learn so much over the years. That said, their stuff is pricey. So an 8 x 8 panel could be sourced for less on the interwebs vs the Adafruit price for similar (but you get no support and that matters). These panels are not smart. They need a brain, so there is a tiny microprocessor board in there as well that feeds the panel with the info needed to coordinate the lighting and some custom code had to be written to run the thing. I use a tiny arduino compatible board called the trinket pro (also from Adafruit but there are tons of options out there). The program on the brain tells the LEDs what color to be. They can all be the same, or random, or slowly fade across the color spectrum as one of these photos shows, or have each 4th row be the same and have the difference between rows be a constant difference in color and have the whole thing slowly move through the color spectrum (which is what the bigger one is doing). I added a button to allow some control as well. long pushes change the brightness (off to full bright in 5 steps). short pushes change the pattern playing on the leds as described previously.
7 Likes
Actually, it does that already. driven with a small micro-controller. the videos are short and the change is subtle so it is hard to see.
2 Likes
Up until now I’ve looked at these and thought, oh that’s nice, ooh that one is cool and simply moved one with my life. I have enough projects. Now I think I need one of these on my glowforge. Thanks a lot for another project.


21 Likes
notes on the files. I made the bottom the same as the top to let some air in. LEDs while efficient , still make some heat. holes on the end panels are for power and a push button. all the spirographs result in 5 or 10 lobed items, which seems to work.
3 Likes
Gosh, very generous of you to share–thanks!
1 Like
Thanks, so generous of you to share the info! I so admire people that can do electronic stuff. I am pretty creative, can handle mechanics pretty well and some other skills, but my brain read “…they need a brain” and the just shut down. I don’t know why, but wiring and electronics make my head swim. Typically I get around it by buying pre-made items and rip them apart to get the working part I need lol. Knowing what I’m looking for is half the battle though and this info is very helpful.
2 Likes
Thank you so much for your share!
Thankyou very much this is really awesome
Thanks for sharing! Projects combining LEDs and acrylics has been on the brain for quite some time, but I hope to get started soon. I’m a total newbie when it comes to electronics, but I recently discovered Adafruit and their tutorials are worth the price of admission for someone like myself. Great job!
2 Likes
Thanks for sharing this! The Adafruit board is exactly what I was looking for for a project I have kicking around in my head!
I was thinking of doing it with LED strips with resistors in line to change the color. But I’m a mechanical engineer, and I would rather use something already built then try to figure out the right resistors to use.
3 Likes
Thanks for these files! I’ve started to put one together… trying to keep my short attention span on it long enough to finish the project.

15 Likes
wow. looks great.