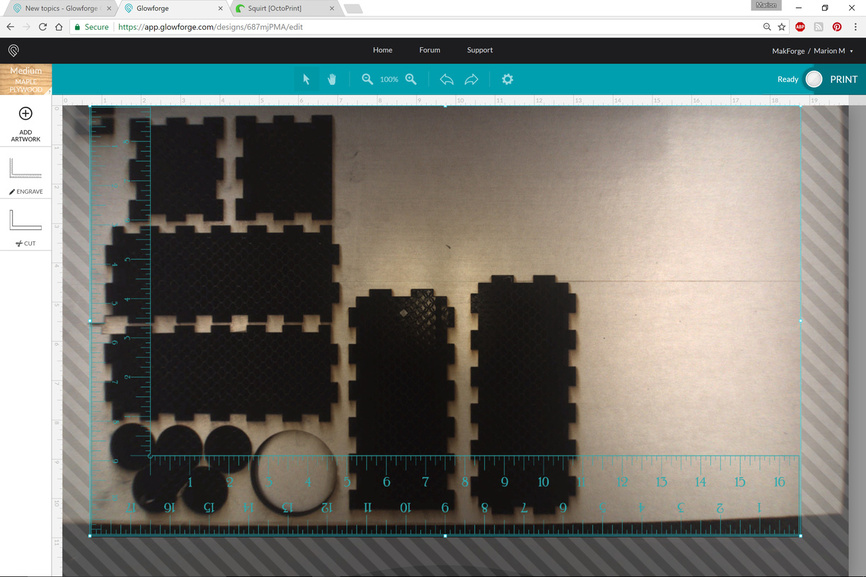
I had never gotten around to redoing this for when the bigger area got pushed. One of the challenges is that if you only cut and score, you could do a inch wider.
Edit and Addition: I thought some folks would like to have the outer numbers converge on the corner and 0,0 is in top left corner if you use acrylic and print in reverse so that you flip it over and numbers and ticks are on the bottom. That way you avoid parallax in measurement.
Edited: fixed the number 10 on the thinner shorter axis. Had it backwards or reveresed or whatever you say to have it come out right.
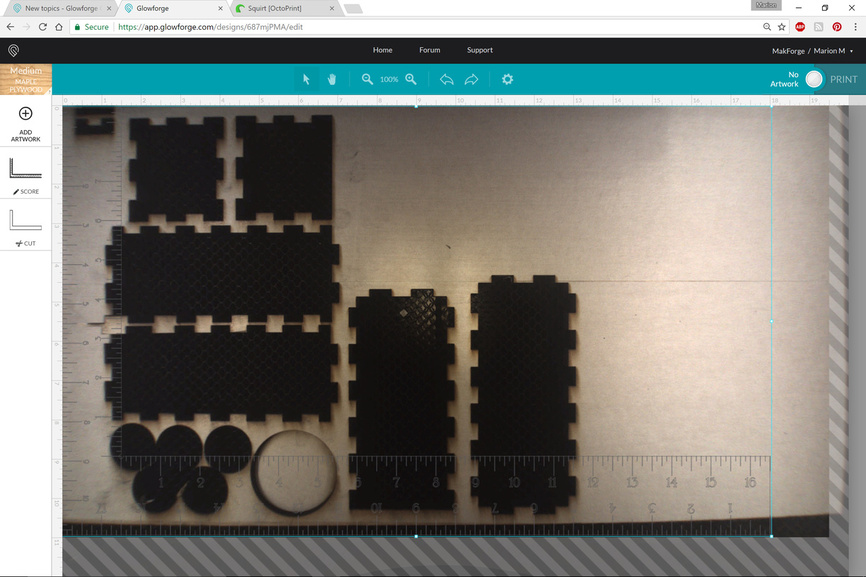
And here it is with the engraving converted to scores. I’ll think about this design a bit and see if I can come up with something that I can do the bigger object. I could use a single path font for the numbering and just score the tick marks.
Additional design: I added to the top a file meant to print on the underside of acrylic. That way ticks and numbers are on the bottom and avoid parallax. Also made 0,0 top left corner to conform to GFUI.
Maybe it’s too early on the morning right now, but I just don’t follow what this is for exactly. Can anyone explain better what i would do with this? thanks in advance
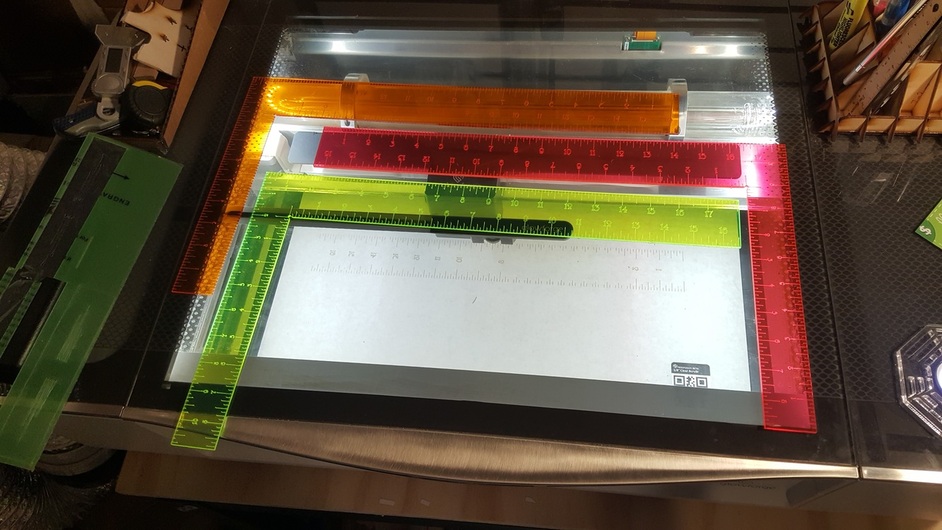
For me it is to cut larger pieces of cardboard square for placement in the bed to use as jigs or test material. Having square edges just helps in alignment.
I also have a source for cheap sheets of chemcast cast acrylic that comes in 36x20" dimensions. I made a square so I can cut it into smaller sheets. Cutting exactly with perpendicular sides allows for more efficient use of materials and better registration of the sheets in the crumb tray.
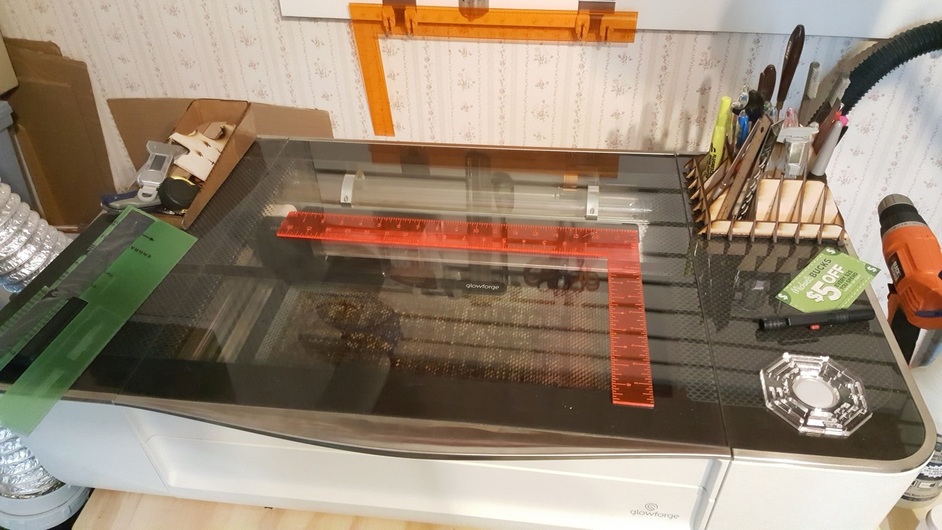
I finally made a T-square which is what I really needed to cut the bigger sheets up.
Ok, so it is sized to fit the outer dimensions (outside cutting area) from lining it up even with the side of the tray and front or back of the case? So that when you place a piece of material lined up to its corner, that piece is aligned perfectly to the edge (boundary) of the printable area?
I have been thinking about a fixture to use as a more reliable registration position for materials. There are several ways of doing thing, but I think the best is use the garage door corners to hold the jig and then cut out a square in the middle. If your designs are always placed in relation to the cutout, that will work. Lots to explain and demo. For right now, I use it mainly for re-dimensioning material. If I want a jig or fixture, I just cut a custom one from cardboard. It only takes a minute.


 thanks in advance