French Napkin Holder

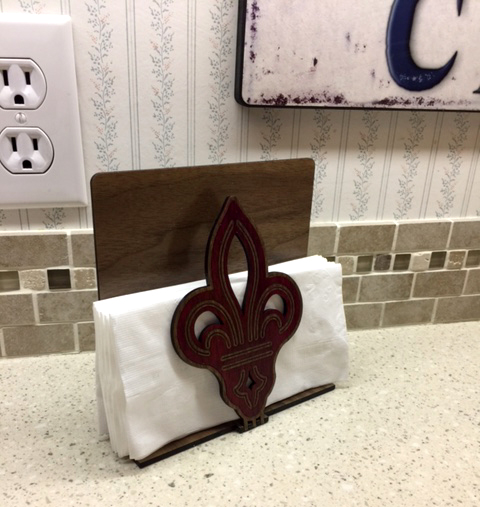
I’m not happy with this one yet, so the final design is going to probably change significantly, but I wanted to show it anyway, since it’s the one with the really tight inlay I was talking about in another thread.

I’ve got an old boring napkin holder in the kitchen - it’s totally dullsville, and I wanted something with a little more oomph.

(I’ve got a strange mix of French Country Cafe’/Art Deco going in the kitchen, so I settled on a fleur-de-lis for the holder.)

I got to playing with a design that had a hinged decoration on the front, that will hold the napkins no matter how few or how many are there. It still needs work - it’s too hard to drill the holes for the hinge, although it will probably work fine when we get some thicker Proofgrade in to work with.
(Or I might just affix it permanently. Depends on how I feel when I get back to it. Who knows?) :grin:

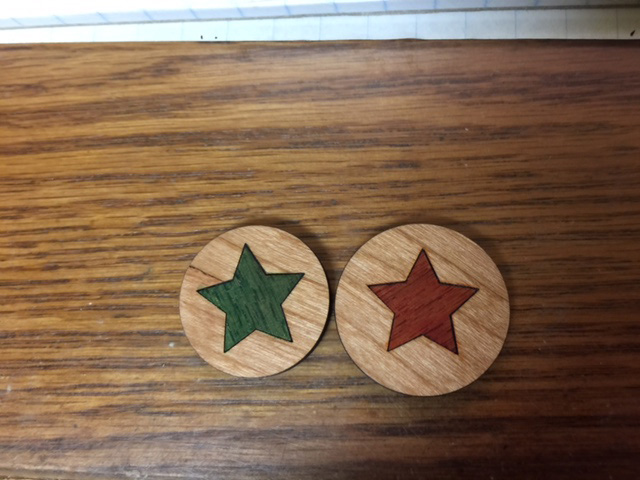
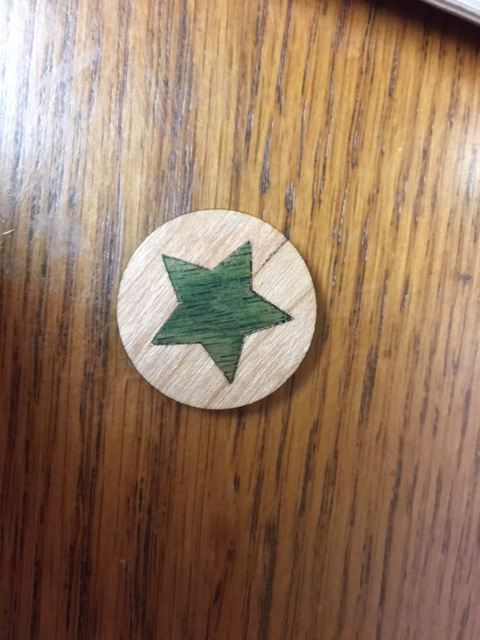
I’m also not crazy about the dark walnut - I was going for subtle on this one, but i think next time I’ll go with Maple or Cherry for a little more contrast.

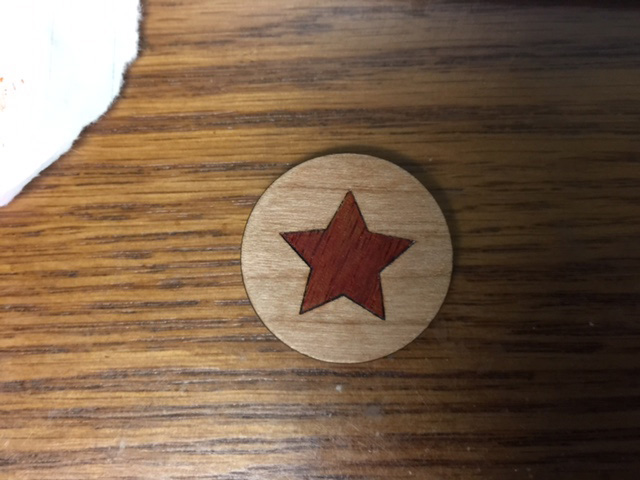
I did an inlay of faux Purpleheart - tell me if you think it looks like the real thing, and I’ll tell you how I did it. (My way is a lot cheaper.)

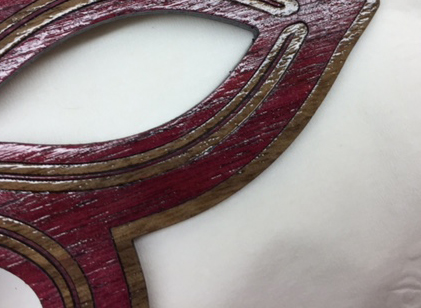
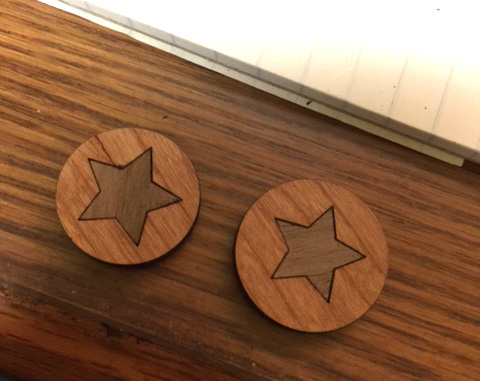
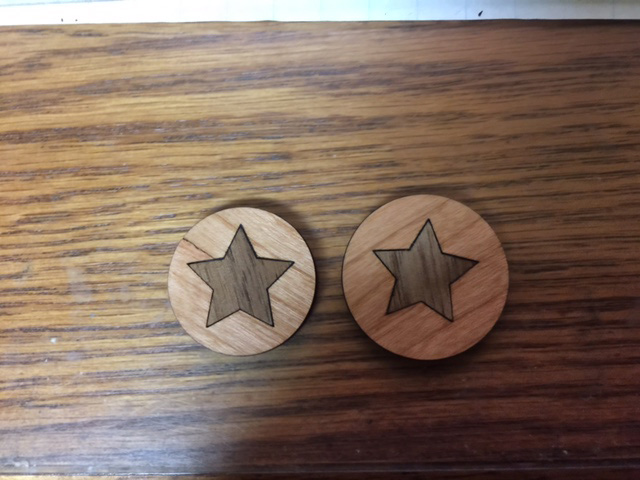
The kerf on this one was not adjusted at all, and the fit was tight. I had to force it in, and had a hard time getting it aligned. Zeeeee-ro clearance. And it wouldn’t have worked if there hadn’t been cutouts in the design. Might have been because of the coloration process on the veneer, but it’s something we need to keep in mind if we use the technique.

If it does turn out that dampening the unfinished veneer causes it to swell enough that the kerf disappears, I’ve got an idea for not kerf adjusting inlays, misting them a bit once they are in place, and being happy, happy, happy about the tight fit. :smile:

53 Likes

Gorgeous, like all your designs! What a cool feature to do a hinged holder–are there springs? I love the inlay, it’s very nice.

6 Likes

Right now it’s just hinging on a thin wire run through it, so it’s just resting against the napkins. It works to hold them up, but that’s about it. (More work needed.) :smile:

5 Likes

Looks good to me. Is it stained?

4 Likes

Love the design…and really love the tip about misting an inlay to tighten up the kerf.

5 Likes

Sort of. :wink:

20 Likes

Well, this was interesting…

I ran a couple of non-kerf adjusted inlays, just some small stars set into circles.

Pre-misting:

These had a pretty tight fit. The hole was a little deep for the veneer which casts a little bit of a shadow when it photographs, but here are the two inlays…

Misted them with a little water a couple of times to see what happened to the lines:

Colored them with the Bic Markers to see what that did:

And sanded one down so the shadows got knocked back a little:

It looks to me like the Bic Markers are swelling the inlay more than the misting. (Maybe alcohol will swell them up a little more than water.)

Anyway, something to play with. I’d be interested to see if anyone else gets similar results with it.

29 Likes

Now all you need are French napkins!
But seriously, this is really good stuff. Thanks for sharing! Let us know how the tight pieces hold up as the weather changes.

2 Likes

Very nice. I like the napkin holder! I thought maybe the wood would re-shrink after it dries. Perhaps not.

3 Likes

So cool!

Pure alcohol should be non-swelling. Note that if it does swell, it will shrink back when it dries.

9 Likes

Ahhhh, you’ve already tried this… :sweat:
(That’s too bad, it really does swell the veneer up to fill the kerf.)

5 Likes

There are liquids made to fix squeaky chairs and the like. They claim to “permanently” swell wood. Might be worth a shot?

20 Likes

Ooooooh! Ahhhhhhhh!:smile:

edit: bottle on the way

4 Likes

Wow! To be honest, I read the title and went “Eh… I’ll knock it off my unread count.” I laughed at myself when I opened the post to find something totally awesome. GREAT JOB!

I knew it!

5 Likes

Very nice Jules! The sharpie is a great transformation!

4 Likes

Beautiful!!!

3 Likes

Okay…since I can’t leave anything alone until i get it to work…I finally figured out how to get zero, - and I mean zip, nada, zilch, couldn’t fit a dust mite hair in there - line between the inlay and the engraved hole.

Enter a tool that seamstresses are familiar with, but not so much the general population since the advent of polyester…

I give you the results of the application of a steam iron. Let the steam hover over the wood for a minute or so, cover it with a sheet of foil, then press it.

The adhesive glue from the back of the veneer comes up out of the seams and makes it a bit messy, but you can sand that off. (Hence the foil.) It feels perfectly smooth, as if the surface was never cut. All traces of the gap are gone. It hasn’t shrunk back down…I think if I refinish it, it will be smooth as a baby’s butt.

Next time, I’ll try it without staining the inlay first, because that bled a little from the steam and had to be sanded down, and ran into the edges. (And I still want to try Josh’s swelling solution…I hate ironing.)

With the right woods, this would look pretty cool. (I think I still prefer the lines around the inlay for a little definition though.)

And apologies to @marmak3261 if you’ve already figured this out…you’re the inlay guru around here…but I can’t find all your posts on it…they’re scattered a bit. Chuckle!

26 Likes

THIS is fabulous!

4 Likes

Great work. How high up do you hold it while steaming? Just off the surface or an inch away?

1 Like

Thanks for all your experimentation and reports. I will try your iron idea. Sounds promising.
For improved definition, in Marquetry there is a technique called sand shading that helps give another aspect to the work. I bet a combination of these techniques with the laser will be killer.

Here is a simple example

http://www.ukworkshop.co.uk/forums/free-marquetry-taster-workshops-t50069.html

Here is an elaborate example.

http://customfurniture.us/index.php/furniture-blog/82-making-furniture/123-marquetry-cabinet

3 Likes