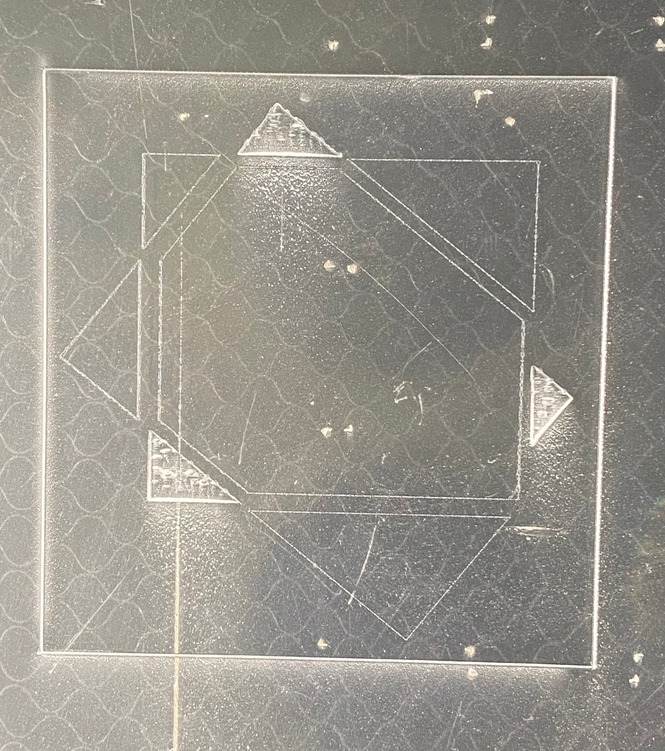
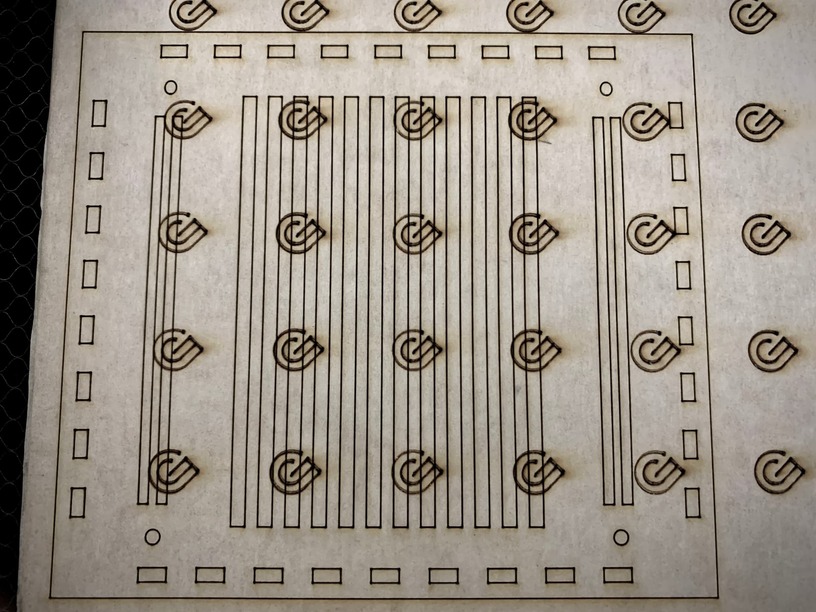
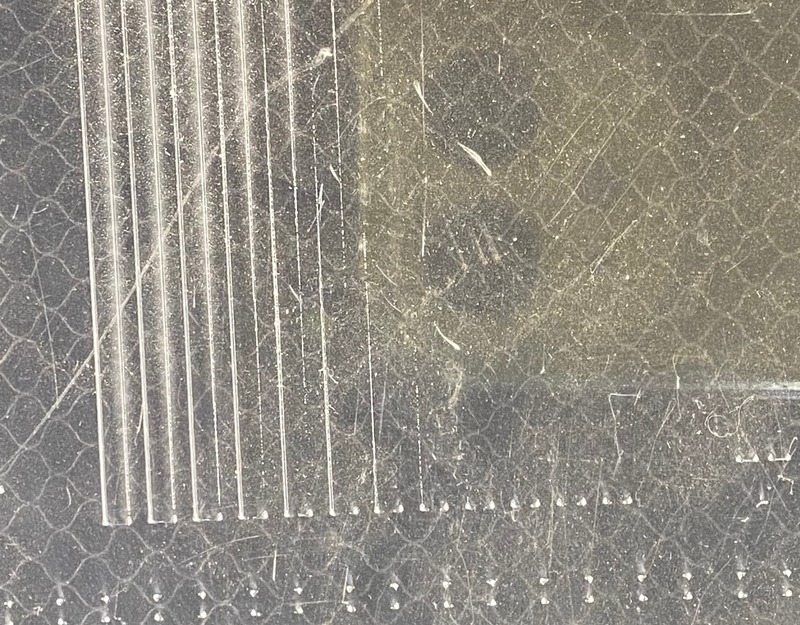
Hi All, I’ve been having trouble with the GF not cutting all of a line. It’s like the laser shuts off during movement. Some corners appear to be lased, but other parts are not. I’ve tried several different types of material. Initially I thought maybe it was the material not being flat. So I tried several different materials draft board, acrylic and pinned down the edges as much as possible. In the pics it can be seen that some lines are marked and nearby lines are not but should be. This isn’t the only design that I’m having this kind of trouble with. The box comes from the festi box designer and Ive added additional elements. Is the laser broken?
It’s more likely a material or art issue than the laser being broken.
Try cutting the Gift of Good Measure (it’s in your dashboard) on a piece of PG material - are there any issues? If yes, then we can focus on physical issues with the laser. If no, then we can focus on your art and/or materials.
[quote=“o-o, post:4, topic:97932”]
Likely a failing tube or power supply
[/quote] well that would be bad. Other things seems to work just fine. here is a box cut and score and engrave that worked just fine. So maybe file issue?
Yeah before jumping to any conclusions I recommend you take the advice @deirdrebeth offered and try the gift of good measure. If that works ok then you know it is not the machine.
Then perhaps it’s something with your settings, although I can’t imagine what would cause that inconsistency when the whole thing uses one step for all the cuts. Here’s how your original file prints on my machine:
And in case you don’t know, PG is Proofgrade material (like Draftboard), which gives consistent results with the Gift Of Good Measure test file that was included by Glowforge on your dashboard.
Oh no, I’m sorry to hear about the trouble, and for our delayed response.
To help us determine the next best steps, could you run a test print for us? The design we use has some known dimensions built into it and it will help me extract logs afterward to take a closer look.
Print the Gift of Good Measure on Proofgrade material, using Proofgrade settings.
When the print finishes, leave the lid closed and wait until the fans stop and the picture updates.
If the Gift of Good Measure fails to cut through, take a photo of the front and back of the print and attach these photos to your reply.
If the Gift of Good Measure cuts successfully, please try another print of the design you experienced the issue with, and let us know the results.
Hi @jeremyh
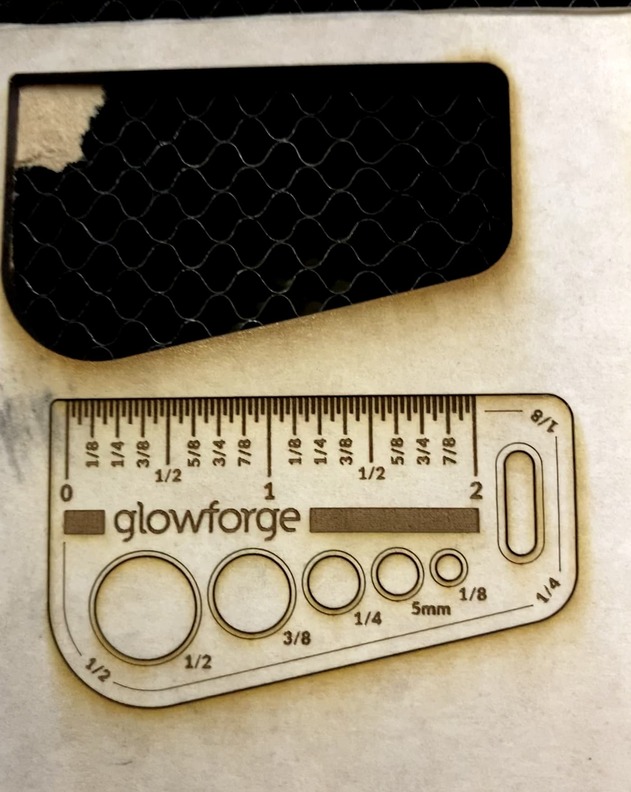
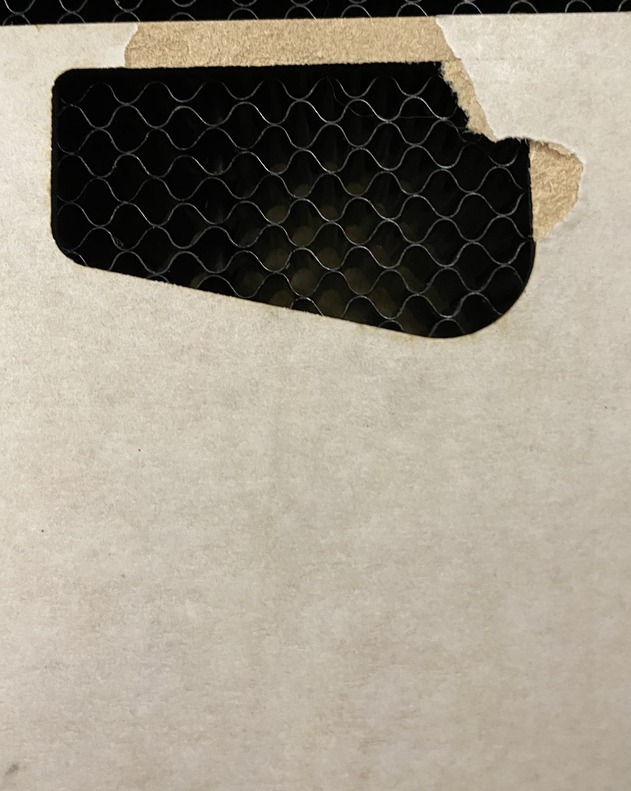
I printed the GOGM to some pg medium draft board. Using the PG settings, the image certainly scored, but the cuts were not. The top cut is from last week where I bullied it into submission with more passes or lower speed(don’t remember which). The lower is using the pg setings.
Thank you for the detailed photo of the print result. We were able to locate the logs from the test and verify that it ran with the correct settings. As a next step, our team would like to look over your unit’s optics to check for anything unusual. Could you do the following for me?
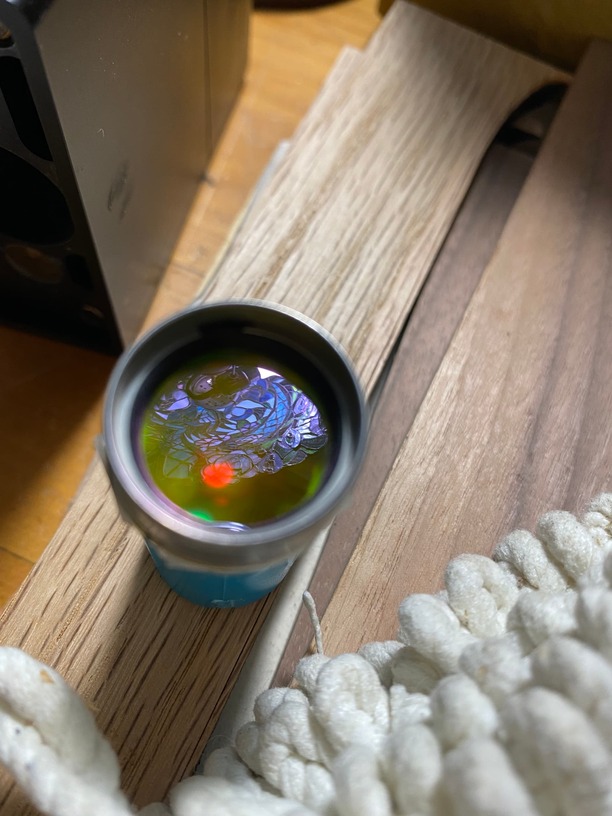
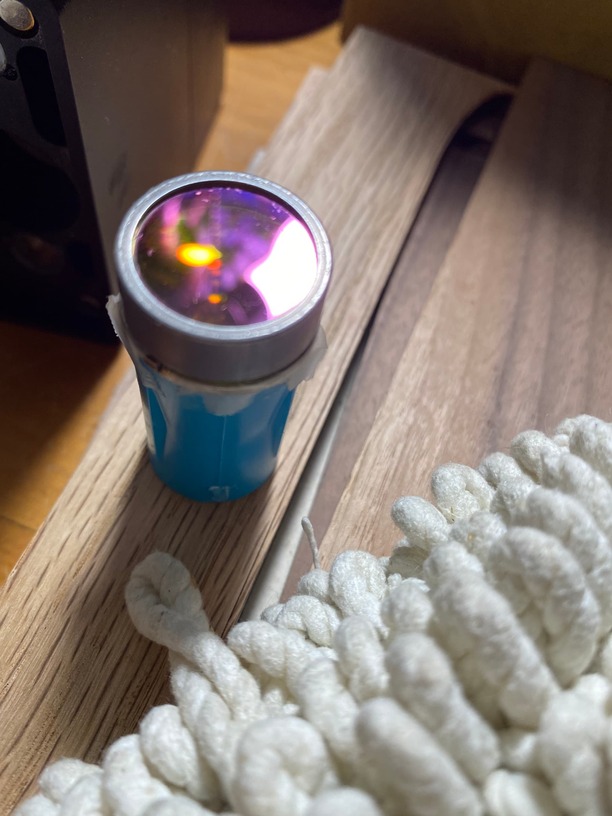
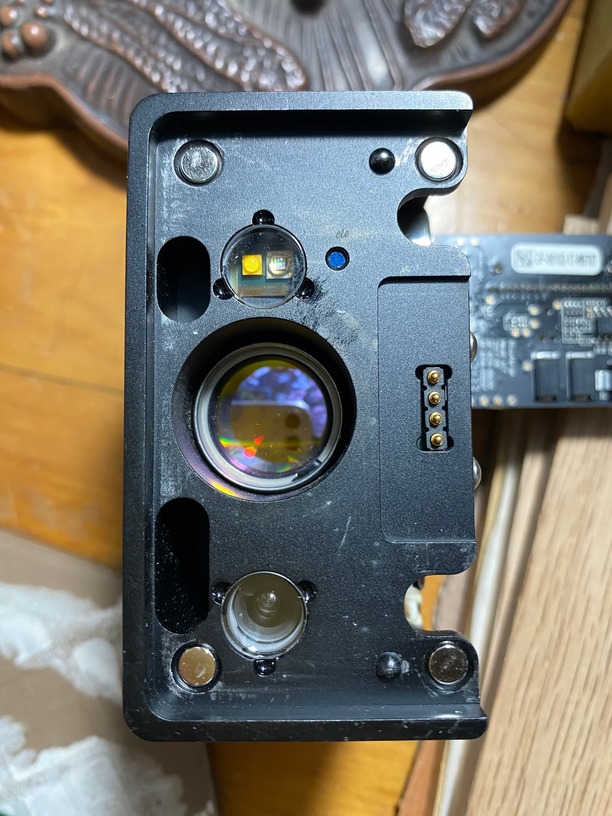
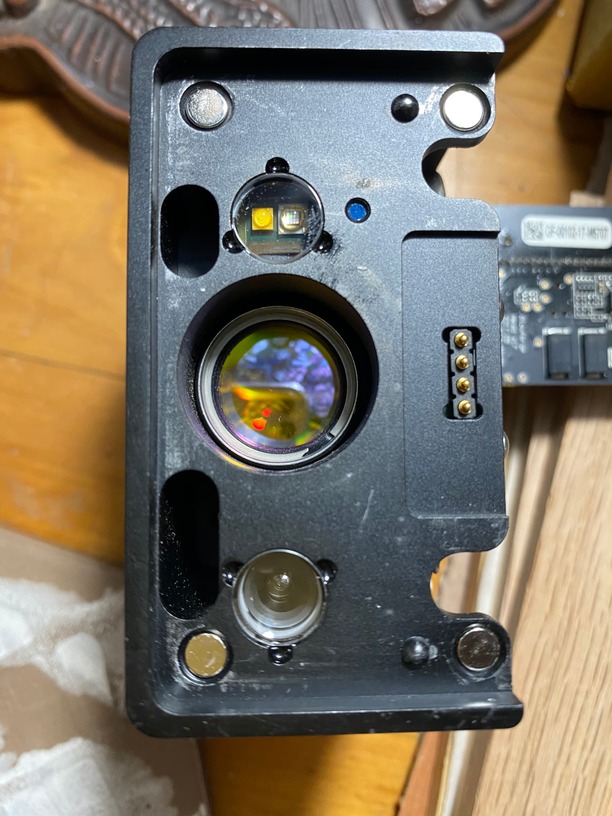
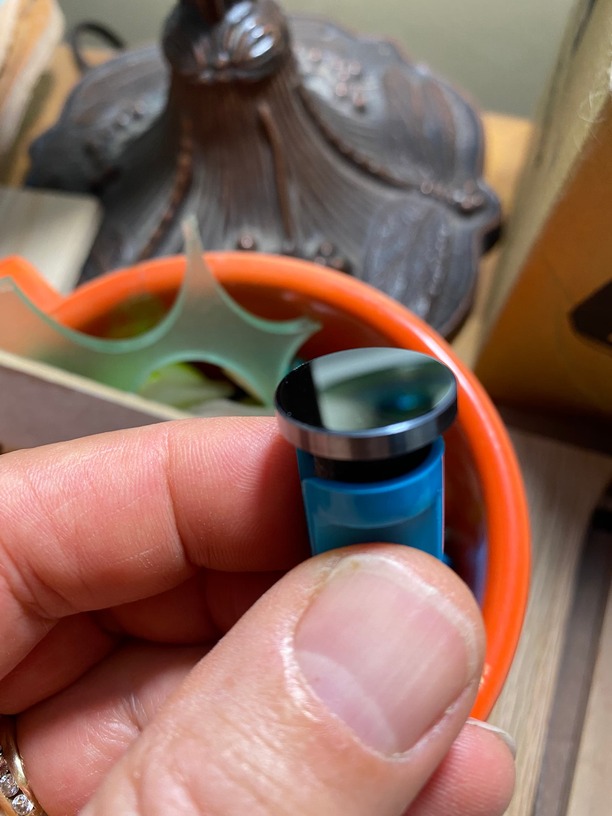
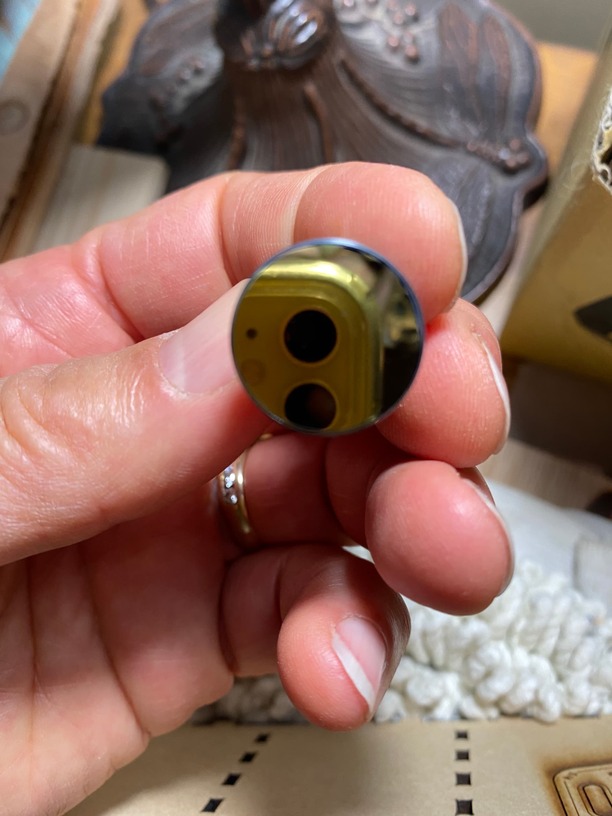
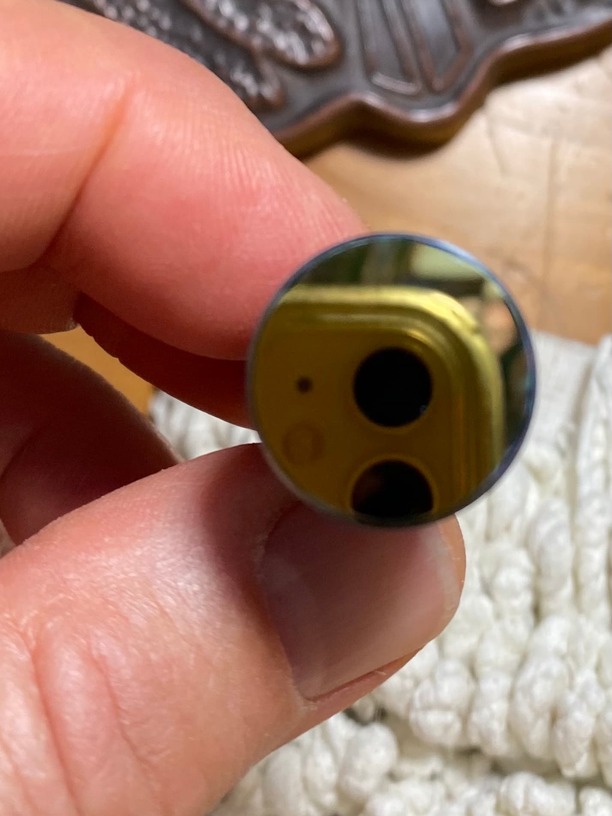
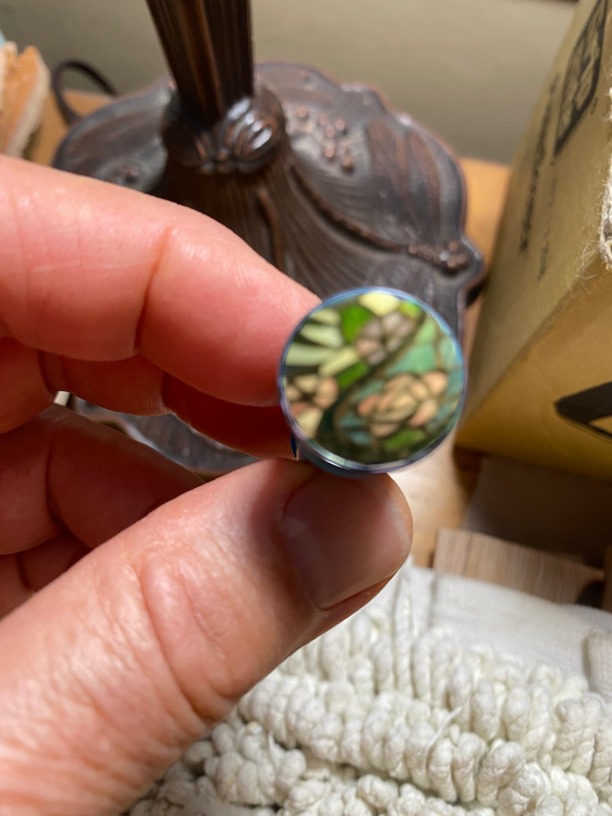
Please send photos of all your optical components, with special attention to any damage you might find:
Both windows
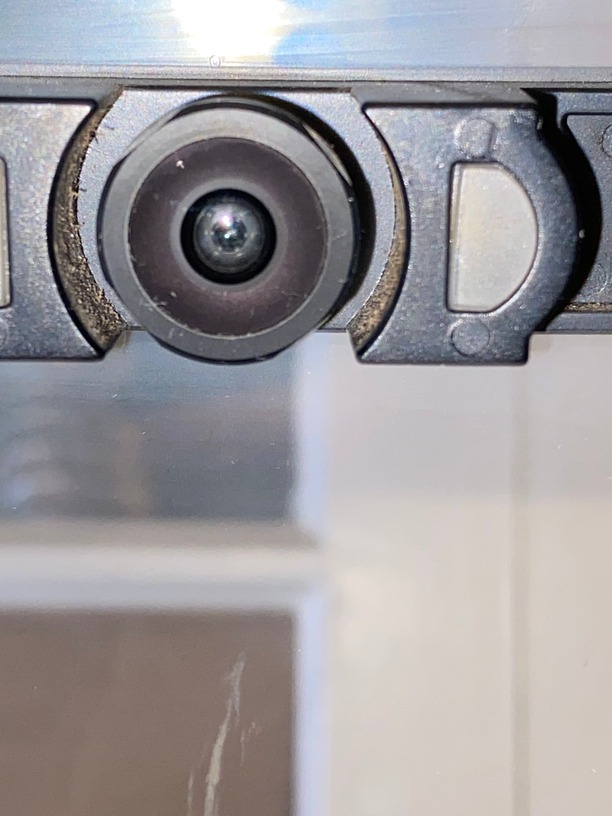
The printer head window, on the left hand side of the printer head
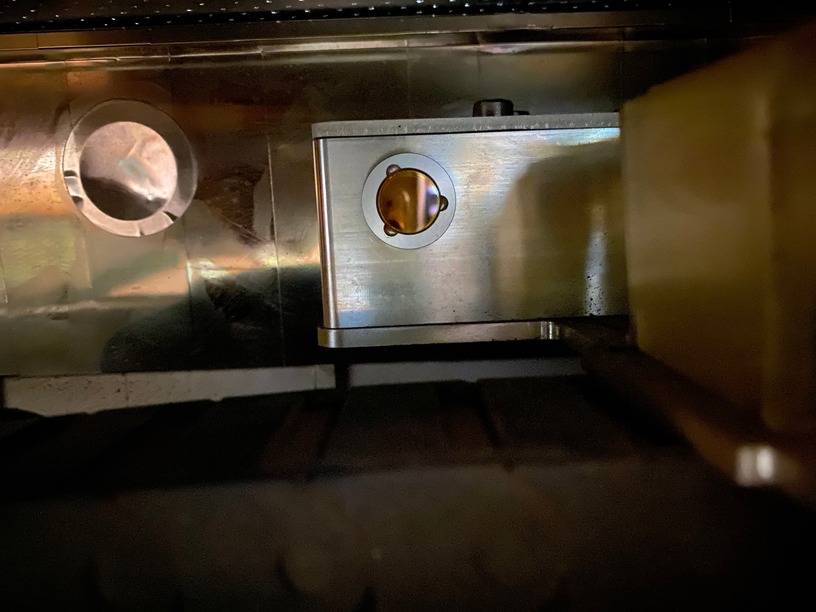
The laser window on the inside left of the Glowforge
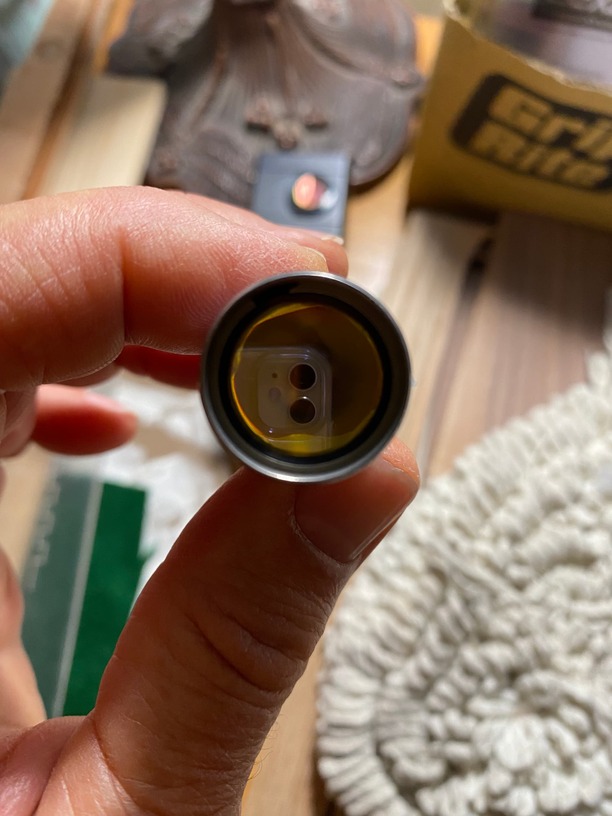
The printer head lens
Both sides of the lens, top and bottom
The mirror inside the printer head
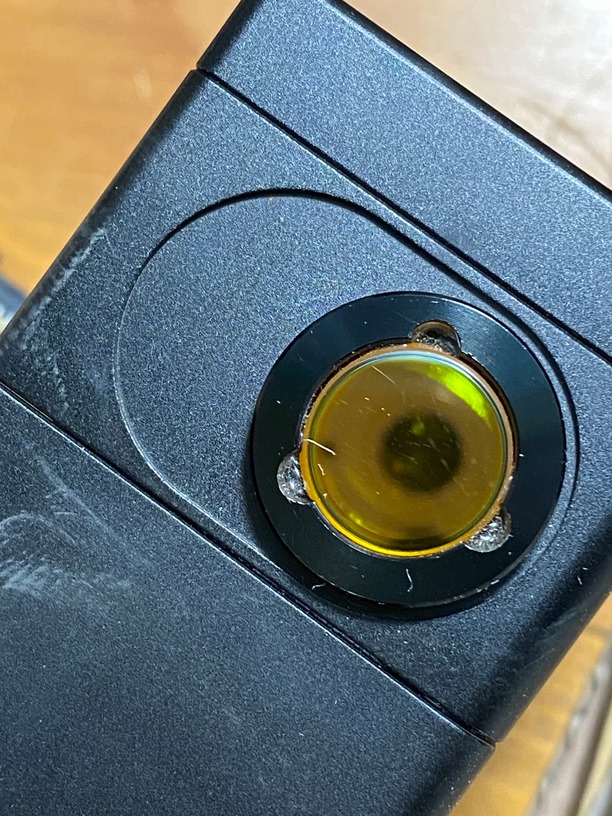
The bottom of the printer head with the lens installed
Hello, @jsteggy Thank you so much for working with my colleagues throughout troubleshooting this issue. I believe at this point we have everything we need to move forward with the next steps. I went ahead and sent you an email letting you know what the next steps are. Once you reply back to that email I will go ahead and close this ticket to mitigate any confusion. I look forward to hearing back from you over email. Thank you!


