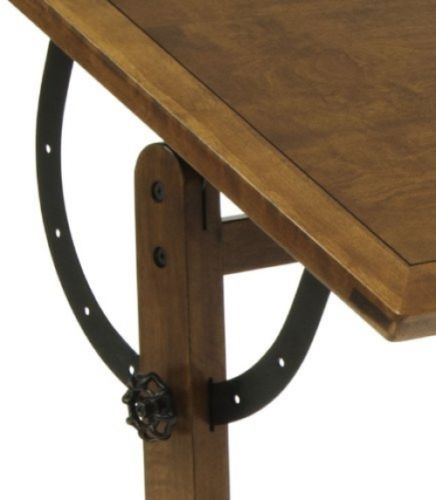
Gettin jiggy with it

(Dan insisted on that title :arrow_lower_right: :bus:)

So, not sure if this belongs in Made on a Glowforge because it’s not a finished project, but I was looking for some community input.

I was in need of a 45 degree angle on some wood for some various projects (will follow up with posts on these eventually) and decided to make jigs to get me there.

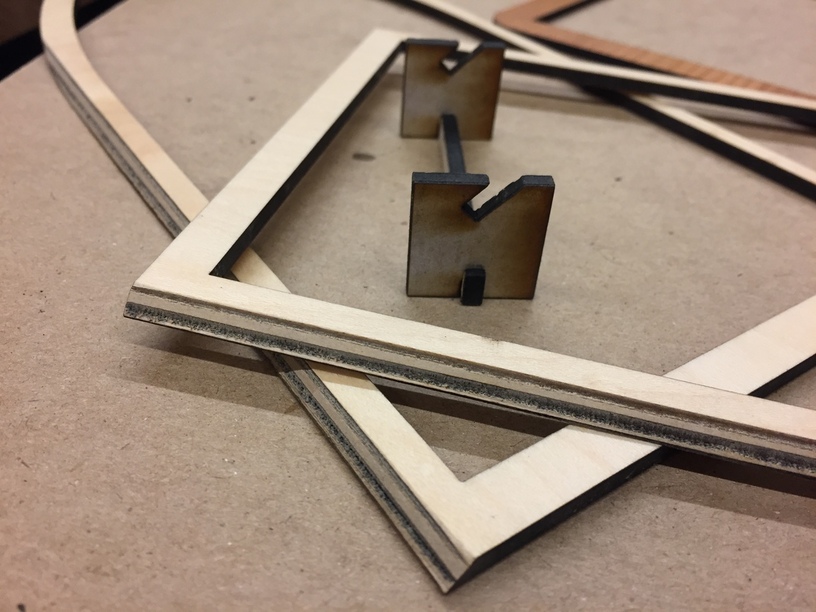
This jig was relatively straight forward. I’m going to glue these guys together at the corners to form a 90 degree angle, so I didn’t care about the looks of the sanded edge, so I did some engraving and More Aggressive Engraving :tm: to remove most of the waste material and make sanding much faster. The jig I made fits around the outside of the edge like so:

and allowed me to sand the whole edge in something like 30 seconds. I was surprised at how quick it all went. The larger surface area of the jig relative the edge made it easy to keep lined up, keep pressure even on things and know when to stop.

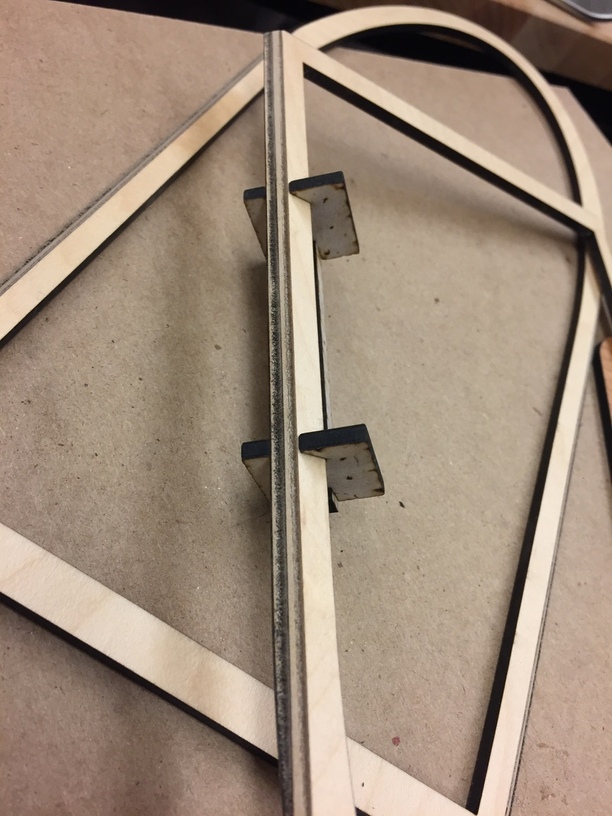
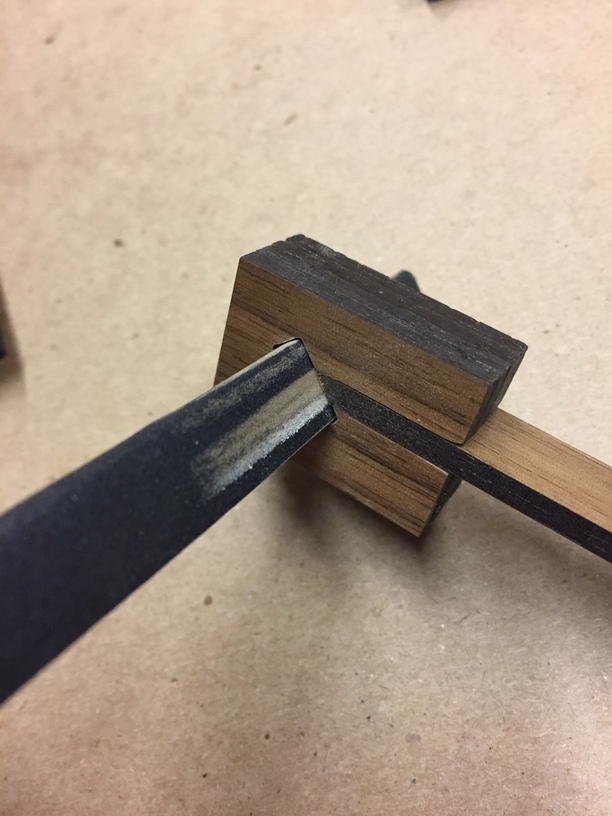
Then I had need of a 45 on wood with a finished outside edge, as I was framing the outside of a piece of 1/4 inch acrylic, but I couldn’t use the same concept because the length of wood was too long. I conferred with @madebynick for a while, and we came up with this little weird inside out jig for sanding a 45 on a longer piece of material.

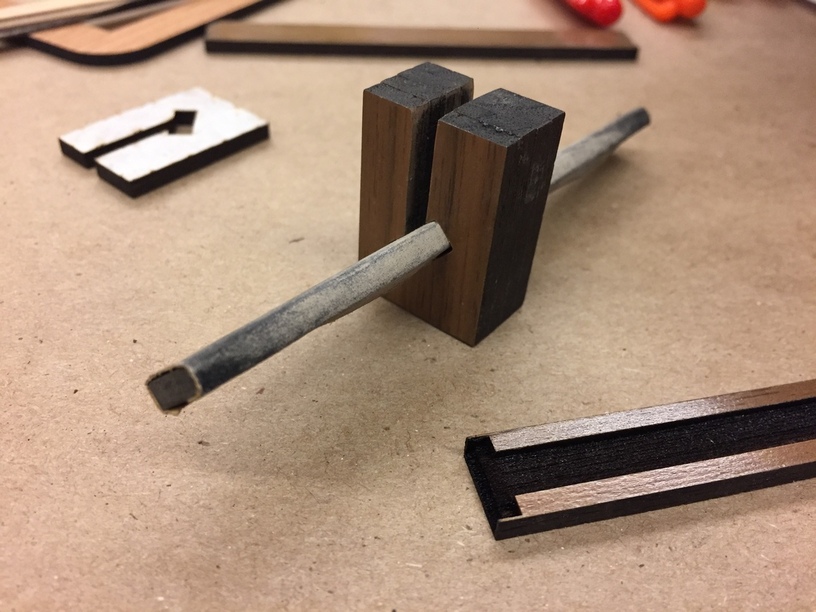
(the sandpaper is folded-torn to size and I super glued it around another stick of wood)

In this case I did care about the look on the outside edge of the sanding, so I left the outside parts of the wood un-engraved so that it wouldn’t have any accidental stepping. Unfortunately, that outside bit was a bit two skinny and tended to break off, but I managed to salvage things for the project. Next time, will leave more material there. The same jig in action.

I think the problem with this second one is that the jig develops a bit of a wobble, and I found that it wasn’t sanding perfectly evenly.

Would love to hear other ideas from the community on ways to jig angles and sanding!

41 Likes

Extremely clever. :relaxed:

5 Likes

Here is a good way to put 45 degree bevels on the ends.

http://airfieldmodels.com/information_source/how_to_articles_for_model_builders/tools/bevel_master/index.htm

11 Likes
  • Most table saws will allow blade angling to 45 deg.
  • A router table with a 45 deg bit will work well for this.
  • Cut 2 45 deg triangles (or use carpenters squares) and a flat piece to put across it to create an angled platform to feed the piece into a blade/sanding plane. (could just be sandpaper taped to the top of the desk)
  • Many sanding stations have the ability to angle the platforms/sanding bands
8 Likes

I like the dremel router table for small thickness pieces like that (I got nice 45 degree using it) Just out of curiosity - using the second jig did you get more “wobble” when you move the jig to sand or slide the sanding piece (that is which one works better held stationary)? Just was wondering…

PS looking forward to seeing the post on what it is your making…

5 Likes

Great to see stuff like this!

For this: Diy atx bench power supply I used a 45 degree router bit. I used double sided tape to put a piece of plywood on the opposing side so that the guide bearing had something to ride against (A router table would be better).

A nice thing about that method is that you can insure that you keep the original dimensions of the piece. In the jig above you could accidentally sand of too much. A simple change to the jig could fix that but I think it’s better to keep it versatile instead.

6 Likes

The bevel jig that @buschtrent posted is giving me ideas! Thanks for linking that!

The goal was to make something with the glowforge that would let me hand sand things (I don’t have a power sanding tool of any sort), without having to purchase a router table/commercial jig. I also don’t have a table saw, router, or really anything like that… Just this here laser.

@PIGHEADED yes, it definitely got more wobble as time went on. I’d venture to guess that the first piece I used in it had an almost perfect angle and things just got worse from there. I found that holding the jig and material against a table and moving the sanding bit up and down was the easiest, though it was suggested to me by @madebynick that I fix the sandpaper and move my material instead which I think would work much better.

@brianfroelund Very good point about sanding too far. I wonder if a simple score would help so you can see where to stop… or a jig within a jig that has the desired size! :thinking:

5 Likes

btw @PlGHEADED … I’m also very excited to see what it is I’m making, will definitely post that eventually one day when I can get more work done on it.

4 Likes

Make an angle table. You can even make it so that it has an angle meter on it and its adjustable with a hinge:

12 Likes

I’ll give it a shot! Nick also just suggested a shooting sander, which also seems like something makeable on the glowforge, which would go with an angle table well.

1 Like

Ive never heard of one of those, but after looking it up, it looks as if it would work perfectly with an angle table!

(edit:) heres another idea for angle adjustment:

static value adjustments

6 Likes

This is exactly what I was going to say. It’s something my brother and I were discussing. Thanks for saying it first! :slight_smile:

3 Likes

that looks like you took a picture of my drafting table! those horseshoe pieces were missing, so I got it for free and CNC plasma cut my own.

4 Likes

Although you admitted you don’t have any other tools for cutting, it’s actually pretty amazing what you can make a Dremel do…

I might make myself a mini table mount for mine, like this (made with the Glowforge, naturally):

8 Likes

Cool this object it’s rigid !

3 Likes

Nice, I do actually have a dremel at home, I could probably get farther along with some things there… but it is so much more fun with a laser :smiley:

8 Likes