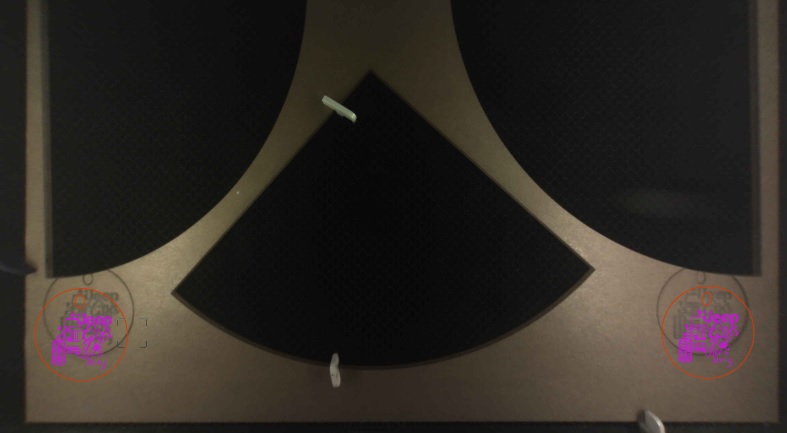
If there’s a better place for this then by all means move it. Never ran into this but would like some input. I will attach a photo as well. You can see where it actually cut my acrylic in the circles on each bottom corner and where the image is, is where I told it to go. So these aren’t usable because it didn’t cut the entire circle. Anyway to avoid this? I like to use some of my scrap pieces laying around but not gonna be able to if it moves it.
Did you click with the Set Focus tool over each of the designs before making your final placement?
3 Likes
Every GF is different. My camera is off my a little, but others are off by a lot. Also, the camera has a fish-eye distortion – the further you are from being directly under the camera, the more the alignment will be off. In your photo, you’re looking at extreme edges and near the bottom/front edge. That’s going to have a lot of skew from the fish-eye distortion.
Some suggestions:
-
As @Jules pointed out, use the Set Focus tool before lasering. (I have made it a habit.) The worst thing to happen is for it to auto-focus over a hole rather than over the material.
-
On my crumb tray, I’ve marked a 2"x2" square directly under the camera. That has the best alignment. I know that in that zone, my GF has perfect vertical alignment and about 2mm horizontal drift to the left. I can easily account for this when aligning material. Every GF is different, so you’ll need to measure your own. (Use cardboard for testing since it’s cheap!)
-
Make sure the desk/surface that the GF is sitting on is flat. As I understand it, every GF is created in a perfectly flat surface. However, desks, counters, and other surfaces in your home/office will likely bend a little under the GF weight. That bend can cause the camera to be off.
-
For really sensitive alignment on material that cannot be placed in the 2"x2" low-skew region, I cheat. I put down cardboard (like a cereal box) and do a really light score over it. That tells me exactly where the laser is going to hit. Then I put the material on top of the cardboard. This gives me extremely accurate alignment. If you can’t do cardboard, then you can still do a light score (e.g., 1000/3) – this will barely score the tape and won’t touch the material under it. Then you can tell if the design will be in the correct spot.
3 Likes
@budsysmith I’m so sorry to see prints are not cutting in the correct spot.
@Jules ad some good advice on using set focus. Please see the follow link on how to use set focus. Alignment – Glowforge
Let us know how it goes.
1 Like
Hi @budsysmith. It’s been a couple days since David’s response, and I wanted to check in with you to see if you’re stilling running into any trouble with print not cutting where you placed the design. Feel free to let us know if using Set Focus was able to help as well. Thank you!
I tried the recalibration and it said no changes were made. However since doing that, it’s been cutting closer to where I ask it to.
I’m so glad to hear that you’ve been able to see some improvement inside of your prints in regards to the alignment. I’d like to double check the alignment on your Glowforge to ensure there isn’t any additional steps we can provide.
We’d like to have you try a few troubleshooting steps for us:
- Turn off your Glowforge.
- Check for small pieces of debris or dust.
- Check the lower door to make sure it closes all the way. It may require some force to open, but open it, wipe any dust off the edges, and close it all the way.
- Remove the tray and clean any dust or debris from the surface underneath. Pay careful attention to remove all debris from the four dimples where the tray rests.
- Check the lid to make sure it closes all the way. Small particles of material, such as dust or debris, can prevent it from closing completely.
- Check the surface your Glowforge is on to make sure it’s flat. Ensure it is not twisted slightly and that there is no debris propping up one side of the machine.
- Turn your Glowforge back on.
- Place Proofgrade material in the part of the of the bed that you are having the most trouble and print the Gift of Good Measure using the default settings.
- When the print finishes, leave the lid closed and wait until the fans stop and the picture updates. Without moving your artwork or your material, take a screenshot of the Workspace to show us the difference between the artwork placement and the actual print placement. Make sure to include the rulers in your screenshot and show as much of the bed as possible.
- Mac: Press Shift-Command-4 and click and drag a box around your image. You’ll find the screenshot file saved on your desktop.
- Windows: Click on the Start Menu and type “snipping tool”. Open the Snipping Tool > New then click and drag a box around your image. Click the Save icon and name and save your file.
- Send us the screenshot along with the date and time of the print, and we’ll investigate.
Once we can review the screenshots, and the logs from the print, we’ll send over the next best steps. Let us know how it goes!
It’s been some time since we’ve heard from you @budsysmith , have you had a chance to work through my colleague Marc’s troubleshooting steps?
Hi there. It’s been some time since we’ve seen any activity, so we’ll go ahead and close this thread. Feel free to create a new thread, or write us at support@glowforge.com, and we’ll be happy to help with any further trouble encountered. Thanks!