I decided to try working with the leather samples provided with my GF last night. I use a similar wallet to the one in the GF Catalog, so I used my credits to buy the design and started cutting.
This was my first foray into leather work, so I had to research the saddle stitch, but I had everything ready for the experiment. I had previously purchased a leather sewing kit and a sewing pony for trying this.
The wallet cut beautifully, however I ran into an issue removing the masking. It was incredibly difficult, and I was concerned I was ruining the corner of my leather pieces attempting to remove.
**TIP #1 : Remove & replace masking before starting! I had some TransferRight 582U that I used later…
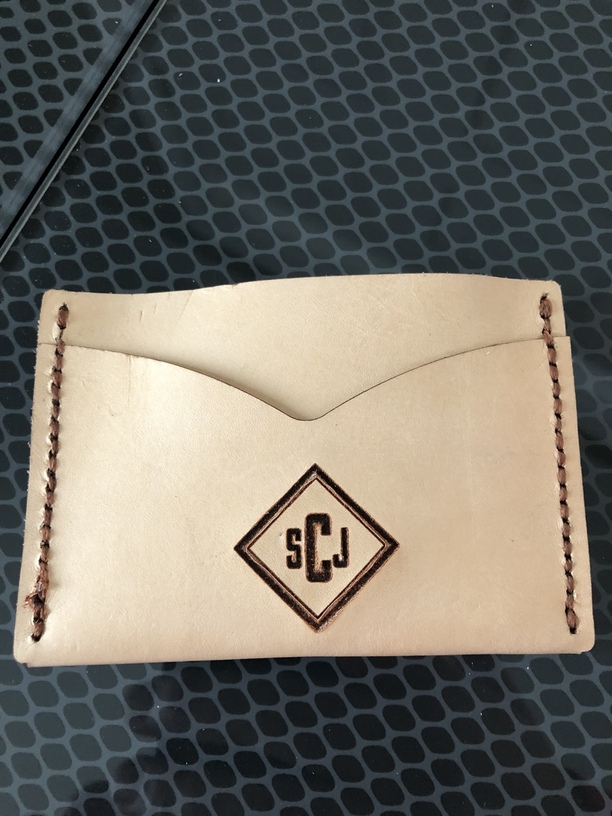
I was eventually able to remove the masking and began the “fun” of stitching it together. But alas, I’m never satisfied!
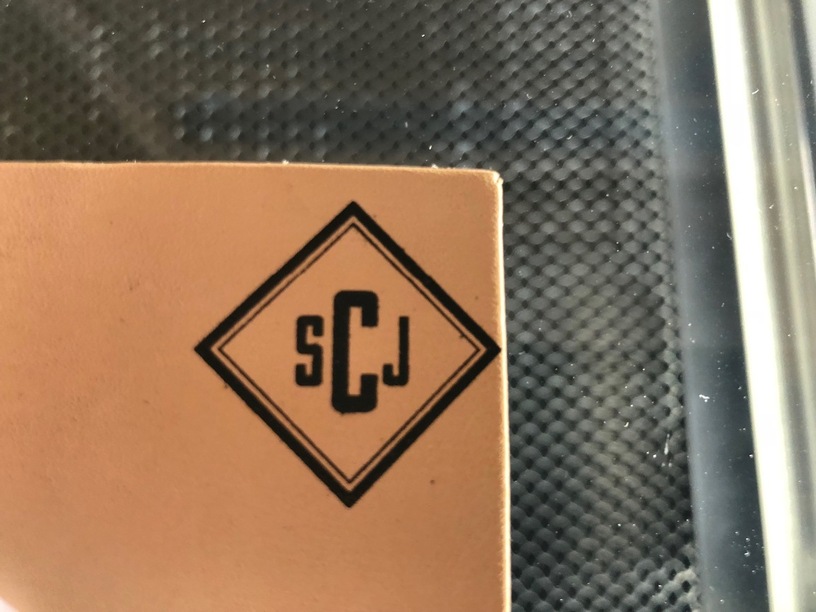
I then decided I should try to engrave my monogram into the leather wallet…
**Tip #2: Plan your design ahead of time! Duh!
I put my wallet back into the GF and lined it up with a rule, tacked it down with the handy honeycomb pins, lined everything up…and engraved. As the engraved started I remembered I forgot something!
**Tip #3: Make sure to measure the thickness of your item!
I remembered that the thickness had changed and this was not simply Proofgrade Thin Leather, but that the settings had to be tweaked…So I did what anyone would do…I turned my wallet over, updated the settings and tried again.
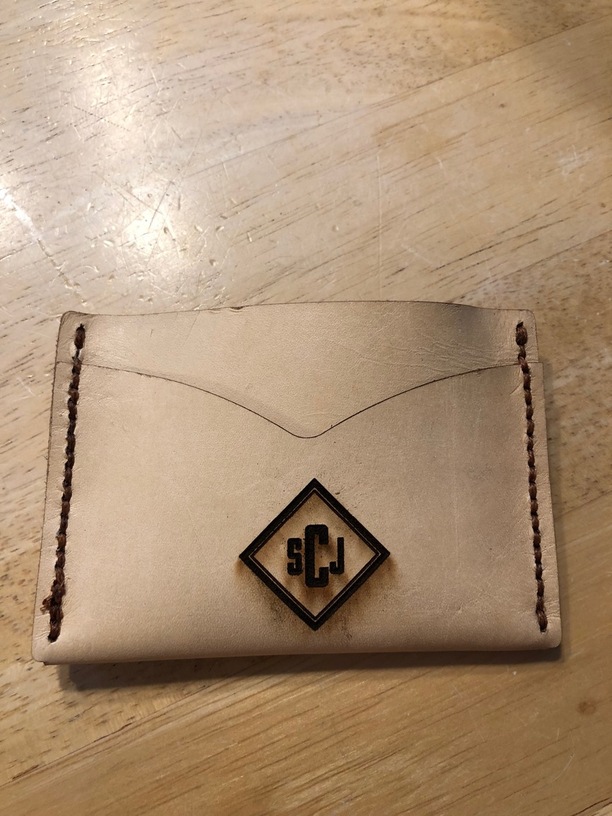
I did not like the “burn” I was seeing around the engrave, and figured it was due to the fact I had no masking on the wallet. So I took the other sample of leather I had and approached it the way I should have all along…
- Removed factory masking
- Added the TransferRight masking to the leather
- Engraved with the Proofgrade settings for Thin Leather
I’m very happy with the results!


Regardless of how the wallet turned out, I’m happy to say that I learned a bit about working with leather, both in the GF and in general!, and I know that next time I’ll be prepared to make something great!!