I click print and it comes over an scans the material. then it goes back and the UI flashes preparing design for a second or two then goes back to the screen where you set stuff up.
I tried restarting with no luck.
I click print and it comes over an scans the material. then it goes back and the UI flashes preparing design for a second or two then goes back to the screen where you set stuff up.
I tried restarting with no luck.
Most often seems to be a problem with the file but there are other possibilities. Post the file so someone can check it?
It won’t upload to the forums. Seems to work just fine in the ui though.
Didn’t have a problem printing the file. My trouble shooting process would be something like this:
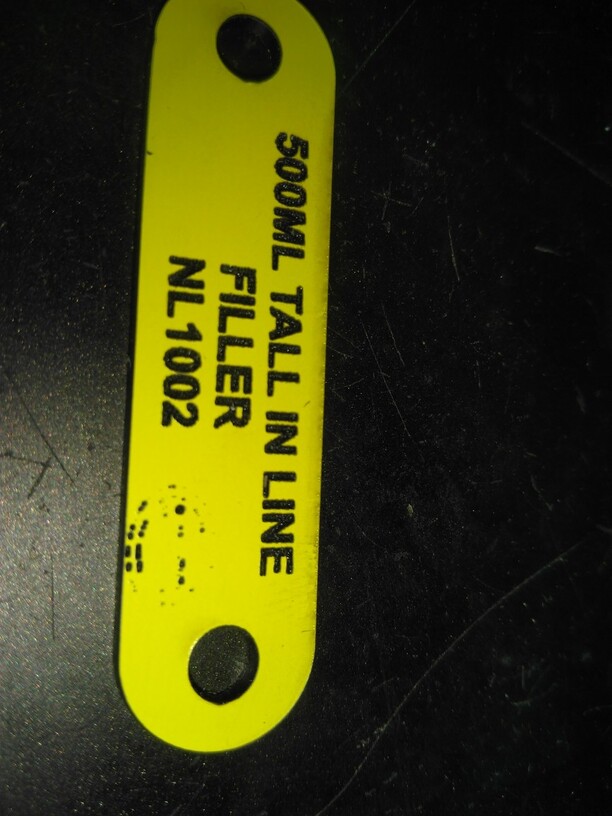
Ok so I went and resaved it. Now it works except the logo does not engrave. Managed to get a poor version by doing a 500/1 score but it won’t engrave it.
EDIT:This is not the scored one. Gave that to my coworker. It is usable just not great.
Well, you’re probably going to get more help than you need on this file…the first issue was your artboard was the same size as the artwork - if you set up an artboard that is 12" x 20", and then just do your artwork on that, the files won’t have trouble loading.
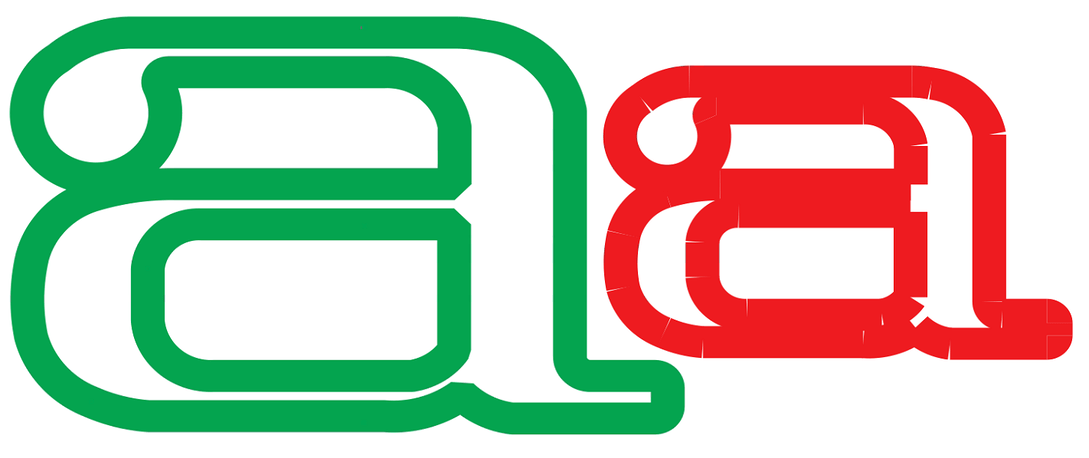
The issue on the engrave is because that is a single stroke path. Engraving happens on fills.
Thicken the stroke line a little and expand the logo, it will then engrave the way you want it to.
hmm. The artboard was actually 12x24 (I am still defaulting to the epilog size the glowforge replaced.) I wonder if the fact that when I saved it as svg out of corel I chose selected only changed the artboard size.
I have been running the same logo (Larger yes but same .5 pt line width.) on other tags and had no issues. I even bumped this up to a .75 pt width and nothing changed. I can’t really make it larger without impacting the text.
Well, you can try to expand the stroke at that size, if that’s the size you want. (And I don’t really use Corel, so what you are looking to do is create a filled shape the width of the stroke line on the logo…so whatever method is used to do that. It will look just like the stroke, but consist of a fill color instead of a stroke or outline.)
Alternatively, you can rasterize the logo part and it should engrave just fine.
That’d do it. When you save only the selected art the art board/workspace will be the size needed to encompass the selected artwork.
I’m so sorry you ran into trouble. I extracted the logs for your Glowforge, and it appears you were trying to engrave shapes that weren’t completely closed.
When you upload a file to the Glowforge app, strokes (or outlines) become cuts and fills (filled-in shapes) become engraves. The print failed here because one or more of the shapes didn’t have a fully enclosed area to engrave.
To print successfully, you have some options:
Would you let us know if this works, or if you have further questions?
Also, if you need more help learning to design for your Glowforge, we have a tutorial that walks you through creating a design from scratch, with step by step pictures about how to create a shape to cut out using Inkscape, a free design program.
Well got it to work but it was a bodgey work around. Took one of my larger tags ![]() and overlayed it on the small tag and then shrunk it down till the logo matched and told it to ignore all but the logo. Not sure why it worked but it did.
and overlayed it on the small tag and then shrunk it down till the logo matched and told it to ignore all but the logo. Not sure why it worked but it did.
I will probably come back and experiment later with making it work but for now I have other things I am getting yelled at to do.
Huh. I guess when I rezised the logo corel broke it for some reason. when I zoom in on the smaller logo it has all sorts of stupid breaks in it. The original logo does not have them. I guess I need to look and see what settings in corel get applied to resizes.
Thanks for all the help guys.
Using Inkscape vocab (sorry, don’t know Corel): One way that this can happen is that the strokes are converted to paths before the nodes have been joined. If that happens and then you scale, it comes out like this because each side, corner, etc is acting like a separate enclosed shape.
I’m sorry to hear you’re still having trouble. Thanks for the answer, @markwal, and I agree that looks to be what’s happening here.
@Birdman3131, if possible could you please share the resized file? We might be able to provide more specific feedback after taking a closer look.
Sorry to have mislead. The issues are fixed. (The original one of the laser never starting was fixed by resaving the file. Still puzzled but it did work.)
The second issue was fixed when pip mentioned that the path was not enclosed. Once I knew that I was able to resize it properly. (Still no clue why it broke when rezising before but that was done well before I got the glowforge and was still on our old epilog so I never noticed any issues.)