Glowforge STEM Circuit File V2

I signed up to help with a STEM event at work and was going to supply everything for the kids to do this cool STEM project from Glowforge. However, the Resistor/LED block file was missing (staff is aware and have been trying to track it down so hopefully it will be there in the future). I decided to make a revamped version of the block and posted the file here in case anyone wants to use it.

IMG_4068 (2)
The changes I made was to have the LED and resistor leads twist together and feed back through the acrylic (the GF version had them use copper tape pads and so this V2 cuts down some on the materials). I also added in the text for anode and cathode because I figure its a fun extra nugget of knowledge for the kiddos.

Here is the link to the referenced tutorial:

Here is the resistor/LED V2 block
LEDCircuitBlock_V2.

35 Likes

I loaded it in the GFUI and exported it for the settings. Are these correct?
LEDCircuitBlock V2  (1)

8 Likes

@bill.m.davis Based on the photo, IMHO “Step 2” must be a “Score”—not a “Cut”. :sunglasses:

5 Likes

Nice. There are a bunch of those kinds of circuit module products on the market, but I love the idea of using the Glowforge to make your own. It always felt like the arbitrary limitations of what’s available in the kit would frustrate me if I tried to teach something with it.

7 Likes

Thanks! I think you are right. I have updated that.

1 Like

Next step would to bring in velostat step sensors. That has always been a great communicator with students. It’s such a reactive material and I would love to bring it into a design like that.

4 Likes

This looks like a great teaching aid. Thank you for sharing!

5 Likes

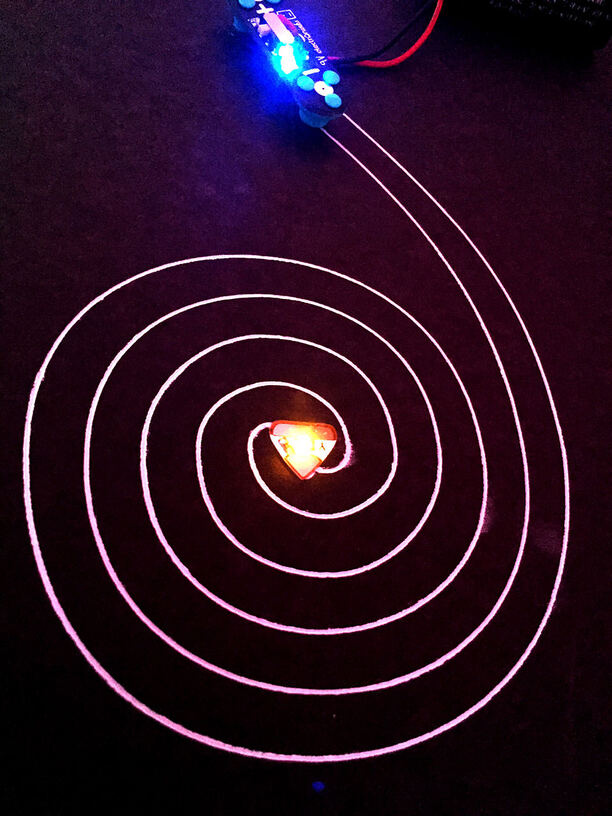
I supported a KickStarter a while ago that was a metal sheet with magnetic components and a silver ink pen. I think it was called CircuitScribe. This device reminds me of that project.

4 Likes

Wait - If that’s not a cut how do you pass the wires through the acrylic? She even says “feed back through the acrylic”

3 Likes

The CircuitScribe ink is fun. The pens can dry out quickly and, it loses continuity pretty easily if the substrate flexes too much.

You can also pair with the Circuit Stickers from Chibitronics for some simpler stuff.

At one point, they were working on inkjet cartridges but, I haven’t heard about any progress in awhile. Of course, you can stick the pens in a plotter.

9 Likes

I have been waiting for those inkjet cartridges! I was unsure if chibitronicd was still around, but I love the copper tape circuitry! So much fun!

4 Likes

I love it. Sooo cool using this as an educational tool!

2 Likes

I believe you use the circle cut holes for that.

3 Likes

Right. The ones cut in step 2… If you make that a “score” instead, you can’t do it. What I was saying is that “Cut” is correct for that step.

5 Likes

Oh, I see what you are saying. The original design I had there (the one the comment was on) had the lines in that position.

When I updated the design, the order of the steps were adjusted. Making the previous comment obsolete/incorrect. My bad.

5 Likes