Greetings! I’m not sure where most of you foin folks have your Glowforges (Glowforgi?) staged for doing your work. Mine was placed in an area that was least likely to cause my wife consternation. Though I did think master bedroom or kitchen, Happy wife/Happy life, ya know? I have had my Glowforge in the basement on a stand underneath a window that I put a dryer vent in for exhaust. It is next to my Bowflex, which I cannot use because, well my Glowforge is in the way.
This state of affairs was OK, everything was fine for a while until 2 important, nay, revolutionary events came to pass. I received my air filter, and the pass through function came to …er, pass. Rather than cut a hole in the wall, I put on my thinking tuque (que The Who’s “Going Mobile”).
A shout out to Jonny Firebrand who posted a Glow Cart in 8/17. Not to tramp on his unpatented name, which at over 3 years old, is a classic, I’m calling my mobile device a Glow Kart.
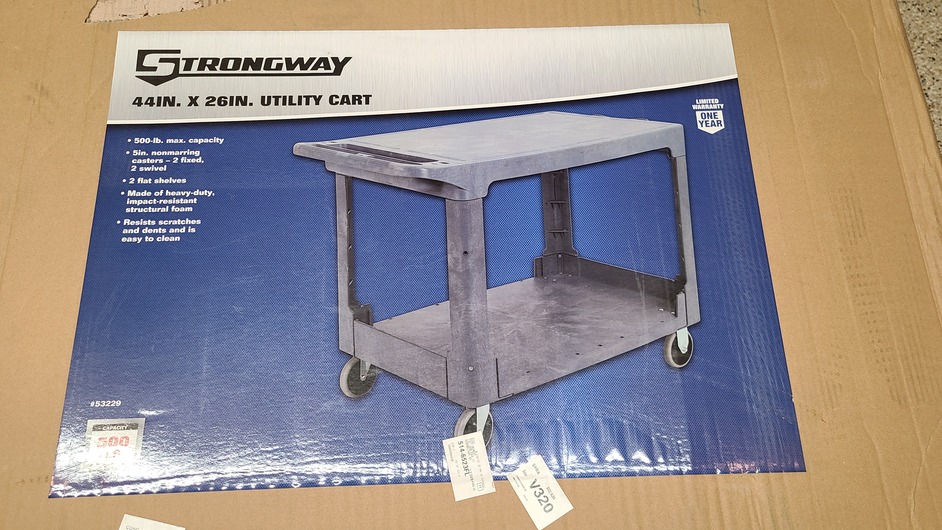
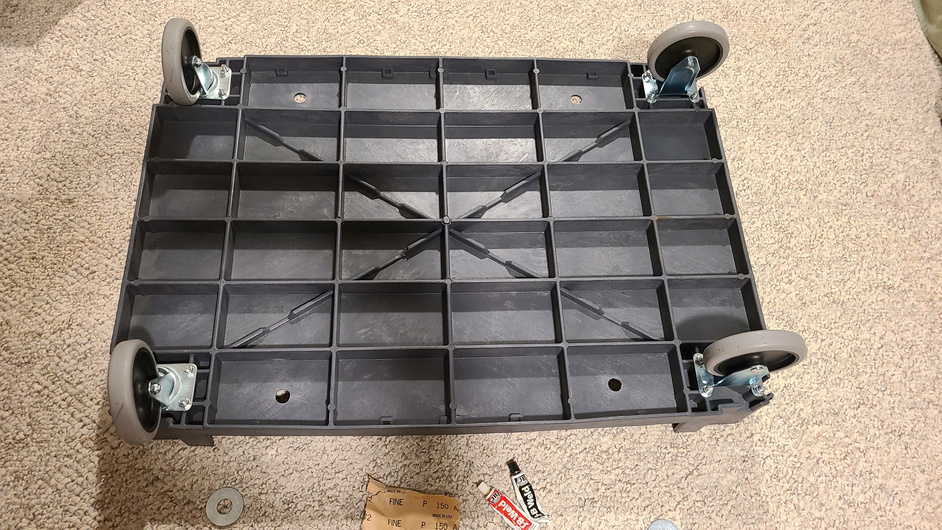
I searched for an industrial duty cart that was big enough, heavy duty enough and had a flat top to accommodate the ample dimensions of a Glowforge Pro. I found this one at Northern Tool on-line for about one hundred and fifty smackers, more than what I intended to spend, but it did seem to fit the bill.
I am probably being over-cautious, but I did not like the idea of my Glowforge, which has a moving carriage being on something with wheels. I decided to install 4 levelling legs onto the bottom of the cart to make the cart more stabling when I was doing my prints.
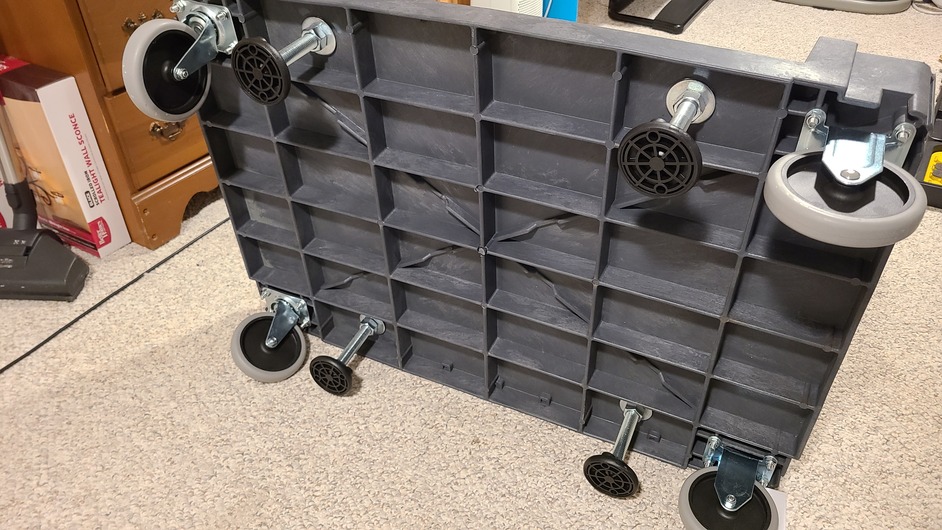
I assembled the cart bottom
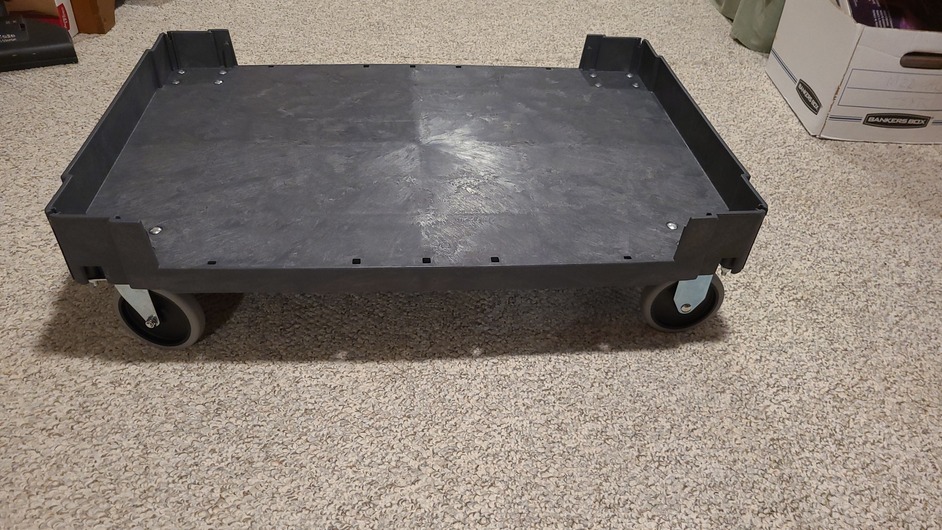
Located the hole position underneath for 4 equally spaced levelling legs. This was fairly easy to do because the support gussets provided quick index points
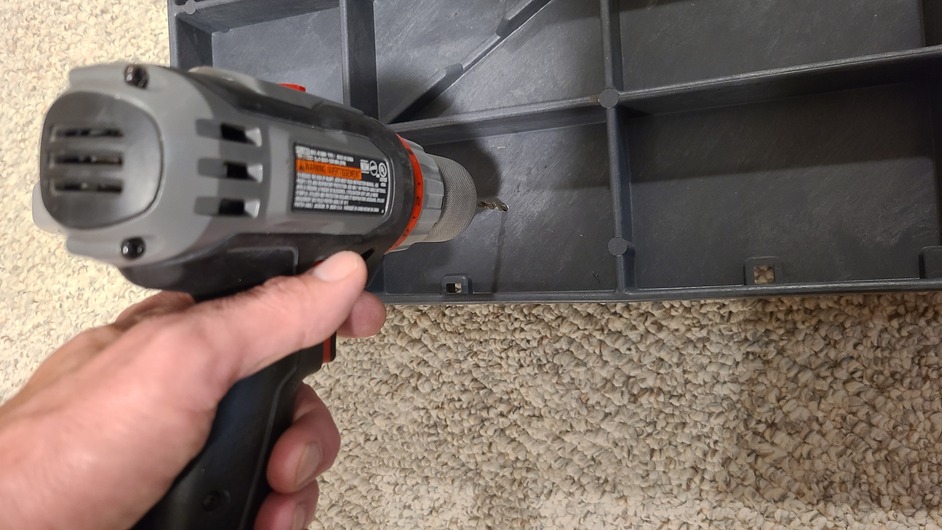
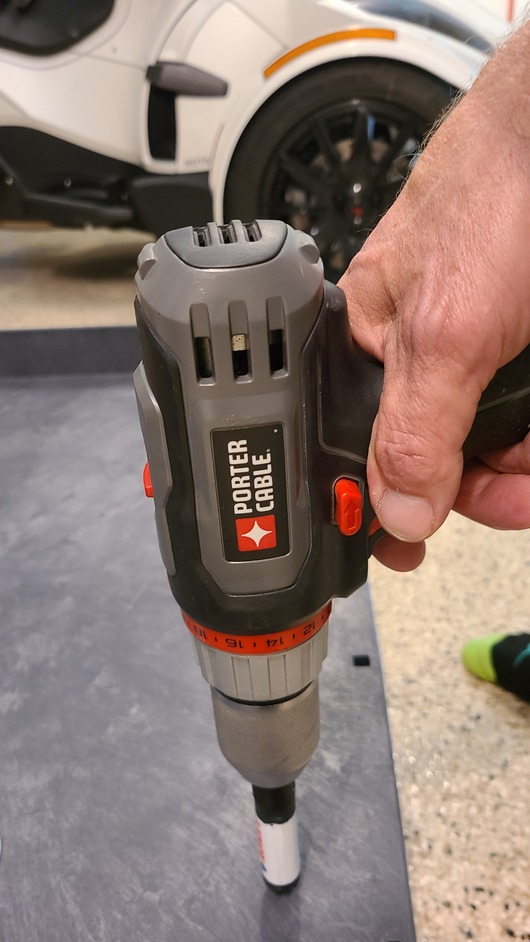
I drilled pilot holes for each of the legs
![5|281x500]
(upload://abfV7dkQXzPJzlbR2c3TJ4pAhpn.jpeg)
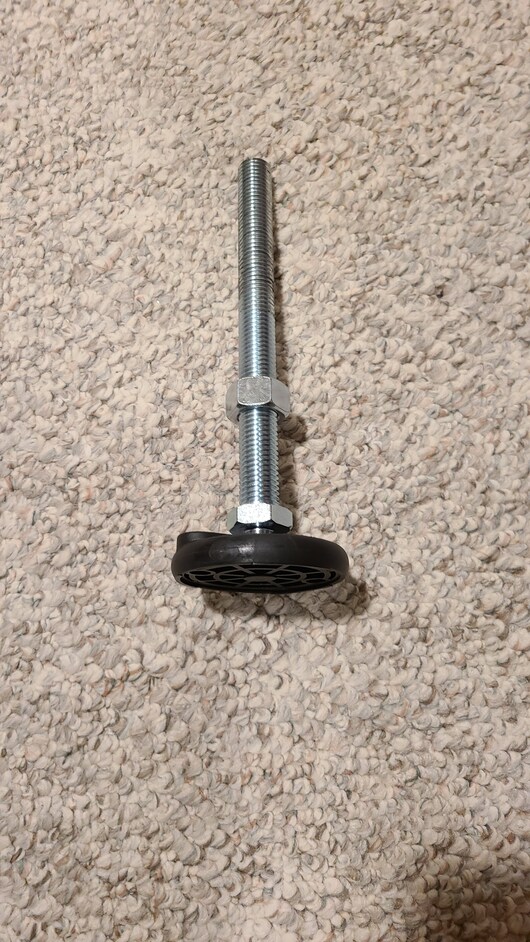
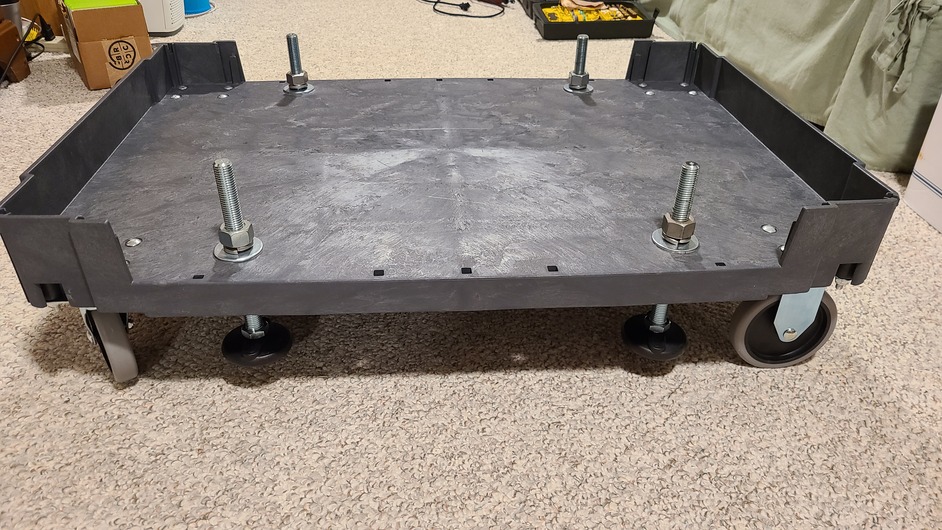
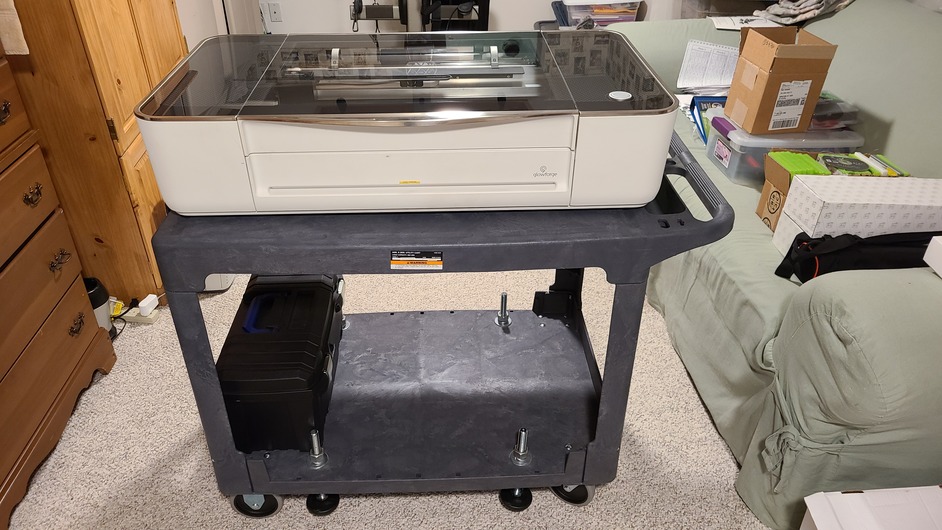
I then drilled the holes with a 3/4" hole-saw from above and widened out the holes slightly with a dremel. The leveling legs are 3/4" x 9" long overall. I could have picked a less stout screw, but wanted a good base.
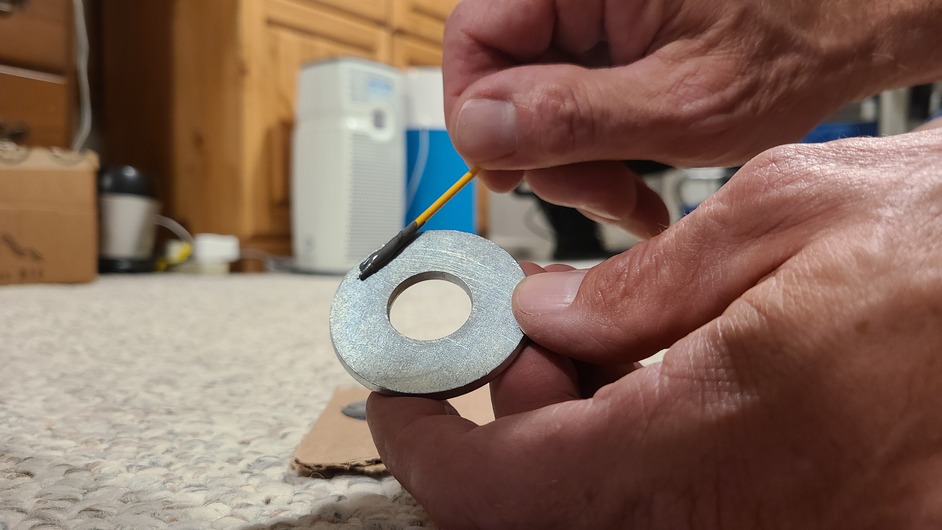
I planned on using nuts and a locking washer on either side of the leveling leg so wanted to beef up the contact area of the nuts to protect the plastic and keep it from cracking. I did this with large, heavy steel washers that I fastened to the plastic with heavy duty epoxy (JB Weld)
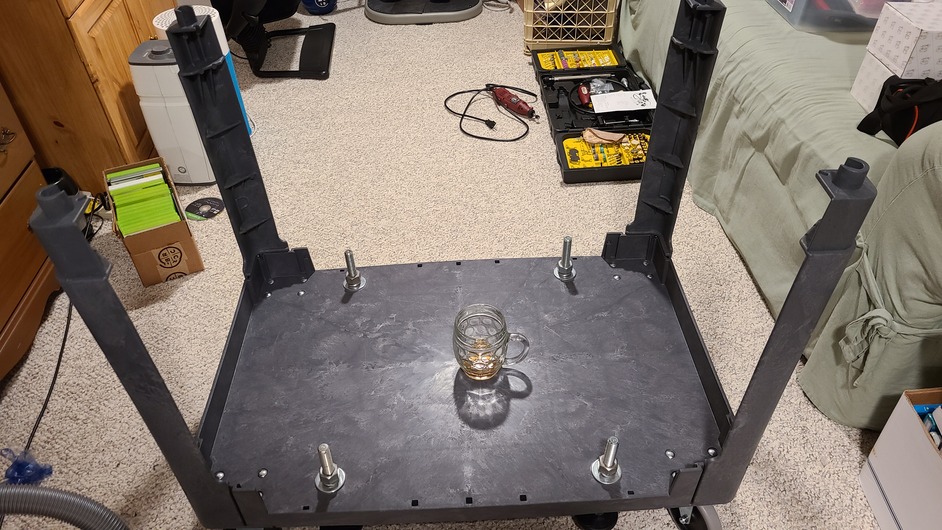
The beer adds ambiance, dont ya think? It also made my smile bigger
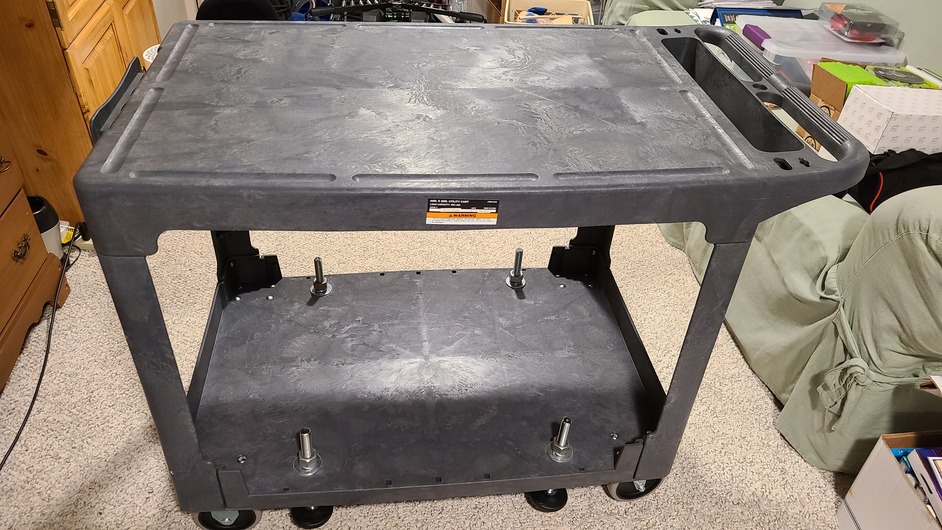
Just add a Glowforge and you get a Glow Cart, er Glow Kart, sorry Jonnie.
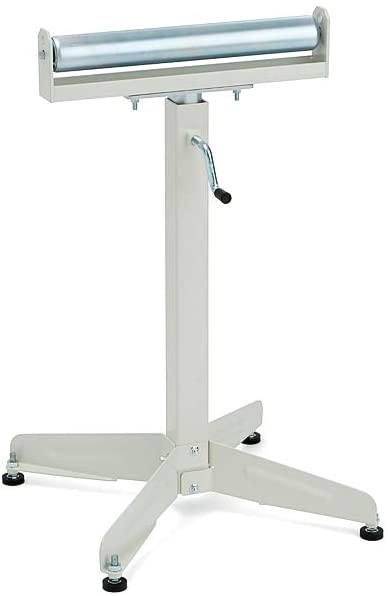
My next purchase will be a portable roller stand to support the pass through function…and some more beer. Happy mobile making!