Grape Leaf on Card Stock (Now with Embossing!)

Michael’s card stock reacts to laser engraving by removing the dye and leaving a tan color behind. So I tried this as an experiment.

Grabbed a picture of a grape leaf

Took it into Photoshop. Converted to Grayscale, inverted, Find Edges, Adjusted Levels

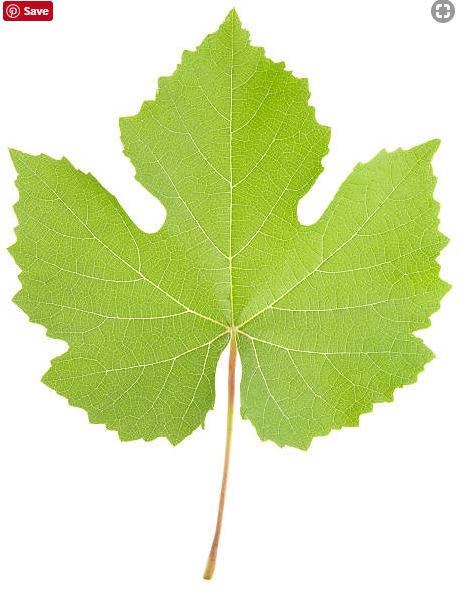
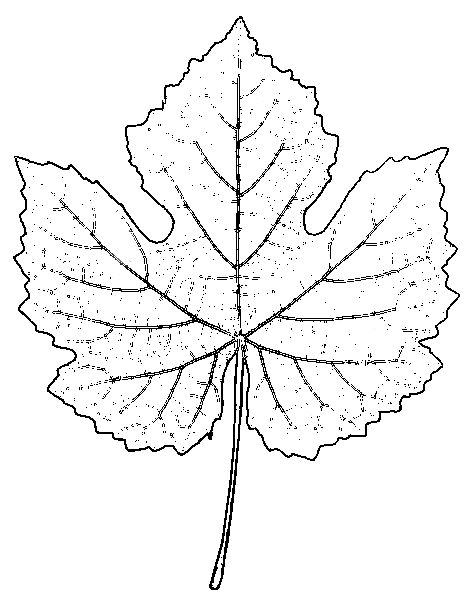
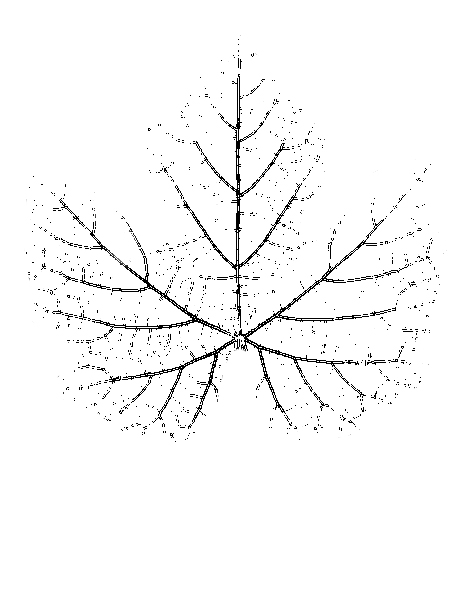
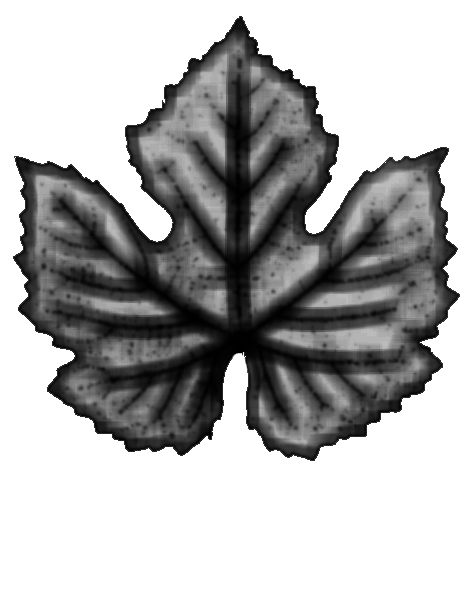
Took that into Inkscape and traced outline with a vector. Then back in Photoshop I removed the outline so just the veins were left. (Also remove the stem because it was too small in the scale I was printing in). I replaced the raster in my Inckape file with that one.

Saved the svg with the veins as raster and the outline as vector.
Engrave the veins at 500/1 and cut the vector at 500/25

77 Likes

Hot off The Forge. It works in purple too.

66 Likes

Very cool man! Thanks for the inspiration :sunglasses:

4 Likes

As a lover of papercrafts … these look amazing!

3 Likes

Thanks for the step by step! This looks like an awesome result!

I thought it was the original leaf!

1 Like

Wow, bookmarked!

Wow, thanks man!

It’s so cool to see simple things like this turn out so well. Thanks for documenting and sharing the bitmaps.

There are just so many projects I want to do. So little time.

1 Like

Haha, just when I got over the leaf… I see the grapes. That’s too cool! :sunglasses:

Love it !! Thank you for the compelling write up!

So glad you ran with what I found. I’m going to be doing more colors once mine gets here. Gave my permission to ship… Now time to pace the floors! :heartpulse:

5 Likes

Wait, that last pic is not an actual leaf?!
This is just too cool!

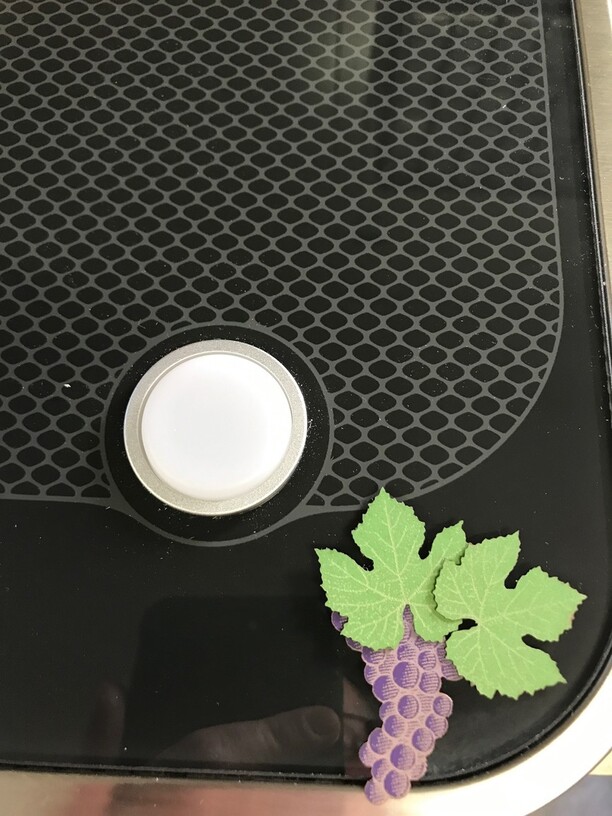
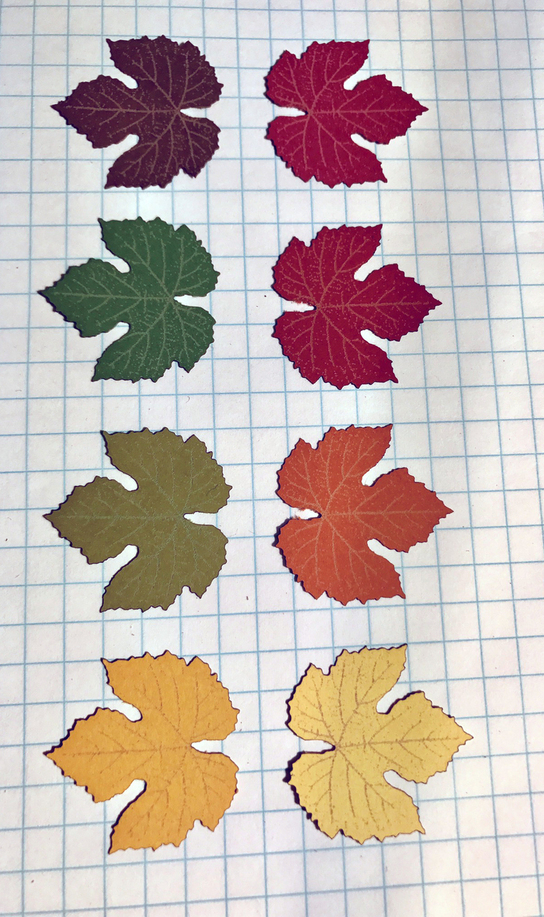
Showing a friend these pics, he asked “What about the fall colors?” Grape leaves don’t follow fall colors (and if you see red grape leaves, the vines are sick). But I thought what would that look like? Here is the same print in 8 fall colors. I am impressed that anything showed up on the yellows.

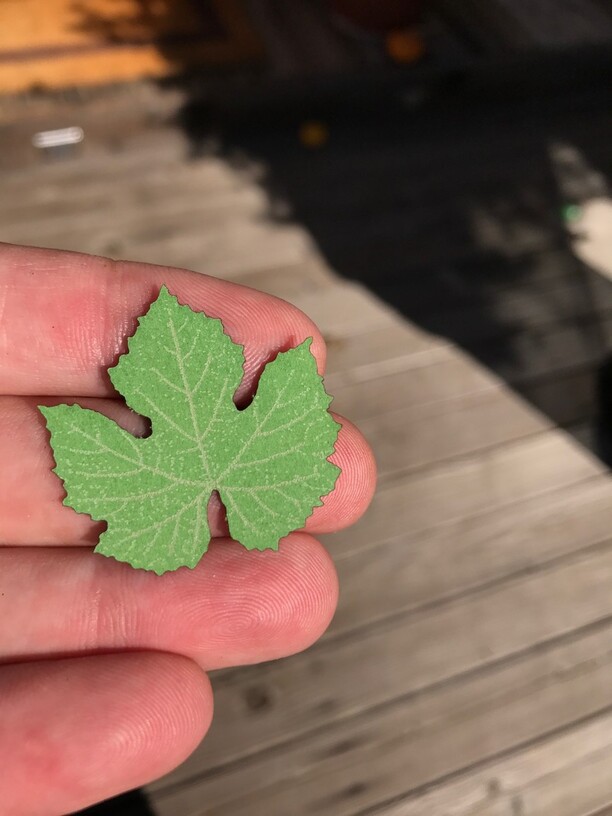
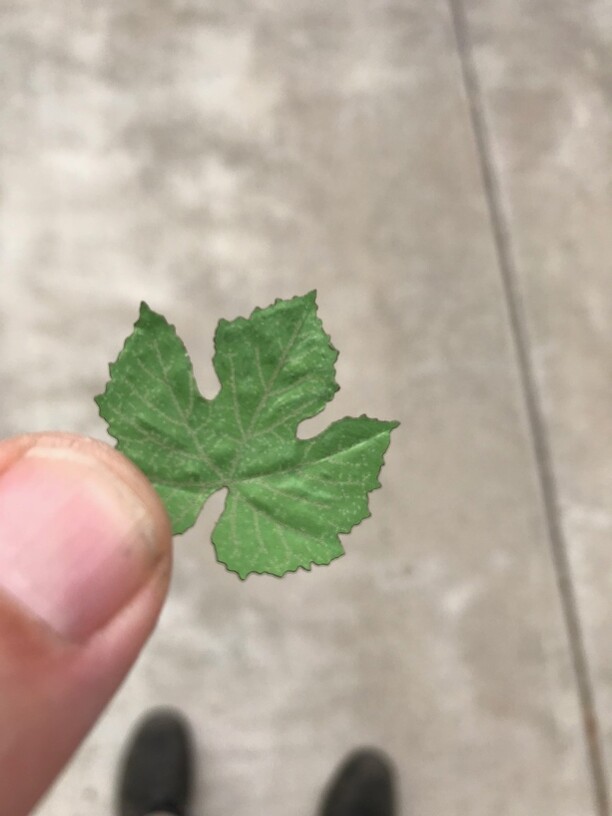
BTW the second one down on the left is the one in my hand from earlier posts. Difference between sunlight and shop light.

23 Likes

I swear, if you would introduce a few imperfections into those things they would look just like the real thing…you couldn’t tell them from real leaves. :smile:

5 Likes

plus they need to be curled. And they need to fly around and escape when you’re trying to corral them.

3 Likes

Those look great! I can hardly keep up with the cool projects on the forum, there are so many interesting experiments showing up every day.

This is so clever!!

Not to be “That Leaf Guy” but I had another idea.

I took the black and white leaf back into Photoshop. I ran it through 5 layers of different blurs to get this.

3D ENGRAVE!!!

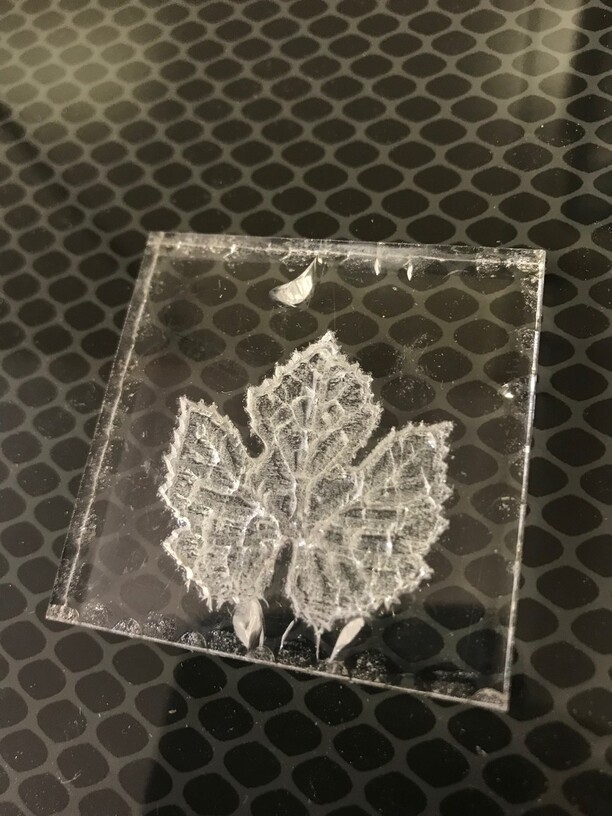
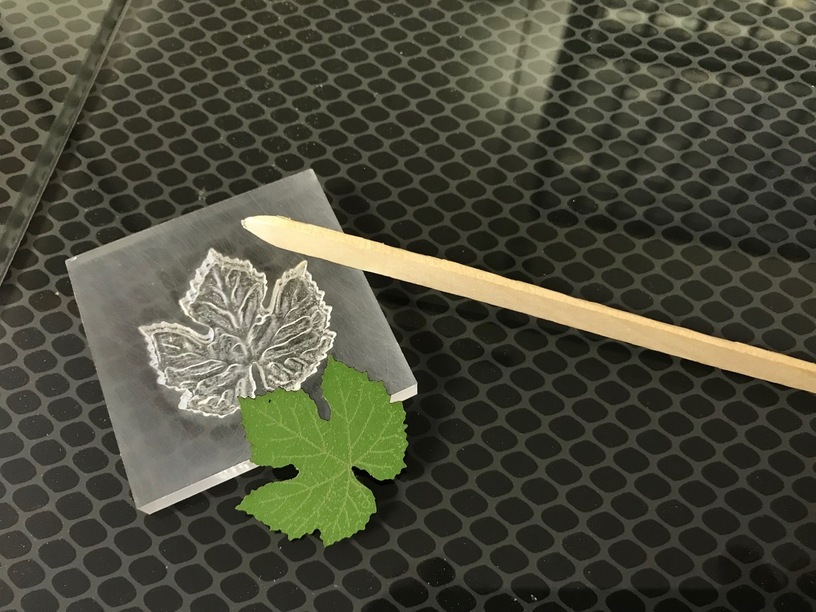
I did a first 3D engrave on unmasked 1/4" extruded acrylic. It left a residue that I tried removing with alcohol and the part crazed and cracked like crazy. Plus the impression was pretty rough.

I read a post about a second de-focused pass to polish a 3D engrave

So I redid the job with a second pass de-focused to .01. Didn’t use alcohol on the residue but did a light sanding to make it pretty for all you fine people. I also sanded a Popsicle stick to a point.

Then I stuck the paper leaf into the 3D engraving and burnished it with the wood stick.

This is what I got.

33 Likes

I’m starting to actively dislike your posts, because I want to go make them immediately, and I’m trying to finish some write-ups first. :smile:

9 Likes