I just spent an awful lot of time in three programs:
Pixelmator Pro
Affinity Designer
Inkscape
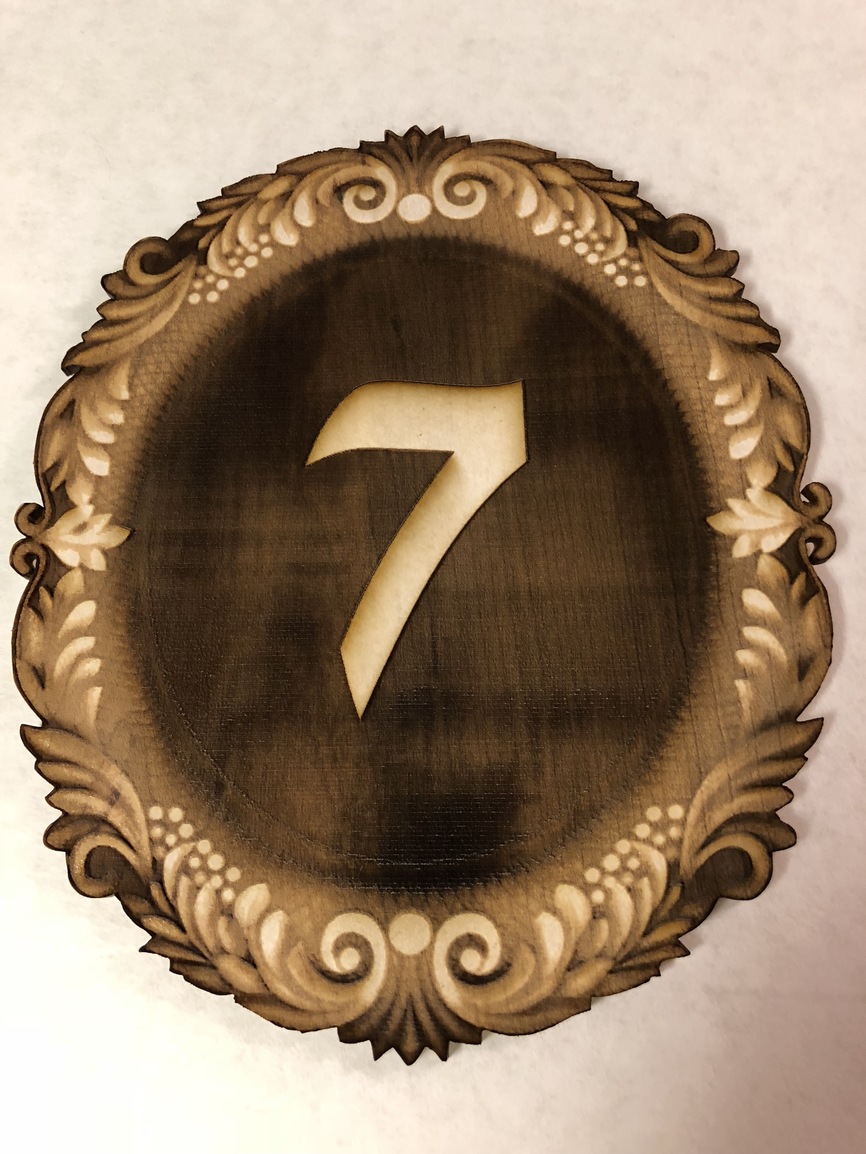
My house has its address number next to the front door, but I wanted to make something a little more distinctive. While all areas of the engrave didn’t come out as well as I wanted, I am still very happy with this one as some areas that were “meh” before are now really nice. Plus, I learned a lot that will improve the next one.
Here’s the whole thing (note that the area around the 7 was the same color black in the image, but came out different in the engrave…material differences?):
While perusing the forum, I noticed references to the “3D Engrave” option. I have not seen this in the GFUI. Was this an older thing that was replaced by the current engrave options?
No. It’s still available in both PG settings and manual settings. In manual, it’s called vari-power. The 3D Proofgrade settings are there for materials like draftboard and hardwoods. It doesn’t work so well on the Proofgrade plywood’s because it punches through the veneer into the MDF core.
With PG, I only saw the standard engrave option. How do I access the 3D version (does it only appear with certain PG materials?)? And how does it differ from the standard engrave?
No worries. You should have 3D engrave options on the Proofgrade hardwoods and draftboards (while using bitmap graphics, not vectors). It’s ideally meant to be used with depth maps or bump maps, since those are grayscale files designed to represent different heights. I can’t recall offhand whether you have to have a grayscale image loaded to see the 3D options or not.
Essentially, it varies the laser power by the grayscale value, which will create a 3D effect. Pure white is ignored and then it ramps the power between that and pure black. In the manual settings, you can adjust the maximum and minimum power levels.
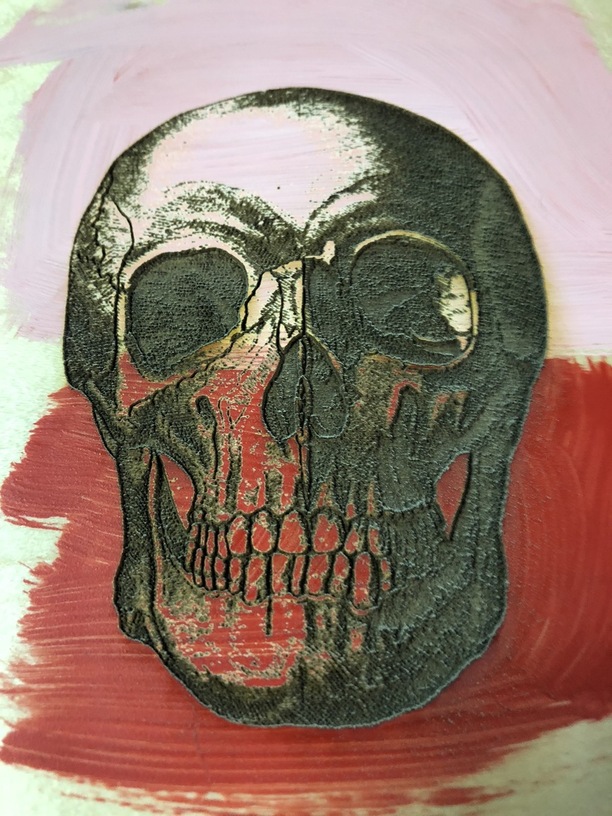
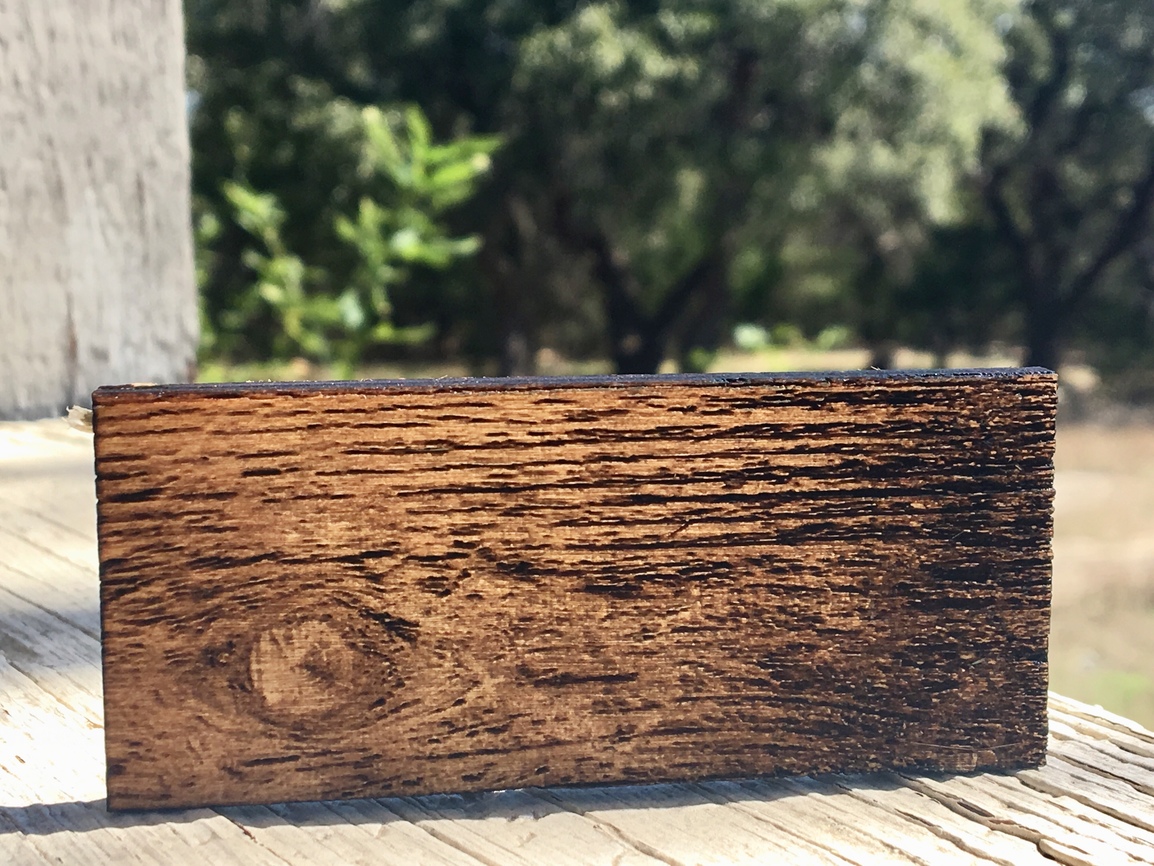
@jamesrgraham Here’s an example I did today actually. In another thread:
someone had asked about engraving the aged wood texture to simulate it. I spent a few minutes in Photoshop and then engraved this onto just a plain piece of Baltic birch:
It only appears for the right material and bitmapped images. Honestly, you have to have the right type of image to get the full effect of the 3D engrave. If you just take a photo, you’ll get anything black deep engraved, which is probably not what you are hoping for.
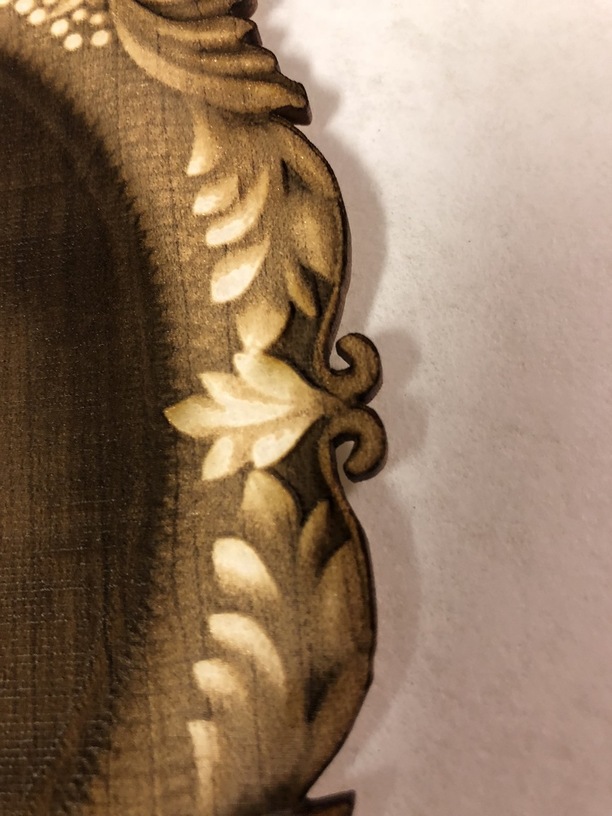
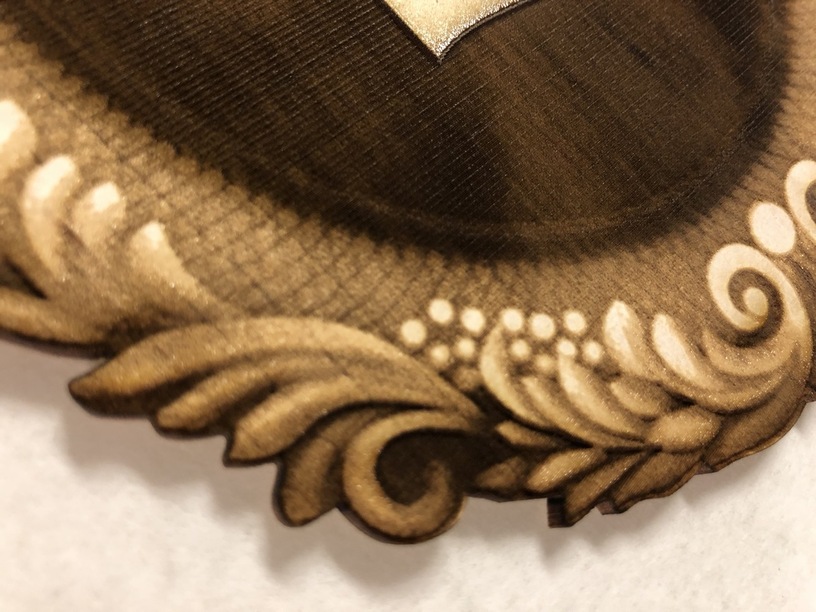
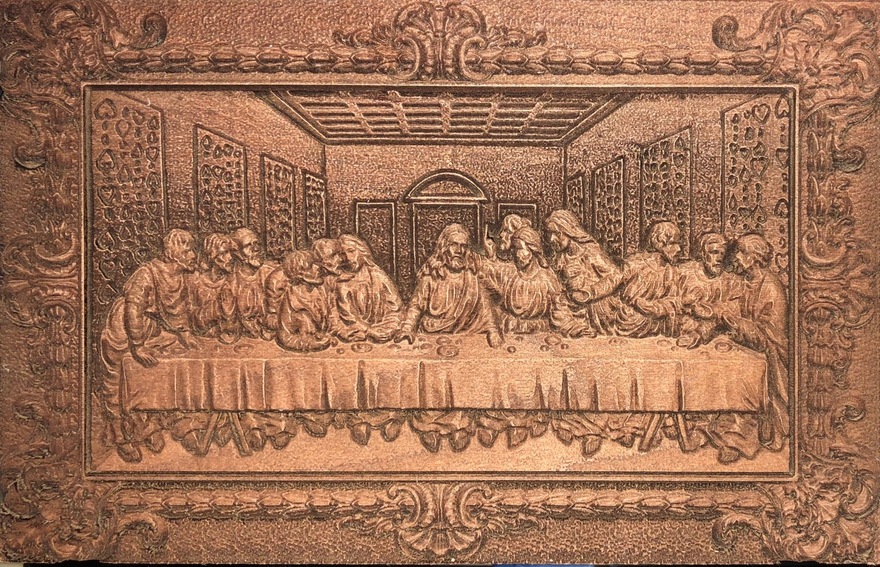
This was one of the 3D engraves I did. It started as a STL for 3D printing, then “lit” in Blender for the proper shading and saved. Then I did a lot of burning and dodging in Photoshop to get the right levels. The frame area still needs some work. This was done on ½" thick Cherry hardwood. If this was done on ⅛" material, it wouldn’t have the depth this does, so it wouldn’t look as good. It took over 2 hours to engrave at 6" wide. Overall, I’m happy with it, but I want to revise the shading on the frame, so the frame curves out more on the outer edges (like antique frames of this design).
Before I did this, I did purchase a few professionally made depth maps so I could understand what was going on with the file and how it worked with the GF.
I’m still trying to figure out Blender, so not ready to write a tutorial. LOL. There was a lot of do something, then undo, then try again with X, so not really sure I did things the right way.
Blender got me about ¾ of the way there, then burning and dodging in Photoshop did the rest. I probably had 10 hours of my invested in this depthmap.
I’m sure others in this forum are much more knowledgeable and can get this done a lot faster than I did.
If your number plaque is plywood most likely you’re seeing variations in the middle layer. Sometimes you’ll reveal knots and grain patterns on the interior layer that you weren’t expecting.