If I were going to do it – and precise alignment were important to me – I would make the jig cutout rectangles intentionally too large, then set the printed text to be carefully aligned to one of the corners (I use lower left). That way you can “seat” the blocks in the lower left corners of each void you make. You’ll get nearly perfect alignment, and your jig wont be so tight that it can’t handle the small imperfections of the blocks themselves. The SVG will look “off”, as your text will not be exactly centered in your rectangles, but it’ll turn out correctly on the blocks. (More detail in footnote below)
You might want to also reconsider your kerf adjustment step, as it is probably not really needed. In this case, kerf is probably going to be invisible – it’s a Jenga set, not a carefully interlocking construction. To put it into perspective, let’s say they are 1/2" tall by 3" long, your kerf represents a difference of 0.007/3" in the long direction (1/5th of a percent) and 1.4 percent in the vertical. You’ll probably see more variance in the blocks if you get your calipers out.
I use similar techniques when doing any sort of irregular shaped pieces, like slate coasters, etc. They are frequently not perfectly-sized, and if you try to make it too precise, you can end up getting really frustrated at best, ruining the job at worst.
Footnote for the workflow-obsessed who are fairly deep on Inkscape:
In inkscape, you’ll have to translate to your favorite…
OK so if I were going to do it, I would make a rectangle that is 1/10th of an inch too long in each direction. Measure the jenga block, say it’s 0.5x3, I would make a black fill, no stroke rectangle that is 0.6x3.1". Then I’d convert that rectangle to be green stroke and no fill.
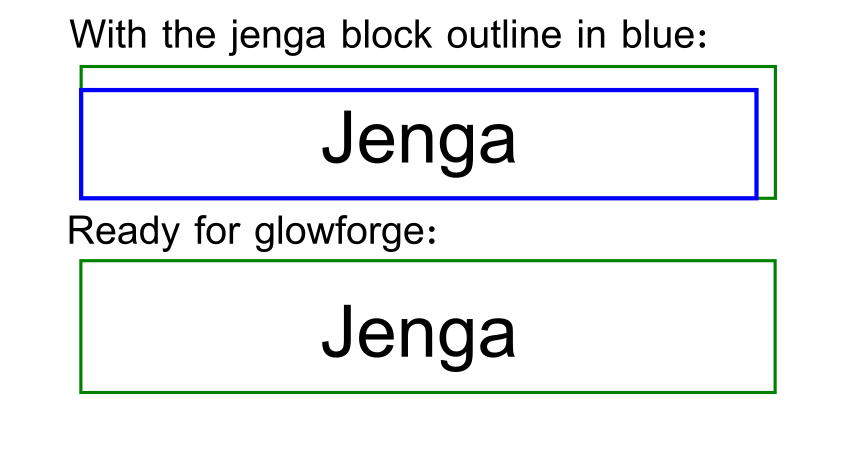
Now, I’d make another rectangle, this time exactly to fit the Jenga piece, blue stroke, no fill. I’d use the Inkscape snapping function to align the corners of the rectangle. Now you have 2 nested rectangles.
Now, write your text and align it with the center of the inner rectangle. Change the text color to black (or any not blue/not green color you like).
Clone and repeat the rectangles, then align texts in each spot… As a last step, select all the texts with select same color (you did remember to keep your colors separate, yeah?) and convert them to paths.
Lastly, remove all the blue rectangles with a similar select/delete, you wont need them in the final job file.
The last step: remove the blue jenga block outline, it wont be needed in the final product.
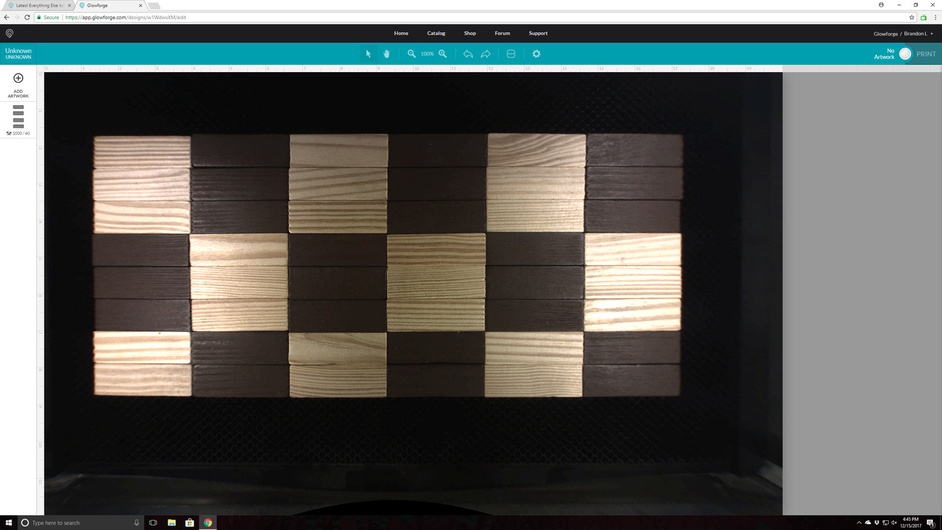
You will end up with a whole bunch of these:
You would send it to the GF ui, set your height and cut settings for cardboard and cut out the green paths, and ignore the words. Cut them out and remove the waste.
Insert your blocks flush against the lower left corner of your new jig voids, change the engrave height and settings, ignore the green cuts, and you’re off.
Now, I skipped a bunch of steps whereby you do a few other key things:
Combine all your text into one path, so the GF doesn’t decide to jump around from object to object which would potentially make your engrave MUCH longer.
While you’re at it, decide if a text engrave is needed or if a score would do it. A score would be waaaaay faster.
Leave some blank space in the template so you can firmly magnet it in place… you cant use 100% of your cardboard, or it’ll move at the slightest suggestion.
Decide how many blocks and/or unique words you need and how many will fit in your cardboard jig, and you save a template to use for additional runs, or better yet use layers to make several layers of texts so you can leave the jig in place and engrave several sets of blocks at once
Alternately, if you decide that precise alignment isn’t 100% important, I would make a grid of wide “plus signs”. and just score them on a piece of big cardstock. You can eyeball the block placement and probably get pretty good results. Your workflow would be cut way down if you did this. Get to know tiled clones, you’ll be happy you did 
…but you probably get the idea. Good luck, post pix!
(Sorry, that got long. Anyway.)