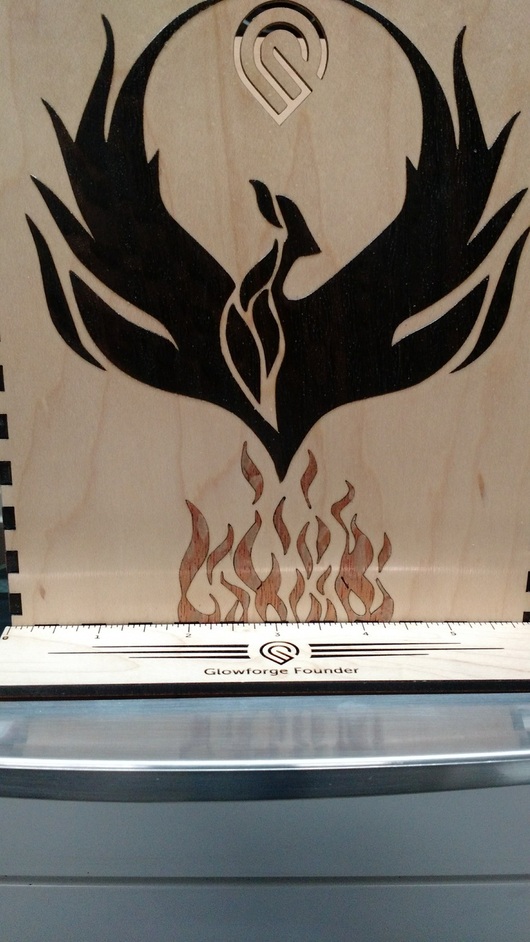
I had reversed the file to cut from the back so the taper would mirror the cut in the box, but I wanted it tighter. There is a neat tool in Inkscape, ‘Dynamic Offset’…
The guides were placed so I could see the difference.
“Just the tool I need” I thought. Problem was I made it virtually the same size, so I thought I would push it in with my vice. Little voice on my shoulder said “Don’t do it”. Well, I did it - and both the acrylic and maple ply suffered.
It’s OK, the whole box is just for scrap and was a learning project, and yeah, I took a lesson. So it’s a bit rough around the edges, just like me.
Moral is Listen to that little voice.
“The sage is guided by what he feels rather than what he sees.”
No truer words have been spoken!
It is not even a Buddhist text and i consider it the most essential of books
I have 2 copies of the Gia-Fu Feng & Jane English translation (translation online here). I used to carry it everywhere i went, but in the end it was easier to memorise the entire thing.
I was exposed to the Tao Te Ching long before i entered the monastery but as it turned out, the monastery itself has a strong Taoist connection. The Ikeda Clan who built the temple were the Daimyo of the Bizen Province; they were Buddhists but had a strong respect for Taoism, to the point where they started schools teaching Taoist Principles to the local children. It is still one of the most Taoist influenced areas in Japan.
I later discovered that my Roshi also used the Tao Te Ching for our koan work, which, as you might imagine, opened my eyes to aspects of it i had previously missed.
Even now my advanced classes are based on working/meditating through the Tao Te Ching.
I was exposed to it in a Benedictine monastery. Before I went home for the summer before my final year in college, I asked my philosophy professor how I should prepare for metaphysics which I would be taking in the fall.
He said Tao Te Ching. It’s been on my essential books shelf ever since.
I have yet to get offset to work as well as doing the routine of making the path width slightly wider than kerf size and then doing Object to Path, Stroke to Path, break apart. Offset rounds corners a bit.
Break apart then makes two separate objects. The inner one you can remove the path width and then have as the engrave fill and the outer one you remove the fill and have a narrow path width and that’s the cut. Or you remove the inner one. Usually I duplicate the object that I want to inlay and make the path width of that as wide as the kerf. If you delete the resulting inner object, the original object then is 1/2 the kerf width smaller than the outer object that is your cut line.That is an even more precise method.
I definitely should make a video on this. It’s a lot of steps, but it does make a very precise cut vector for the inlay and a perfect shape for the relief engrave.


 great response!