the multi-color ones could be done with stacked or inlaid layers of acrylics, or you could just cut the main shapes from white or clear acrylic and put decals on them.
What constraints are you working with? Like, do you want them to be easy/fast to make, inexpensive, high quality? It sounds like you’d like them to be made from a rigid material.
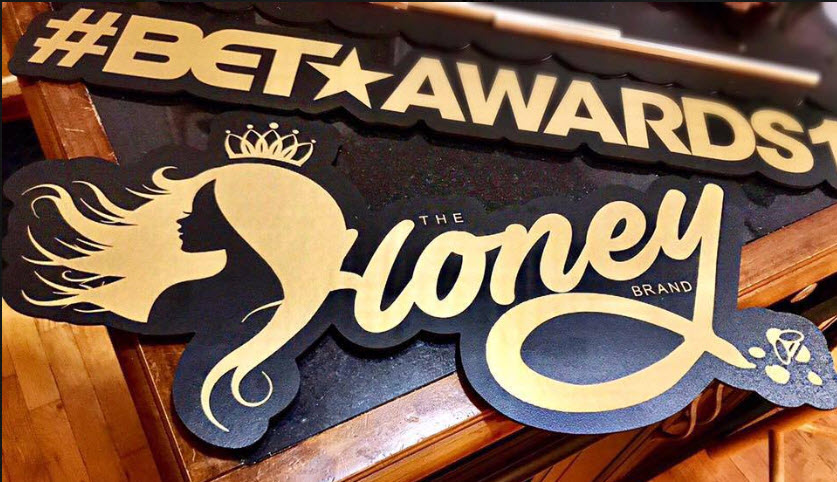
Looking the samples you’ve posted, and knowing that you have a Glowforge, let me throw out where my mind goes when I see props like that and think about what I might do if I was going to try to make them… (which, I suppose I might as I also have a photo booth that I built for “fun”).
How about printing them onto white-backed cardboard and using the Glowforge to cut them out? Cardboard isn’t particularly rigid, and the props might not last more than a couple events, but they would be cheap and would be easy to make. Actually printing onto cardboard might be easier said than done… I dunno, I haven’t actually tried it myself, but I know there are desktop inkjet printers out there that will print onto flat, rigid material so I’m guessing it’s possible.
edit after seeing the post above - Foam board would prolly be even better, especially if you could print directly onto it.
A possibly better solution might be to print the graphics onto photo-paper and paste them onto the back of transparent acrylic, then cut the laminated pieces out wit’ the Glowforge. Possible hangups I can foresee using this method are the unknowns regarding the safety of cutting photo-paper and whatever glue you end up using with a laser. I also imagine gluing the photo-paper onto the acrylic without smearing the ink might require a bit of technique… maybe.
It looks like “they” make printable acrylic sheets. That might be fast, easy, and high quality (my guess is it wouldn’t be cheap though).
@jbv, do you think your multi-color stencil technique would be good for making props like these?
it could certainly work to make them, although the final quality and lifespan may not be what @jspellen is looking for.
It would work better on primed wood. If you cut a wood blank to a given shape, you can cut the exterior of your stencil to the same shape, and have very easy alignment.
I can’t say I’ve done much painting on acrylic… I would guess it would be pretty susceptible to scratches, and might flake off over time. My best method for spraying “working plastic” (stuff that gets abused, like dirtbike body panels) is to use an adhesion promoter, followed by a light layer of primer, several light layers of color, and then several light layers of clear (waiting between each coat for everything to dry). Even then, it will start to flake off way sooner than vinyl decals will start to fail.
Photobooth props don’t get quite the same punishment as a dirtbike (I hope) but they do get handled a lot, dropped, stuffed partly into shirts/mouths, used as hats, and of course have to be transported to and from the event.
The krylon/rusto stuff that says “Formulated for Plastic!”… brilliant marketing, but a sad joke in the real world IMHO.
I’m still waiting for a multi-layer CMYK engravers plastic, for 4-color process engraves into a single material in one job. Proofgrade hopper?
My personal experience is that I’ve had no issues cutting photo paper. I’ve cut spray adhesive/photo mount glue and a liquid water-based vegetable glue with no issues.
As for gluing the face of the print onto acrylic… I’m not sure. I use a liquid varnish and brush it onto the face of photographs and, as long as you don’t do it right out of the printer, it doesn’t spread any ink (pigment-based inks). I imagine a spray adhesive/photo mount would work ok for this. Pigmented-inks are more water-resistant than the cheaper dye-based inks though.
I seem to remember from various threads that there are a lot of “vinyl” things out there that aren’t PVC. Thin colored or colorable films that are made of laser-safe materials. Even acrylic comes in really thin sizes.
WOW!!! Nice stencils. I like and agree when you said, ‘put away the knife and let the laser do the work’.
I dropped more than $1500 on this machine. It better come very close or ‘do’ the same thing or I will be so upset. LOL!!!
More than $1500 and I still have to use glue, scissors, and measure stuff? Ok, I know I will have to but it better be a very small process (or I am selling this machine).
I did see the video where the lady took the drawing from the little girl and place it in the machine. This is what I am hoping this machine could REALLY do (and at that speed and quality).
If it’s autotrace you are interested in, the Glowforge does that very well. If you have a specific thing you want to know about, I would be happy to run a test for you and Mail you the result.
WOW! Awesome! I will take you up on that offer. Can I send you a photoshop file?
Or if you can do a video of the Glowforge ‘auto-trace’ some text onto wood or the inventable (colored material). that will be great.
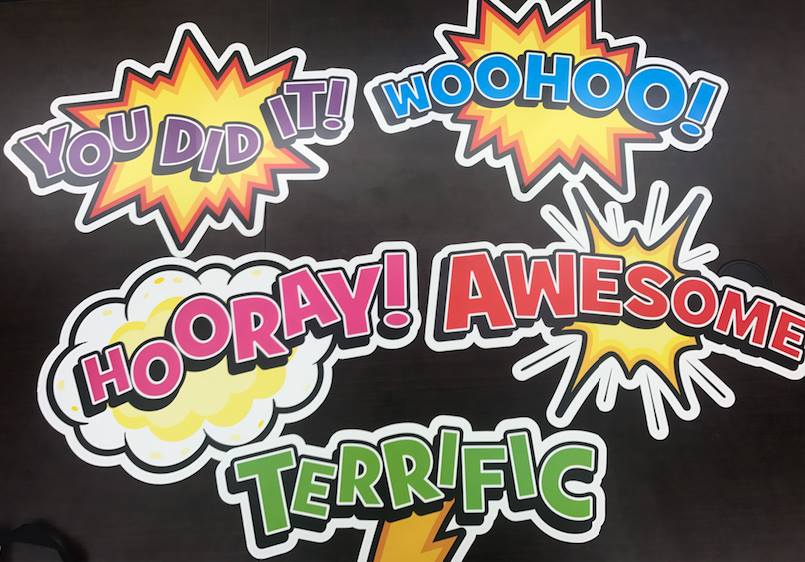
You can use any text but it has to be tall and thick (15’ width and 4’ height). This material I have here is PVC 1/8. Can you try the word TERRIFIC in this image? I would be great to know how long it would take to print. I am just referring to the words and the white space (strokes) around it.
Auto trace on the Glowforge isn’t necessarily how I would approach this project, especially if you want to separate the various layers (Illustrator or Inkscape would do a better job with the layers ), but I will give it a go. I will need an image that I can print (jpg or tif or png) of the “Terrific” all by itself and not overlapping with the other words like the above photo.
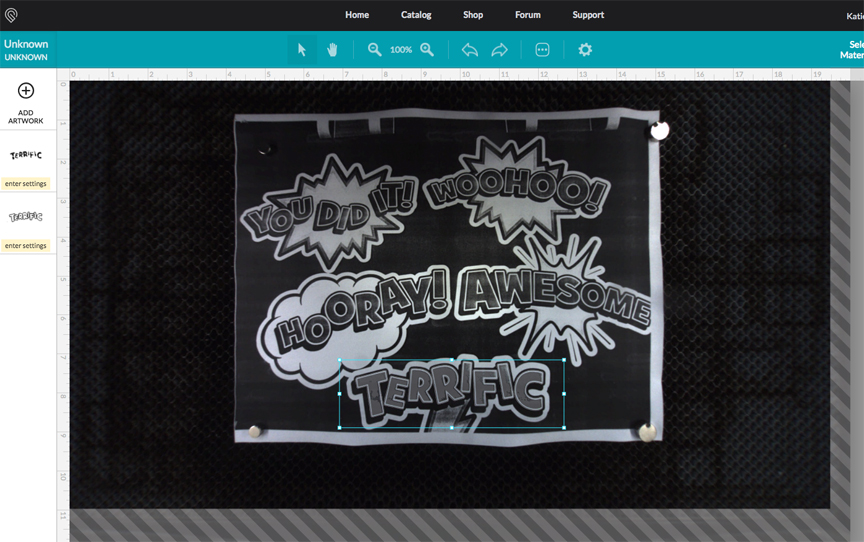
I didn’t see a followup file from you so I just used the image you posted above. If you want both the “terrific” word and the white outline (stroke) of the word, that isn’t a good candidate for autotracing on the bed of the Glowforge using the lid camera, because what you are talking about is two layers, the green layer and the lower white layer. For something like that you would have to go to Illustrator or Inkscape autotracing.
I went ahead and printed your image anyway, placed it on the bed, and had the Glowforge do the tracing. After deleting the extraneous bits, here is what I was left with:
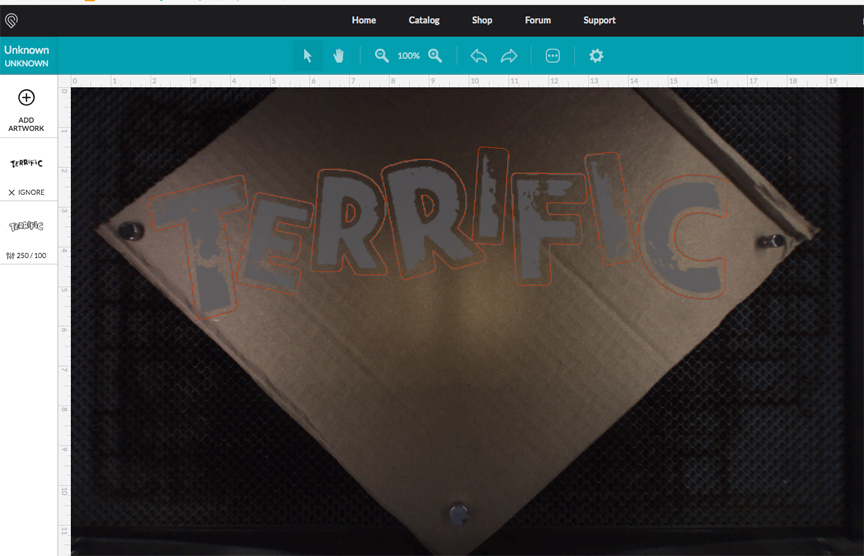
The autotracing gives you an engrave layer, which in this case you would set to ignore, and a cut layer which you would cut out of your material. I went ahead and increased the size to about 15 inches across and cut it out of cardboard:
It took 1:30 minutes to cut out of cardboard. If I had cut it from plywood it would have been 3:13 and if 1/8" acrylic it would have been 3:07 minutes.
To give you a better idea of what the whole project would take, timewise, I took your photo into Illustrator and autotraced it, deleting everything except the word Terrific and the outlines around it. So I ended up with four layers if you want to exactly reproduce what is in the photo (not including the lightning bolt): top layer is the green text, next layer down is the white outline around the text, next layer down is the black drop shadow, and the lowest layer is the white bubble around it all. If you wanted to cut all four layers out of different colors of contrasting acrylic (I assume you are aware that you can’t cut that PVC in your laser), here are the cut times I came up with for the roughly 15" across figure:
Top (green) layer: 2:54 minutes
White outline layer: 2:46
Black drop shadow layer: 1:48
Bottom white bubble layer: 1:38
Here’s what it would look like if you used black and white layers of acrylic:
HAHAHAHAHA!!! This is amazing!!! I love you!!!
This is exactly what I want and need. You are so amazing!
Thank you! Thank you! Today is my birthday and after reading the sad update from GF, this made me smile and stick around for another 2 months.
I think Glowforge is giving us credit and a discount to order from Inventable.com
I would love t use foam board but by the end of the event, it will be damaged or wet.
Now that I have my machine, let put this baby to work. LOL!!!