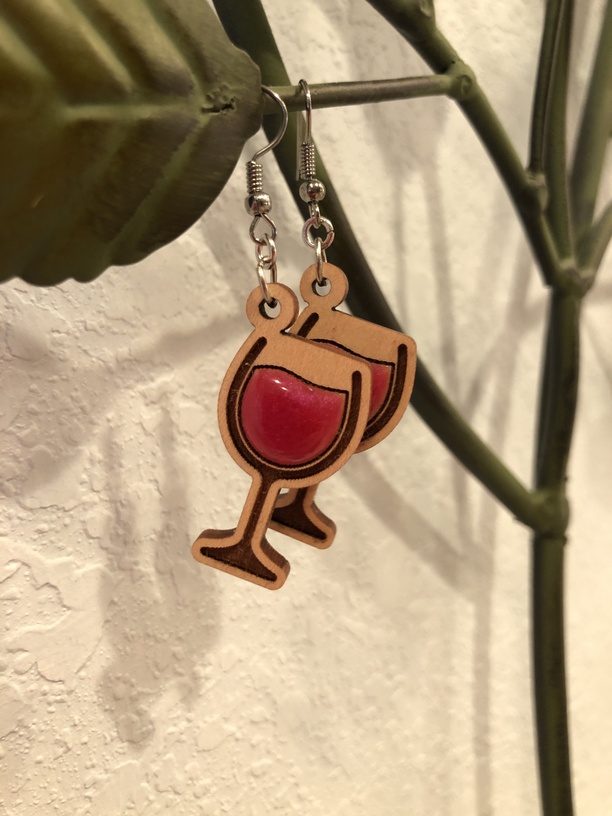
Staying at a winery on Friday night and wanted some new earrings. Using an image from my thenounproject.com subscription (which I learned about years ago on this forum), some colored UV resin, and I am ready to get my wine on. ![]() The fact that it took me about 15 minutes from start to finish is just icing on the cake.
The fact that it took me about 15 minutes from start to finish is just icing on the cake.
43 Likes
Those are adorable! Did you resin/engrave on both sides or are they flat on the back?
2 Likes
Tell me about the resin… How’d you fill it like that? And what product is it? Very cool!
1 Like
Fabulous! The GF is such a great tool to build on creativity!!
Have to check into the UV resin, too!
2 Likes
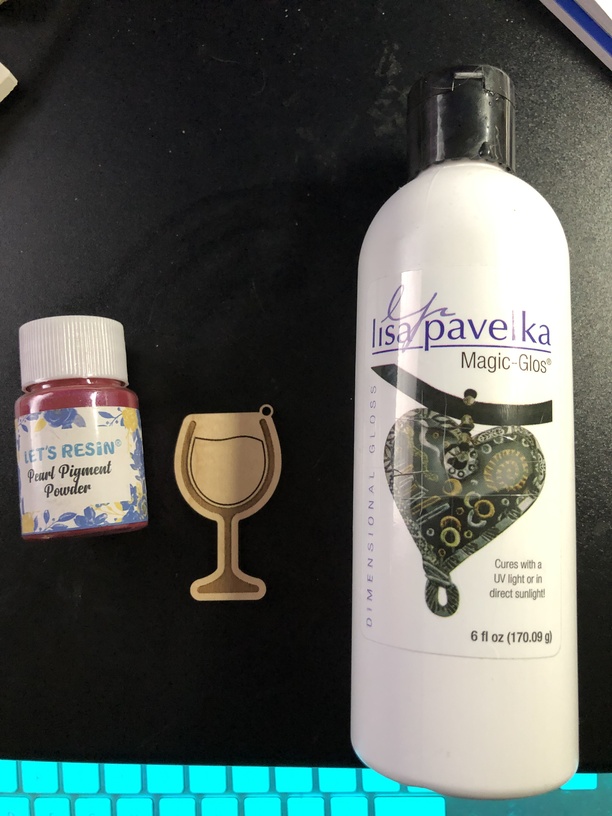
Here is what i used:
- Let’s Resin pigment powder
- Lisa Pavelka Magic-Glos UV Resin
- PG Maple Hardwood
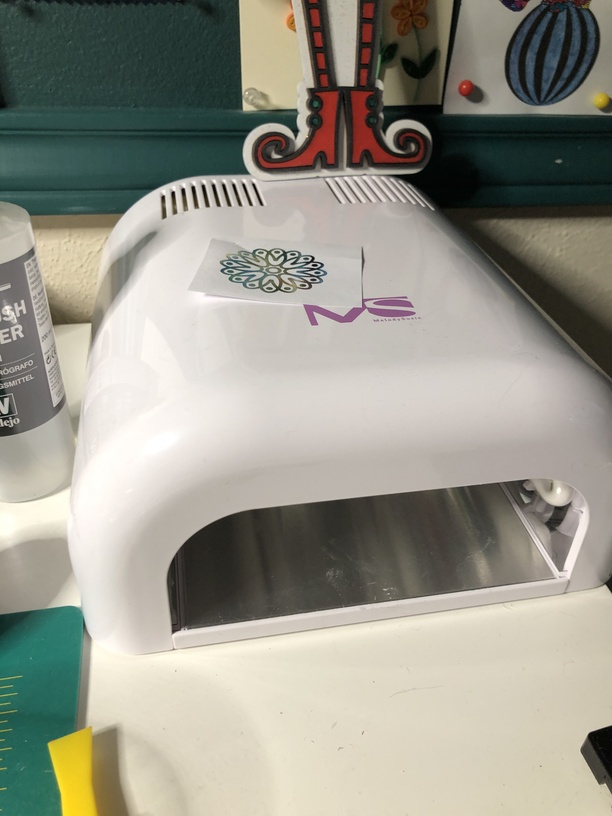
- Generic UV light thingie from Amazon
I did both sides - UV resin just takes a few minutes to set up, so did one side, UV’d, then the other side, UV’d. The resin is thick and will stay within the borders of the thin lines - the surface tension keeps it from going over the edge as long as you don’t pour it all over the place. I mix the resin and powder in a small cup and then use a toothpick to plop drops of the resin into the center of the area I want to have resin. Then use the toothpick to nudge it around within the lines.
The unfinished one below was my first attempt, but they were way too big for me. I have issues getting the sizes right the first try. ![]()
17 Likes
Fascinating… I did not know such things existed (another rabbit hole, just what I needed  )
)
8 Likes
Oooh. I love those. I’ve just started playing around with UV resin. I had an awful experience when I first tried it, but I got a UV nail lamp and it made a huge difference. I had not heard of Lisa Pavelka’s line (although I think I recognize her name from the clay world).
1 Like
Out of likes for today, but stunning use of the resin and a cute design!
4 Likes
That is a great idea about the resin. I have many colors for my SLA resin printer.
I’m going to try it instead of paint, setting it out in the sun light makes it harden
or use a uv light or uv flashlight to harden it.
4 Likes
Have one of mine ![]()
This forum is the bee’s knees. If it weren’t for posts like this, I’d never think of going out and buying half the stuff I do these days. Guess I’ll add UV resin to “the list” haha
Awesome execution, and your title is something I tell people almost every time they ask me about my laser. My wife had experienced the joy of designing and cutting her own pair of earrings a couple of weeks ago and told me she understands why I’m so hooked!
7 Likes
One thing I’d add about the resin. There are other UV resins you can get that are cheaper, but I have found them to have a very strong odor. The Magic-Glos doesn’t at all - I can’t even smell it. Some of the chinese knockoff UV resins cure very fast, but really smell. If you are just beginning with UV resin, I’d recommend the Magic-Glos version and a cheap ($25) UV nail lamp (mine is 36W) - it will save you some trouble starting out.
4 Likes
Excellent advice. Mine does smell awful.
I already have the UV light, I should look into the resin. It looks super great on your project!
2 Likes
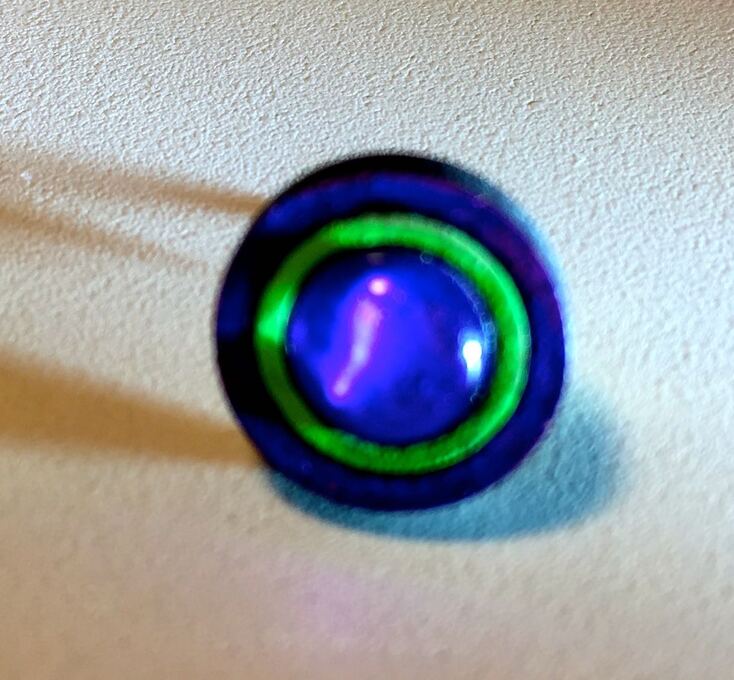
Love those earrings! I’ve also been playing around with resin and it’s so much fun. Here is one…only one…stud earring that I made to test things out. Scored like a bullseye, cut out, and the rings colored with my paint markers. I used this resin;
https://www.amazon.com/gp/product/B07CVB2QW8/ref=ppx_yo_dt_b_search_asin_title?ie=UTF8&psc=1
Whatever color I make something with my pens…that’s the color the resin comes out looking. With just the right lighting, this small dot of resin looks seriously like an amethyst cabochon. Sorry the photos are a bit fuzzy.

14 Likes
I have that resin. It did not at all cure well with a UV flashlight.
This is what I’ve been playing with. I laser print the image on printable wood veneer and glue it onto ply. Cut with with the GF (oh, how I’m wishing for Snapmarks for this project) and then cover with resin. I overdid the resin with this piece so I had to cut the excess off, but not bad for a first try.
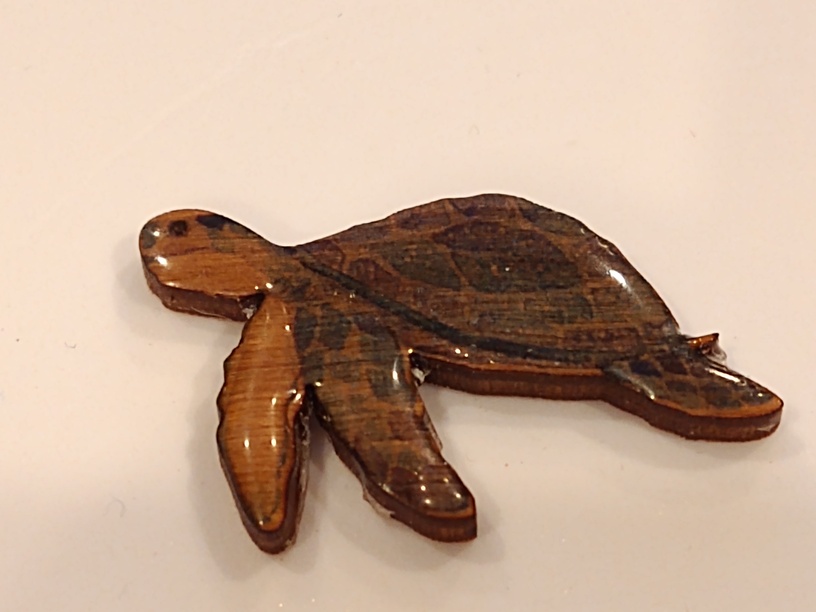
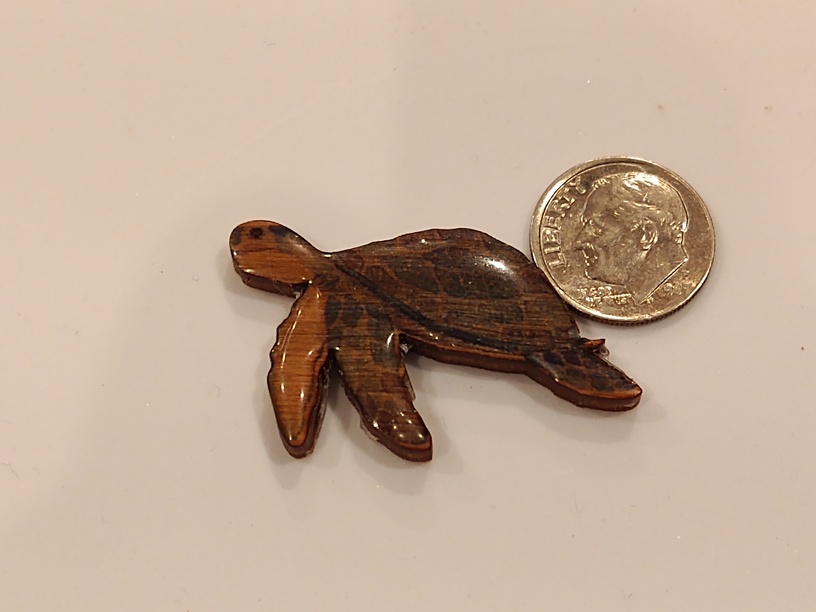
12 Likes
The wood grain showing through is really nice. I’ve not had one problem curing the resin I linked to…I bought a small goosenecked UV light just because I’m lazy and didn’t want to bother holding a flashlight. That way, I can just put my piece under the light and go about other things.
4 Likes
I think the flashlight probably wasn’t strong enough and couldn’t really cover the whole object at once. I had bought the flashlight for a Girl Scout project that had an activity on testing money to see if it was real or fake. The nail thing worked perfectly, though. Well worth the purchase!
2 Likes
They are so cute!!!
So much fun! Thanks for sharing your process. Hoping to get DD interested in projects like this for her friends.
Thanks for the idea. I have those. I use to do resin things