I’m very glad to have known this before I ran the calibration on mine. It really does come all the way to the very front when it’s making all those marks! I lined my piece of Draftboard up with the frontmost edge of the honeycomb and it worked great.
And the results are wonderful. Calibration was always pretty good on my Glowforge but now it’s almost perfect!
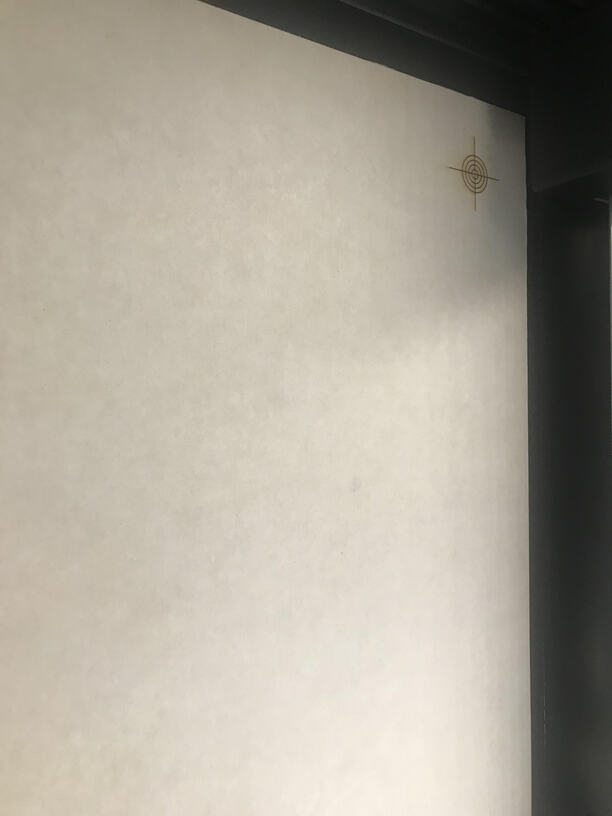
MAKE SURE your material doesn’t have ANY paper sticking up along the edges! The process takes height readings there as well, and curled masking can trip things up.
This is great stuff, it feels like I have a whole new machine!
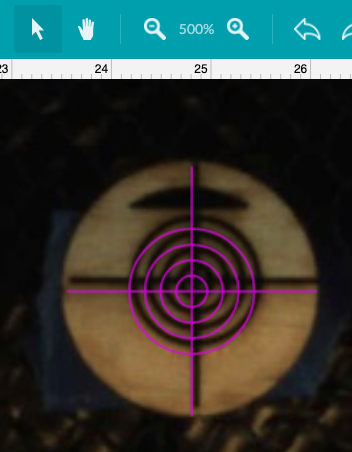
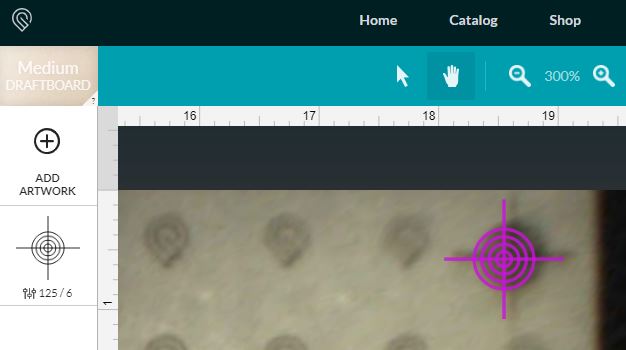
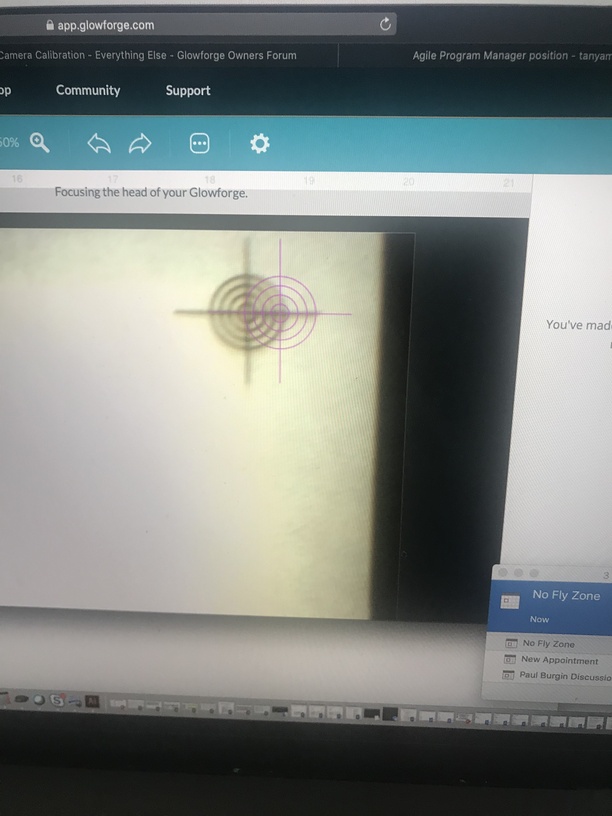
This improvement is great! At 500 magnification, you cannot see any separation from the artwork and the actual score. This is not in the middle of the bed, but off to one side. After using set focus, I purposefully placed the target very near a void in the material so I could gauge how close to edges I could now put my artwork. The alignment is near perfect.
Thanks Glowforge team!
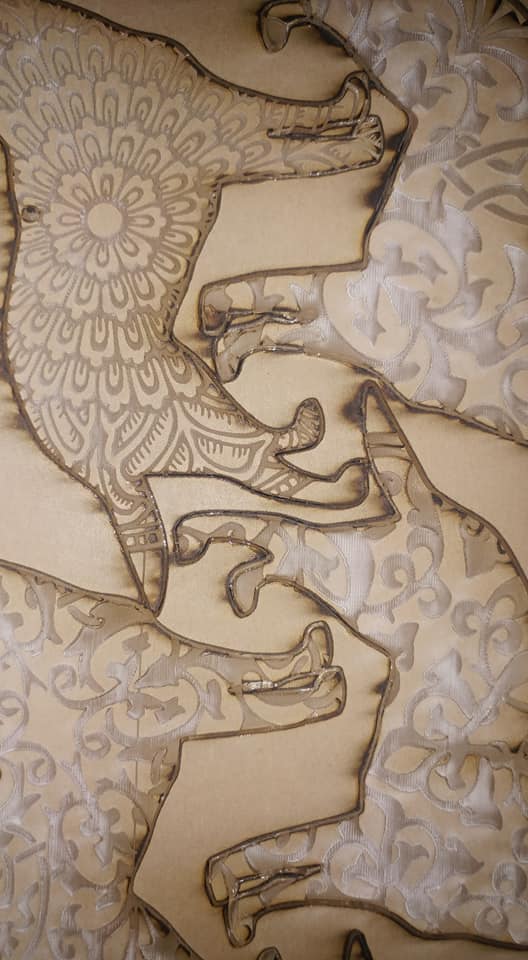
Screwed up and this didn’t cut all the way through and it normally would have been a total loss. Now I was able to reload everything, eyeball the cut file and it was 100% dead on and I was able to cut the ornaments out. That was impossible before. Well done GF!
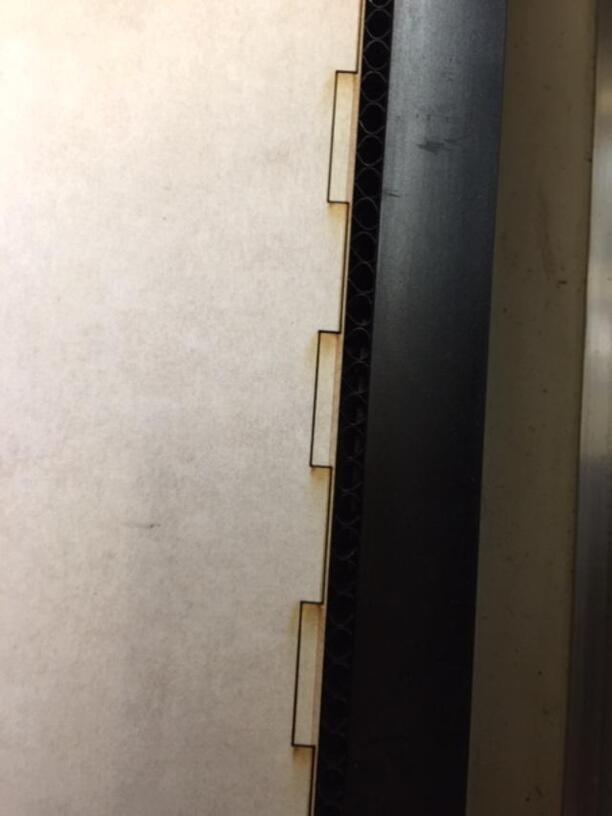
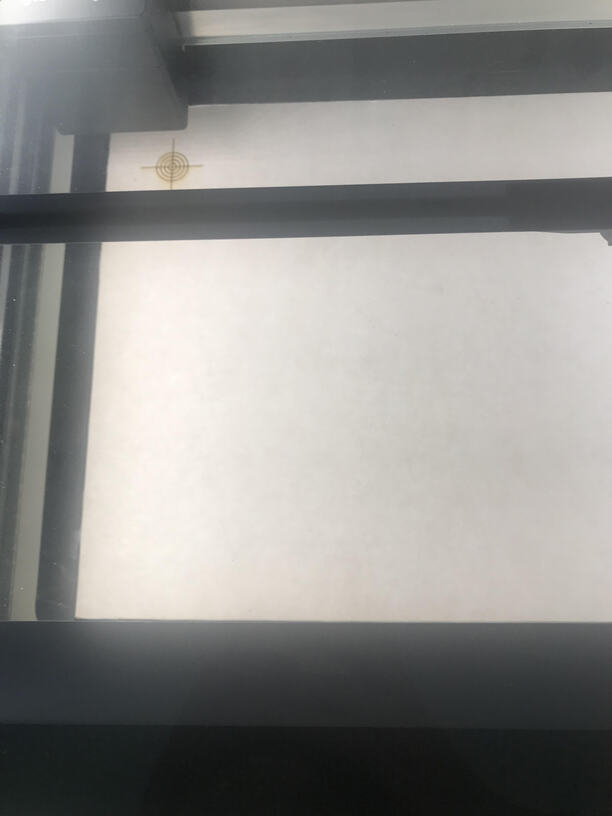
This made mine way worse. After calibration and using PG Draftboard for both the calibration and then flipping it for the test target (even aligned to lower left corner again), my camera now doesn’t see the left inch or so of my material. So it was supposed to print in the upper left corner as indicated on the screen but you can see from the actual GF bed image I took, that it seems have somehow calibrated the left side of the tray out of camera range. Did it line up exactly after finishing yes, but one inch or so into the Draftboard as it seems to think that is where the upper left corner is now.
I wasted a coveted piece of PG Draftboard on this to make it worse and now am afraid to run it again with my last piece of Draftboard.
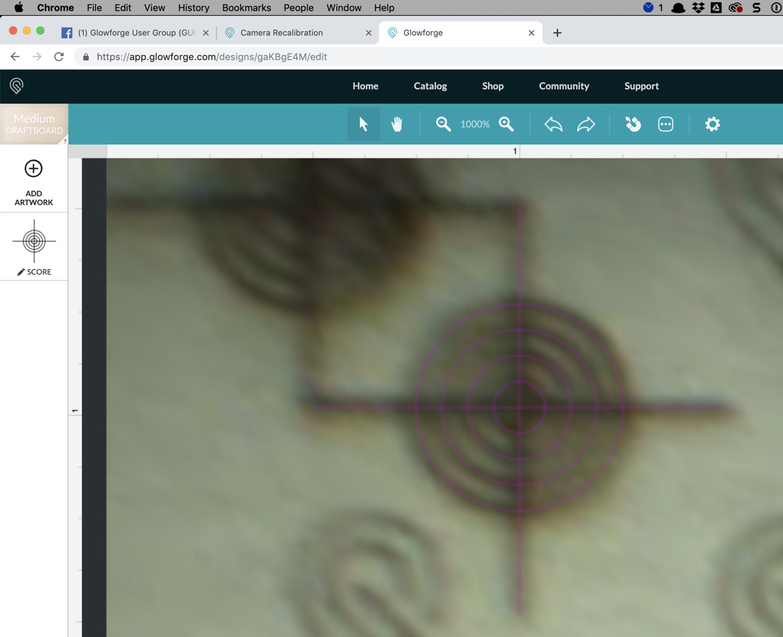
Ignore where the purple target is, I moved it out of the way when I realized what had happened on teh actual GF.
Tanya, the left 3/4 inch of material is not accessible by the head, and doesn’t show up on the screen view. It’s never been visible, they only show us the printable area on the app.
That probably printed exactly where you placed it. The way that you can tell is if the purple preview falls right onto the resulting cut.
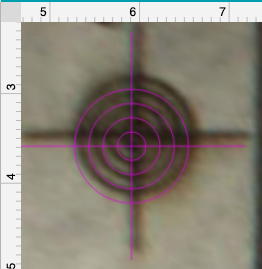
Well, I was super excited to read about this, but it still looks off about 1/8". But it’s a little hard to tell because the image is so fuzzy. Not sure if it’s much better or not…
Edited after further testing, it is not lining up on the purple to the score.
I guess I just never noticed that the left side wasn’t visible before today when I was expecting it to print in the upper left corner exactly. lol. Ok. Time to test it on something else. Thanks Jules.
Groan. Testing not successful. It isn’t lining up with the purple after it is finished. It is way off. I’ll have to recalibrate and see if that helps and sacrifice my last piece of PG Draftboard. I tried 4 more times and they all ended up with the purple way off.
If it were me, I would disassemble the tray to remove the steel grid and lay it on a known FLAT surface like a granite countertop and flatten it. I have taken it apart before, and it’s easy to do.
Wait…before you do…check to make sure that you are not into the No-Cutting Zone on the right side with the initial placement. (Gray striped bars.)
And if you do have to re-run the calibration, you can carefully peel off the sticker from the front of your sheet of Draftboard and use the same one. Make sure you have a flat sheet.