


https://www.festi.info/boxes.py/HingeBox?language=en
Built a 300mm X 2500mm box but did not use the top and cut one side 2 times because the holes for the top. I cut a 300x250mm plain square for the back.
Amazon.com?
ie=UTF8&psc=1
Amazon.com
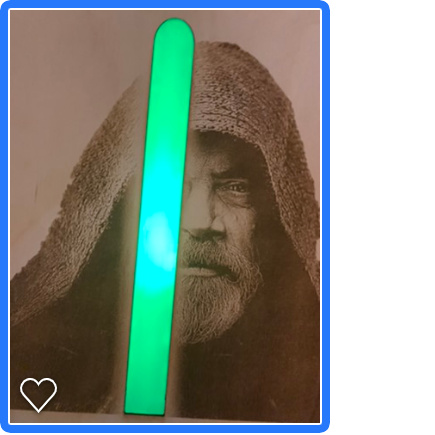
Etched picture first the cut out lightsaber shabe on 3mm birch.
Cut and etched lightsaber out of 3mm clear acrylic. Cut a bigger lightsaber out of a 3mm clear acrylic on glued the two together.
Glued the two lightsabers to the inside on box with the smaller one in front.
Cut 6mm small in the front for the remote sensor and hole in the side for power supply cable.
Hot glued LEDs on the inside around the lightsaber. Glued LED controller inside.
27 Likes
So you did not use the hinges? The detail there is a bit confusing. It could be interesting to have the hinges fit the single plain square top though they would take a bit of redesigning.
I didn’t use the top. I just cut the same side piece two times( the one without the top holes) and a 300x250mm piece for the back. Cut the keyholes in the back for wall hanging.
1 Like
I think this is amazing! Thanks for sharing, will be attempting!
2 Likes
Please let know if you need some help and I would love to see what you make with it.
2 Likes
Oooh niiiiice!
I have a friend who loves adding glowing sabres to photos of her kids and the like - this may have to happen!
1 Like
@jasonedavis
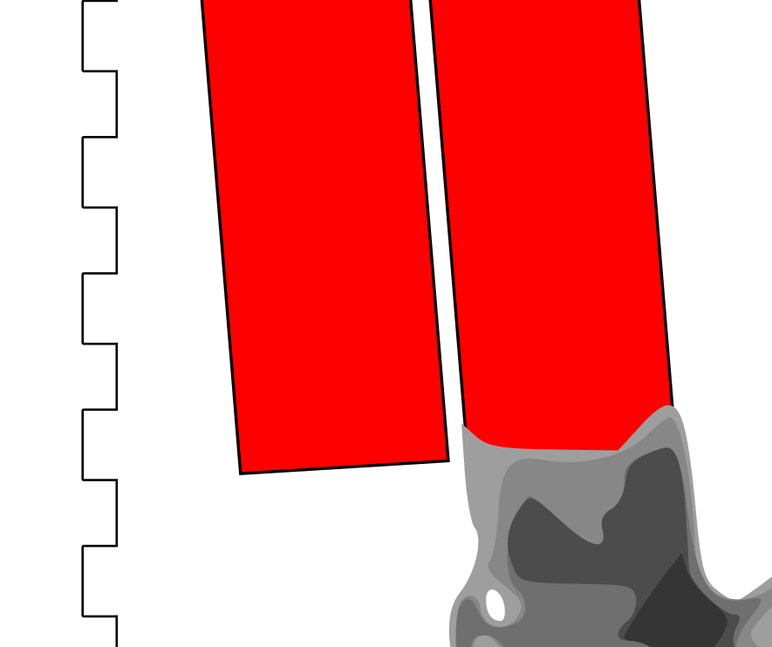
Love the idea! Working on my own version with a different Jedi, and am stuck on this part… Any idea for how I can reshape my ‘saber’ part to fit the curvature of the hilt?
In the pic below are what the bottom of the light beam look like irl and in layers. I don’t want the actual file to cut the square bottom of the light area, if that makes sense…
I am using Inkscape so hopefully this makes sense.
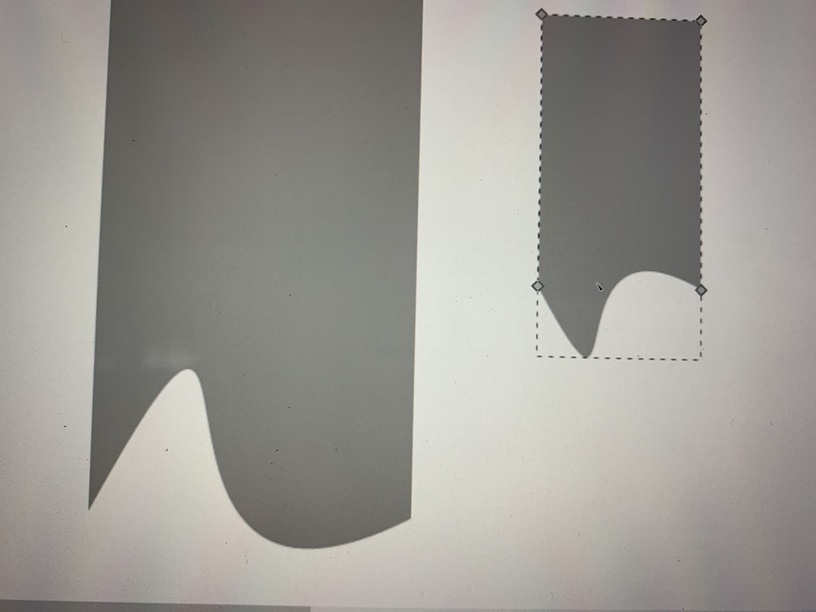
I would covert “object to path” and then you should be able to change the shape using the “edit paths by nodes”.
Here are two squares I made then just moved the bottom line
1 Like
thanks… I’ll have to play with this more then… I used to know how to ‘add nodes’ inbetween two existing nodes. I just need to relearn how to do this the make it work right.
What glue did you use to sandwich the two acrylic sabers together?
1 Like
I didn’t have to add any nodes. Just grab the line move it.
Weld-On 4 Acrylic Adhesive - 4 Oz and Weld-On Applicator Bottle with Needle https://www.amazon.com/dp/B0096TWKCW/ref=cm_sw_r_cp_api_i_houdEbEDG41BF
I just got this but this is what I’m going to use.
I used super glue but I don’t like how make it showed up.
If you need something else let me know.
1 Like
This is great! You are very cool for sharing!
2 Likes