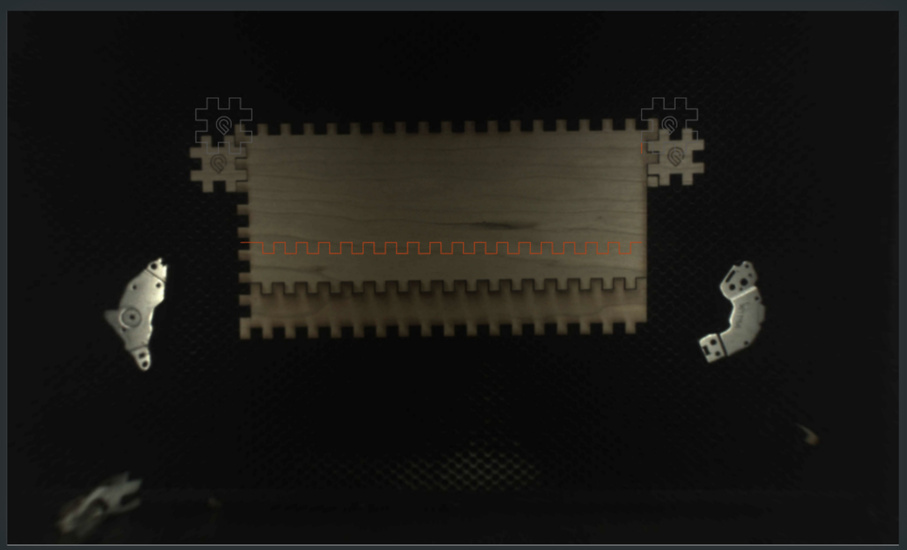
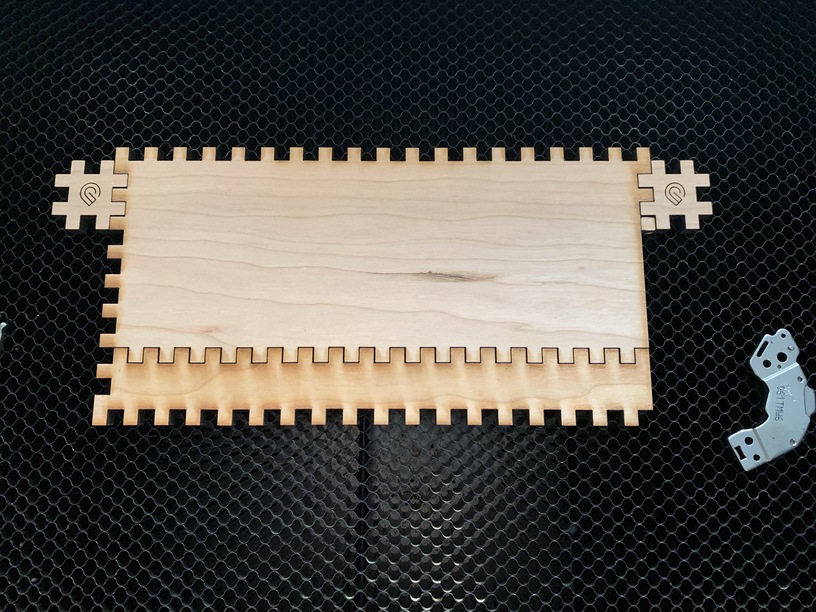
I was making a mailbox recently and realized I’d designed it too deep. I was using nice wood and I didn’t want to waste it so I came up with using a pair of finger jointed Snapmarks to trim my sides. Once I cut out a pair of them I then pasted the vectors into the designs I needed to update, aligned them in illustrator, hoped over the glowforge and put in the old piece, dropped in the finger joint snapmarks and cut.
First picture is the original prototype. I used this pair to cut all 4 sides and they worked great.
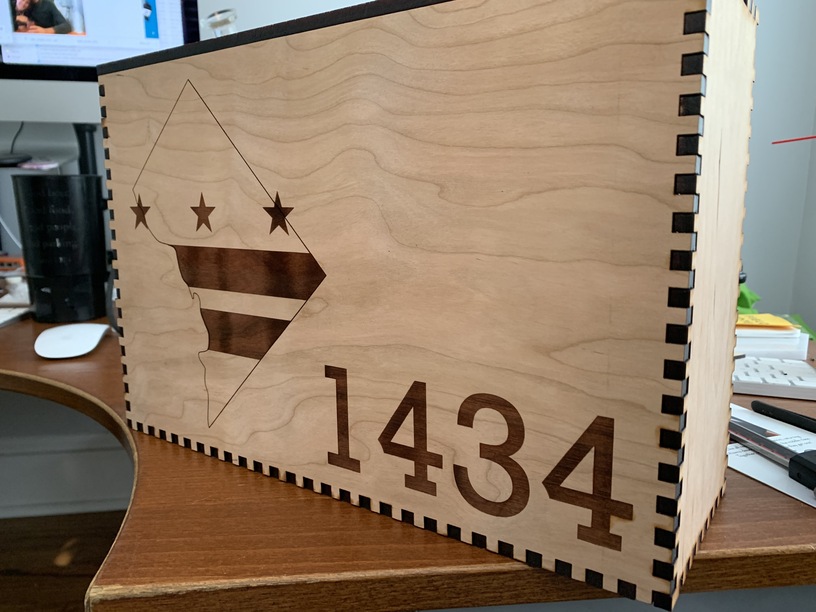
This idea should also be pretty flexible, beyond just finger joints, you could use corners or any part of your design you can lock onto like a puzzle piece.


