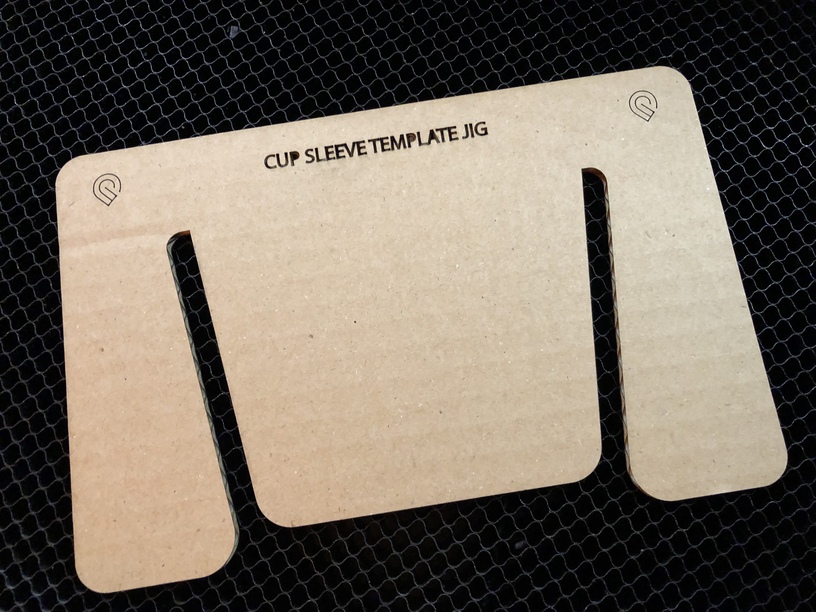
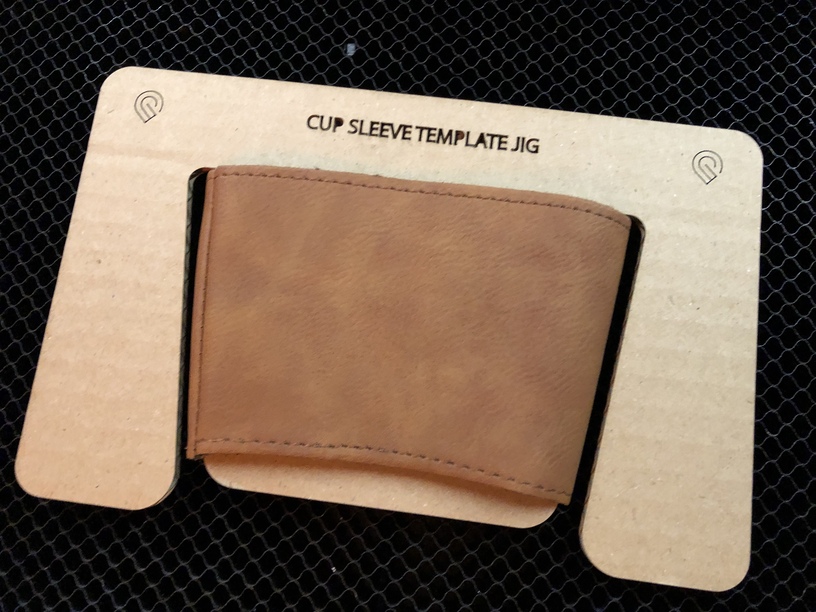
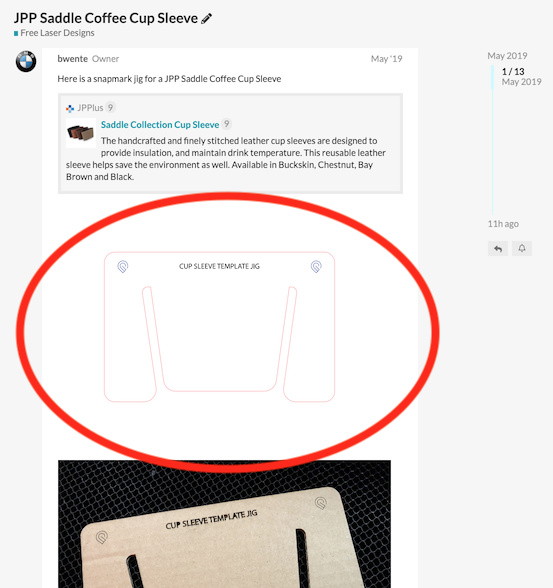
Here is a snapmark jig for a JPP Saddle Coffee Cup Sleeve

Brilliant idea, thanks!
Thank you for sharing.
now if only I had snapmarks,
This would be a good base for how I align stuff on the bed ‘perfect’ every time. I use a 20x12 page in inkscape and never move stuff when I load in my design.
I scratched a little line into each side of my crumb tray. When I insert my draftboard to cut and make my jig I pencil in a line that matches the marks on each side of my crumb tray so when I put that jig back in later I have marks to align it perfectly.
Set Focus for the win! Just use a simple square to ensure your job isn’t rotated (or use a tray edge), then align a mark after Set Focus. Faster than Snapmarks in simple cases like this…
If you’ve done the new calibration and use Set Focus as @timjedwards said, you should be able to get your design placed perfectly every time (and much faster than with Snapmarks), or at least as perfect as you can get with the slightly curved organic surface of the sleeves. Even Snapmarks wouldn’t be able to perfectly account for the slight variances that will cause in this case.
I have done the calibration but nothing is going to be as good as having an exact position every time. This is super important for the types of jobs I do where I need to load 20-30 pieces in one after another to do the exact same engrave for a client. You NEED a template to get consistent results that way. If I drop a piece into my machine and then don’t have the art perfectly aligned I basically ruin the piece. That could be a 2 dollar drink sleeve or it could be a a 150 dollar cutting board.
This is a scenario where the jig/template is the best solution. Snapmarks would get the repeatability but would be way slower. It takes a fair amount of time for the software to locate them, process the data and adjust the project. The way you’re doing it probably only takes seconds for each set (vs tens or 20s of seconds).
The jig is neat for aligning artwork for etching on already finished cup sleeves–but when I’ve made them with thick leather (5-6 oz, which is significantly thicker than the GF proofgrade “thick leather” setting), I first do the etching on a piece larger than a single sleeve (or multiples), then do the final cutting by hand (rotary blades usually, since rarely does my GF go cleanly through the 5-6oz leathers I use without excessive soot to clean up–so just faster for me to hand cut than fiddle with cutting settings when just doing a handful of them at a time…
Thank you for sharing! Would you be willing to share the settings you use on the laser for the actual sleeve?
If you search for “saddle collection settings” over in Beyond the Manual (the only place the rules allow discussion of non-PG settings) you should be able to find some good numbers. 
I see the pictures of the Jig, but I can not seem to find the file to download the jig image so I can cut one out. I am new to all this so I may just be missing it.
TIA!!!
The forum software can render SVGs inline. Just right-click to download the file.
Can you explain how to use Set Focus for registration? I have several workarounds that I use, but I’m unaware of a way using Set Focus. Thanks!
Just press the Set Focus button in the UI.
If you’ve run the calibration, it will give you an accurate enough representation of the bed for this purpose.
What are your current work-arounds?
These are the workarounds I use:
Jigs will always give you the best precision. Proceed apace!
right clicking to download isn’t working for a Mac. I did a screenshot and traced but idk the correct size for template. can anyone help please?