Lately my GF seems to be slightly off to the left (towards the vent) than it appears on the screen. Even when I measure everything out and place it dead center it’s just a hair off but enough that it’s noticeable. I tried cleaning everything thinking maybe some buildup was preventing it from moving correctly but it didn’t help. I’m wondering if there’s something else that I can do.
It’s never going to be 100% perfect, but these are the steps for troubleshooting alignment: https://glowforge.com/support/topic/troubleshooting/alignment
The camera calibration in particular helps a lot of people. But I think you’re pretty close now to as good as it gets.
3 Likes
Thank you. This is actually with me pushing it further to the right by eyeballing it on the camera which is why it’s close. If I had used my measurements it would have been further over. I’ll follow the alignment steps!
Are you inputting a material thickness from calipers (sounds like it), or using Set Focus? Set Focus will almost always be more accurate due to how the placement system all works. Hitting dead center on existing object engraves is one of the hardest things for any laser system or laser operator to accomplish - especially without a jig.
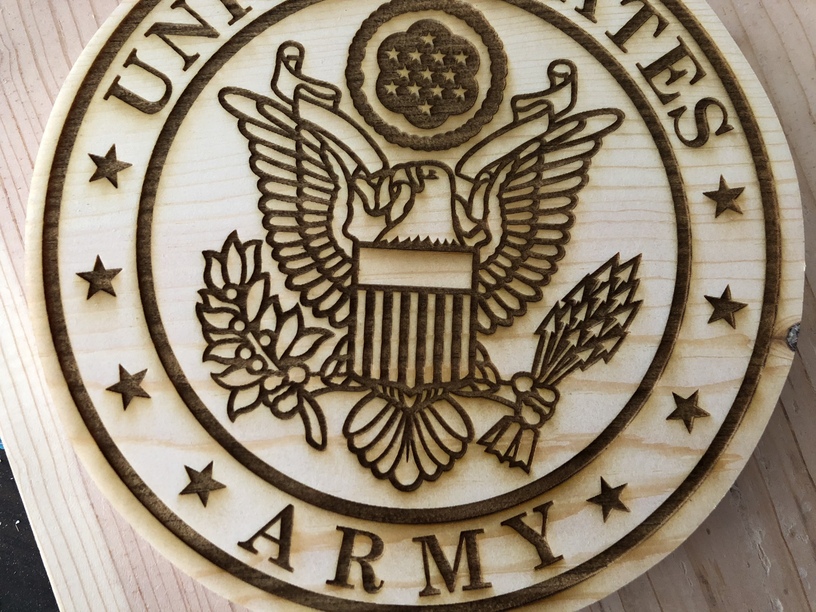
It looks like you are trying to center your artwork onto a pre cut round blank? If that’s the case just put a thin piece of scrap in the forge. In your design program make your artwork centered in a circle the same diameter as the blank. Bring that into the forge and score the circle only on your scrap. Place your blank directly on the score, ignore the circle and engrave the design.
2 Likes
Thank you for reaching out about your print alignment - I’m happy to take a look.
I extracted the logs from your recent prints and it looks like your Glowforge is performing to specifications.
If you’d like, you can use the Camera Recalibrator to see if further improvement is possible. It will only make changes if it can make your camera more accurate; otherwise, it will exit without any changes. It takes about half an hour.
You’ll need a 12” x 20” piece of Proofgrade material with no markings or stickers. The feature was designed to be used with a flat piece of medium Proofgrade Draftboard, used upside-down (with the QR code side down). It may work with other materials that are the same size and use the same print settings as well, like Proofgrade plywood.
It prints a grid of markings, takes a picture, then measures its height in multiple locations. This data is used to make your camera more accurate for future prints.
To get started, click on this link: Launch the Camera Recalibrator
I hope this information was helpful. Please let us know if you have any trouble with the calibration.
2 Likes
It’s been a while since we’ve heard from you, so I’m going to close this thread.
Please let us know if you are still having trouble at support@glowforge.com or start a new thread. We’ll be happy to take a look.