Just to make it more legit, here’s a file for some keyhole hangers that I designed and included on this thread:
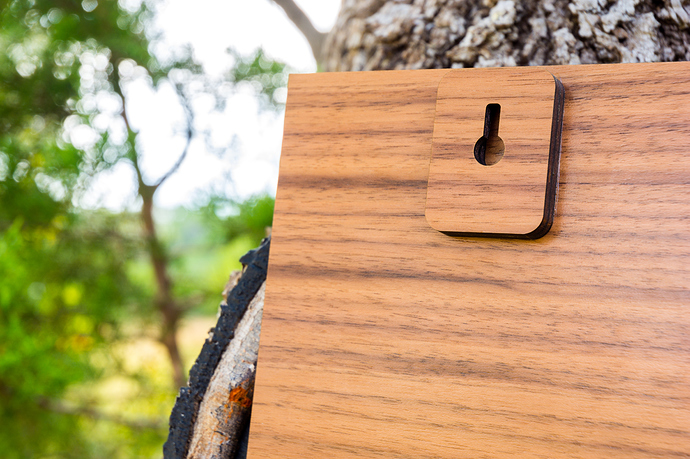
In a nutshell, I needed a way to hang some engravings and didn’t care to pound in/screw in traditional hardware. So, I made a stacked keyhole design. This is not a true keyhole in that the back is not engraved to create a slot for the head of whatever is sticking out of your wall. This is a two piece design with a larger slot in the back over a narrower slot in the front to mimic the material removal you would get out of a traditional keyhole design. It’s a trade-off to be a faster solution.
I’m ok with the wall-gap on this project. The size of the pieces also supports this piece well enough that it acts as a floating stand-off.
Are you suggesting to engrave the head slot into the back of the main engraved piece and then use a single piece of material on the back? You certainly could. This is fast. Engraving is slow.
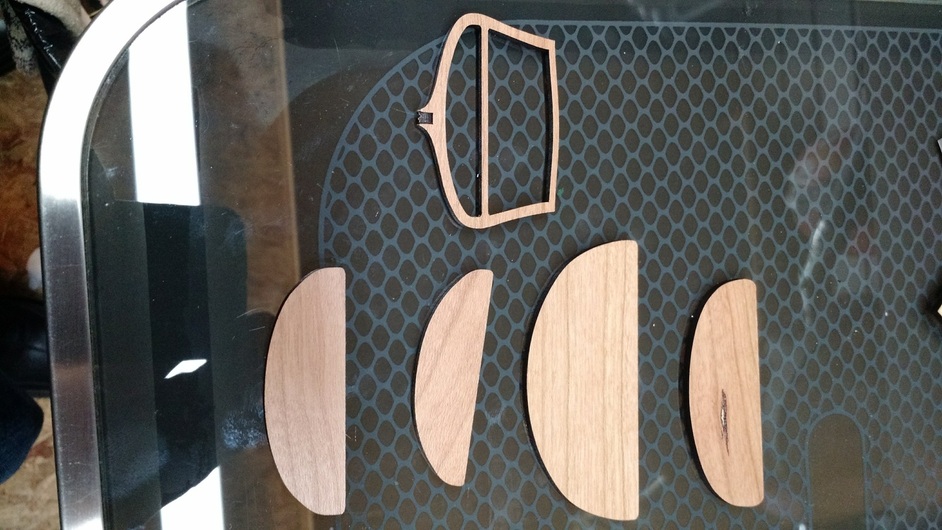
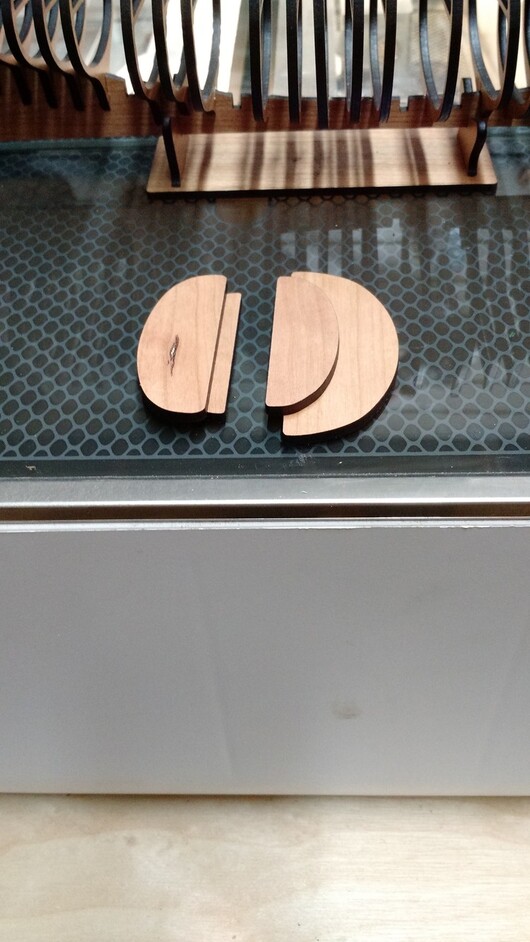
Absolutely. I had thick in the machine at the time so just ran through with that. You could also extend the outer cuts to the length of your material giving it Support the whole way down for a consistent stand-off at the expense of more material. I like the finished effect of the back being done on stuff. It provides a little bit of continuity that you don’t normally see.
Just like I like the back of my stretched canvas prints to be finished rather than just stretcher bars.
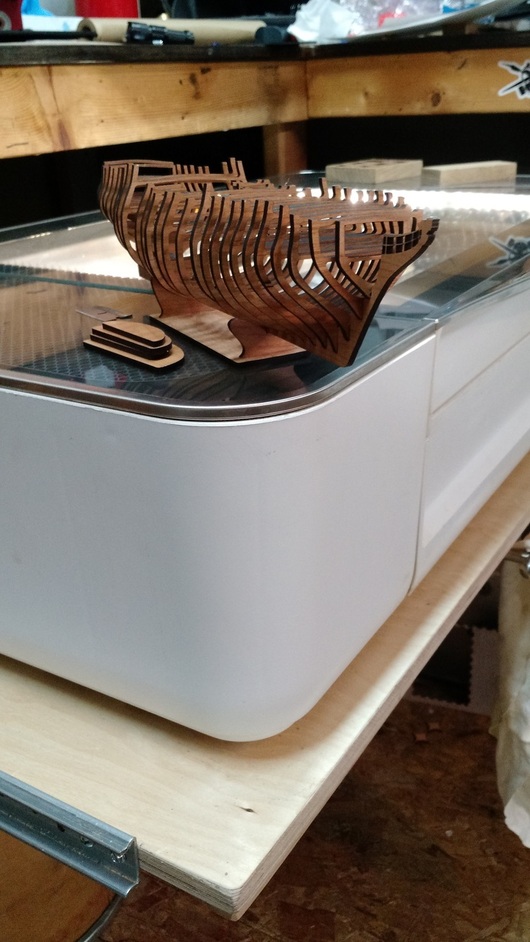
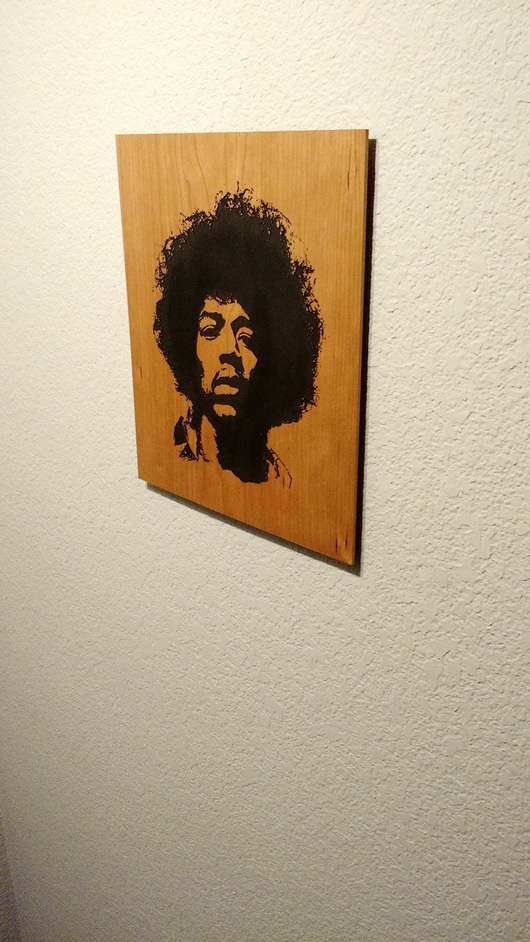
Man, I liked that stand off so much I went into the shop to fab that up to hang Jimi. That’s when I glanced into my scrap box and it hit me.
I had done this a few days ago from a site @marmak3261 linked to for free designs.
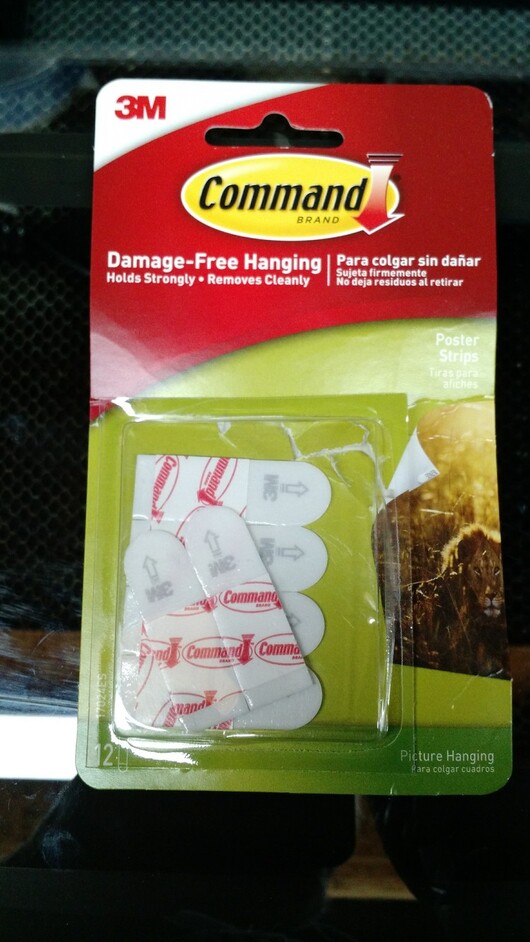
Which are really cool for hanging on walls because they are removable (no nails). when you want to take it off you pull down on the tab that extends beyond the double sticky and it stretches and releases from both surfaces (without taking any wall paint with it).
1/4" stand off was perfect!
That piece had been waiting for a frame, but with the stand off it really doesn’t need any further embellishment. Very pleased with the effect. Thanks for the idea man!
Moral, is keep your scrap and turn your imagination loose!
I did something similar with the back of my city art piece. There are 100 holes on the back layer, with 100 bigger holes in the layer above (in front) of it. So you can stick a screw in it, and the lip on the smaller hole holds the piece up.
I put 100 of them so whoever buys it can orient it the way they want.
I used holes rather than “key” slots, because I did not know in what direction the screws would go.
Made some of these over the weekend. They worked great. The keyhole cut outs also worked as a way to raise material off the bed (they fit perfectly into the honeycomb on the Universal I was using).