Wondering if anyone had done anything on stone? I have several people who want some images on stone and I’ve had no luck getting a GOOD one onto the Blue Oklahoma stone I’ve tried.
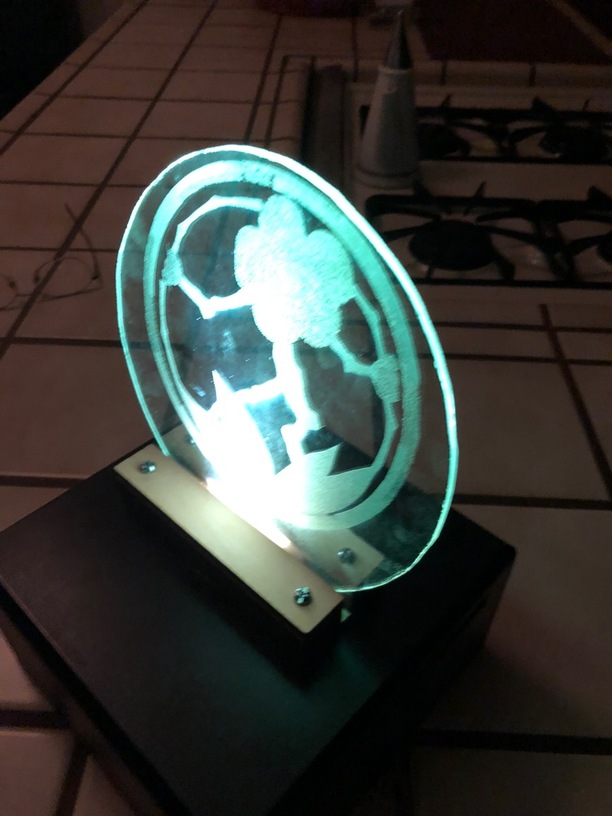
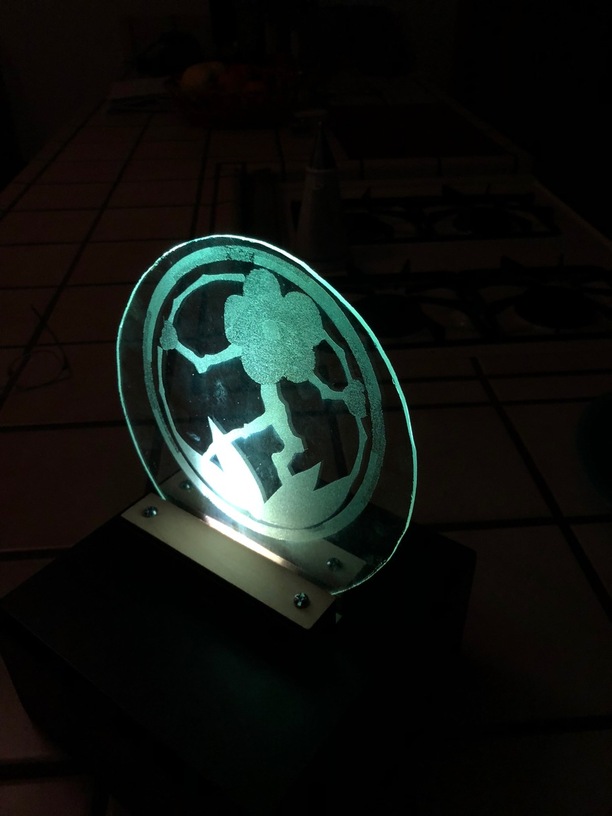
With slate and glass, I’ve found that any kind of fine detail is totally lost because you’re effectively exploding off little bits of surface material.
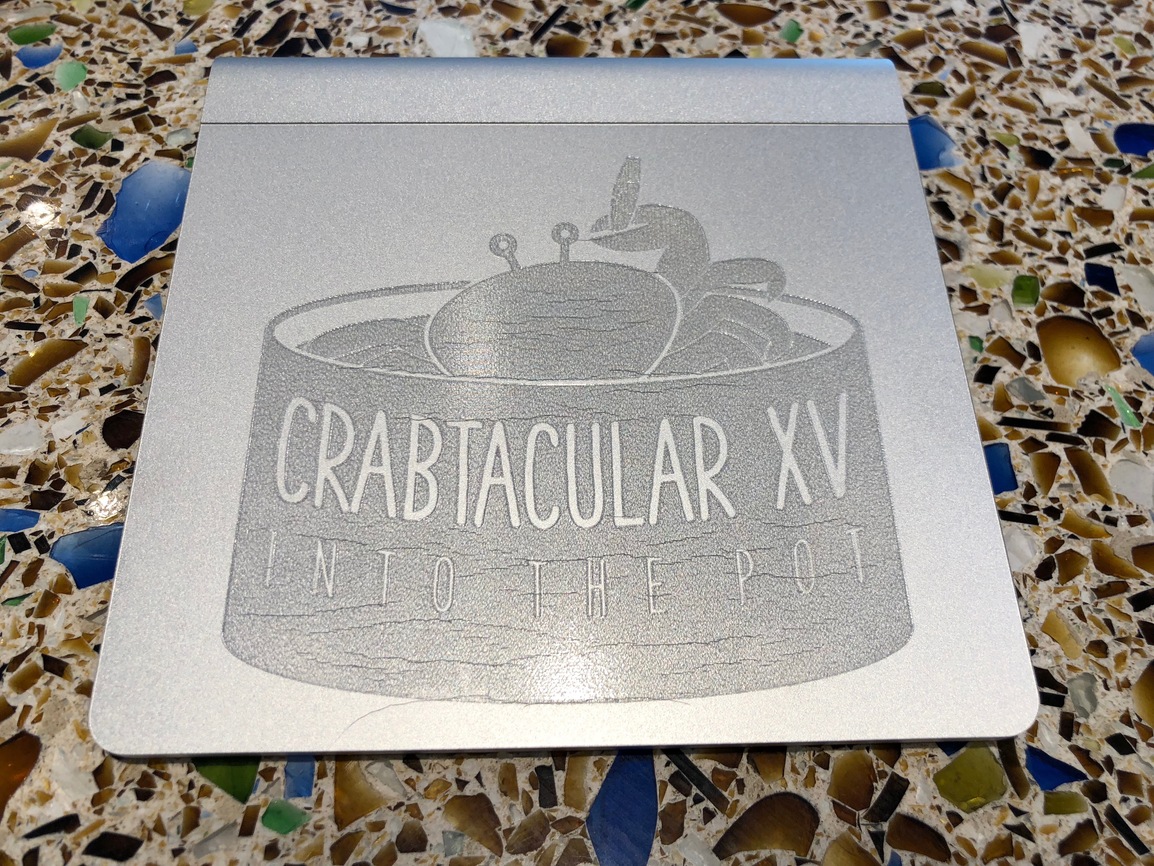
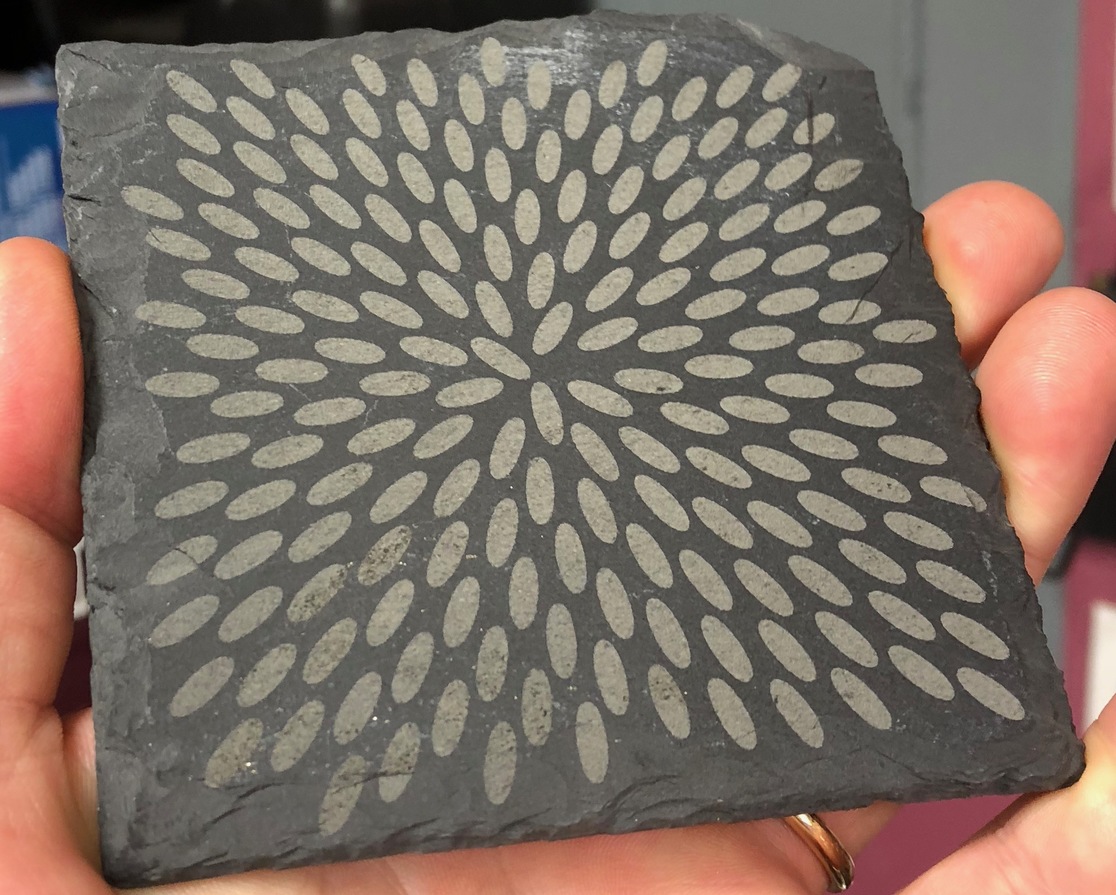
You want very high contrast images. And try the patterned fills.
I will give that a try then
Here are some examples of glass and slate.
In general, I’ve found that changing the power really doesn’t do much once you’ve set it high enough to leave a mark. You’re only damaging the surface and, once damaged, you can’t go deeper. In experiments on porcelain tile, additional passes do remove more material, but not in any meaningful amount.
4 Likes
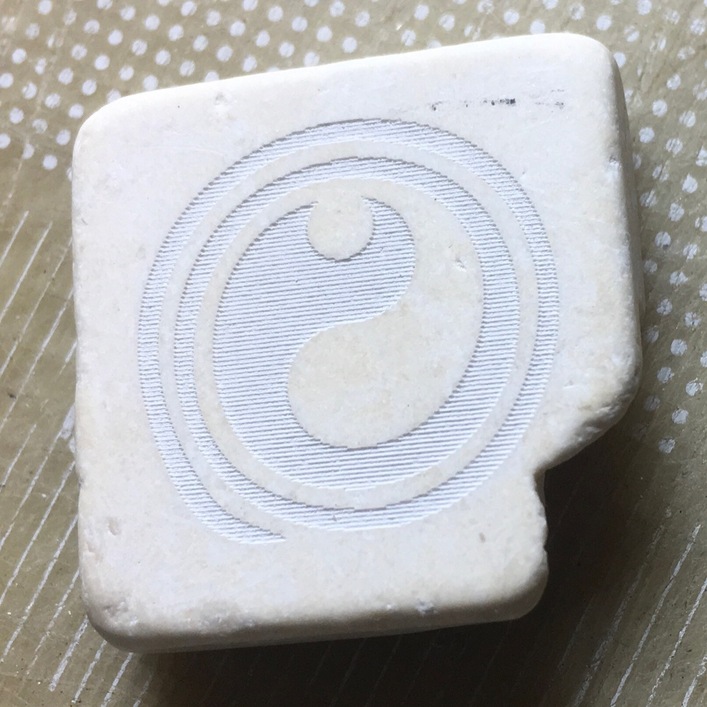
Interesting. Travertine may be different. I did some preliminary experiments on a scrap and found that re-running an engrave that marked the surface acceptably a second time approximately doubled the depth of the engrave.
One pass:
Two passes:
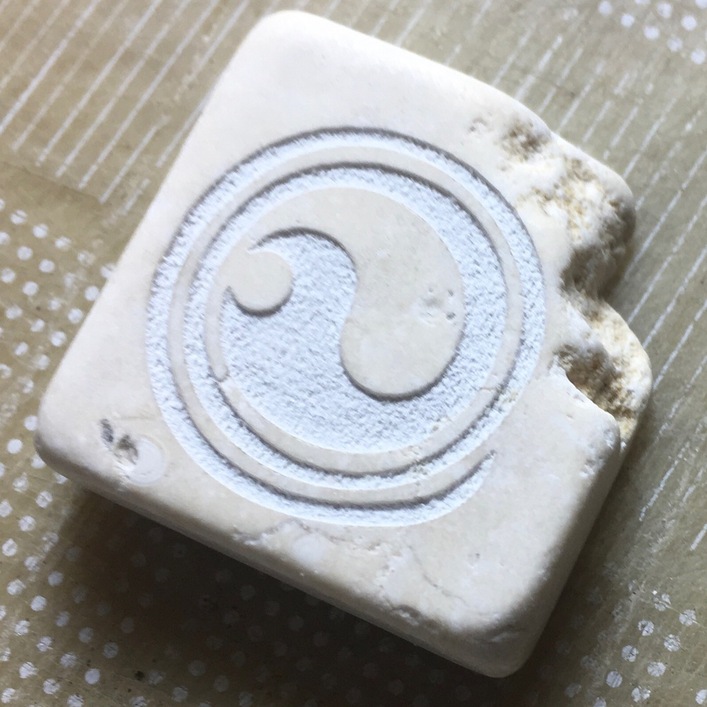
Note that this is a close-up of something about 1” square. The tiny little stripes are barely visible to the unaided eye in bright light. I like the way the second pass effaced them in addition to increasing depth.
In case it’s of any use, this test was: 500 speed / full Basic power, 340 LPI.
9 Likes
Well after several failed attempts I was able to get a “decent” engraving. My settings were:
SPD 1000
PWR Full
Conv to Dots - set on 36
LPI 1335
Focus Ht .50
Passes 2
Still not the greatest but not sure how to tweak it so its even better ![]()
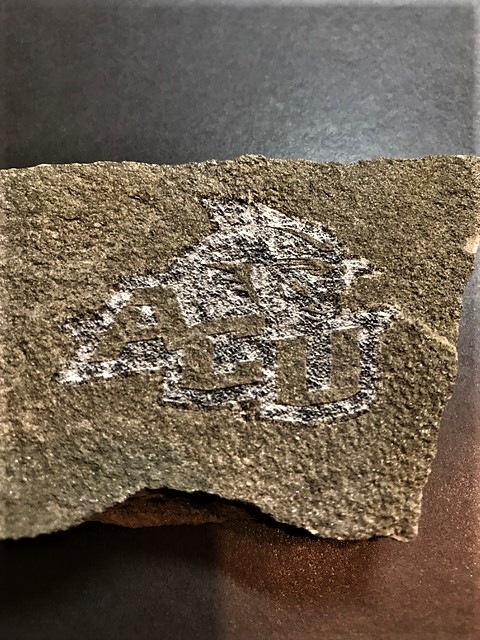
ACUwildcats-Rodney|669x500

1 Like
Dark stones engrave pretty well, it’s usually harder to see the engrave in lighter substrate.
3 Likes
I’d convert the purple to black and do it with vari-power. No reason to do dots on a graphic with no tonality.
5 Likes
Alternately trace it to a vector (or get an svg version), should be the same effect?
1 Like
Oughta be. Whichever is easier for her. It would trace pretty easy (that’s probably the way I would go with it)
1 Like
And a lot of it might just be the stone itself. It has a lot of light / dark variation which is going opposite colors under the laser.
1 Like
I’ve Not even tried the trace on the GF YET!
Lol me neither. Just not useful for the stuff I tend to do.
1 Like
No real reason to go higher in the resolution LPI than 340 because the surface of that rock is a bit rough and the way laser interacts with rock it doesn’t seem to make that much difference.
Should be a straight engrave with a full black to get what you want.
I should have added that really soft rock will engrave deeper on multiple passes and will take detail differently.
I’ll have to grab some travertine as that looks like it has some amazing potential!!
2 Likes
Greetings -
Just thought I’d bring this one back up as it helped me engrave my first stone. During camping this last weekend we went to a favorite spot where, in the past, we’ve found some art rocks hidden by people -
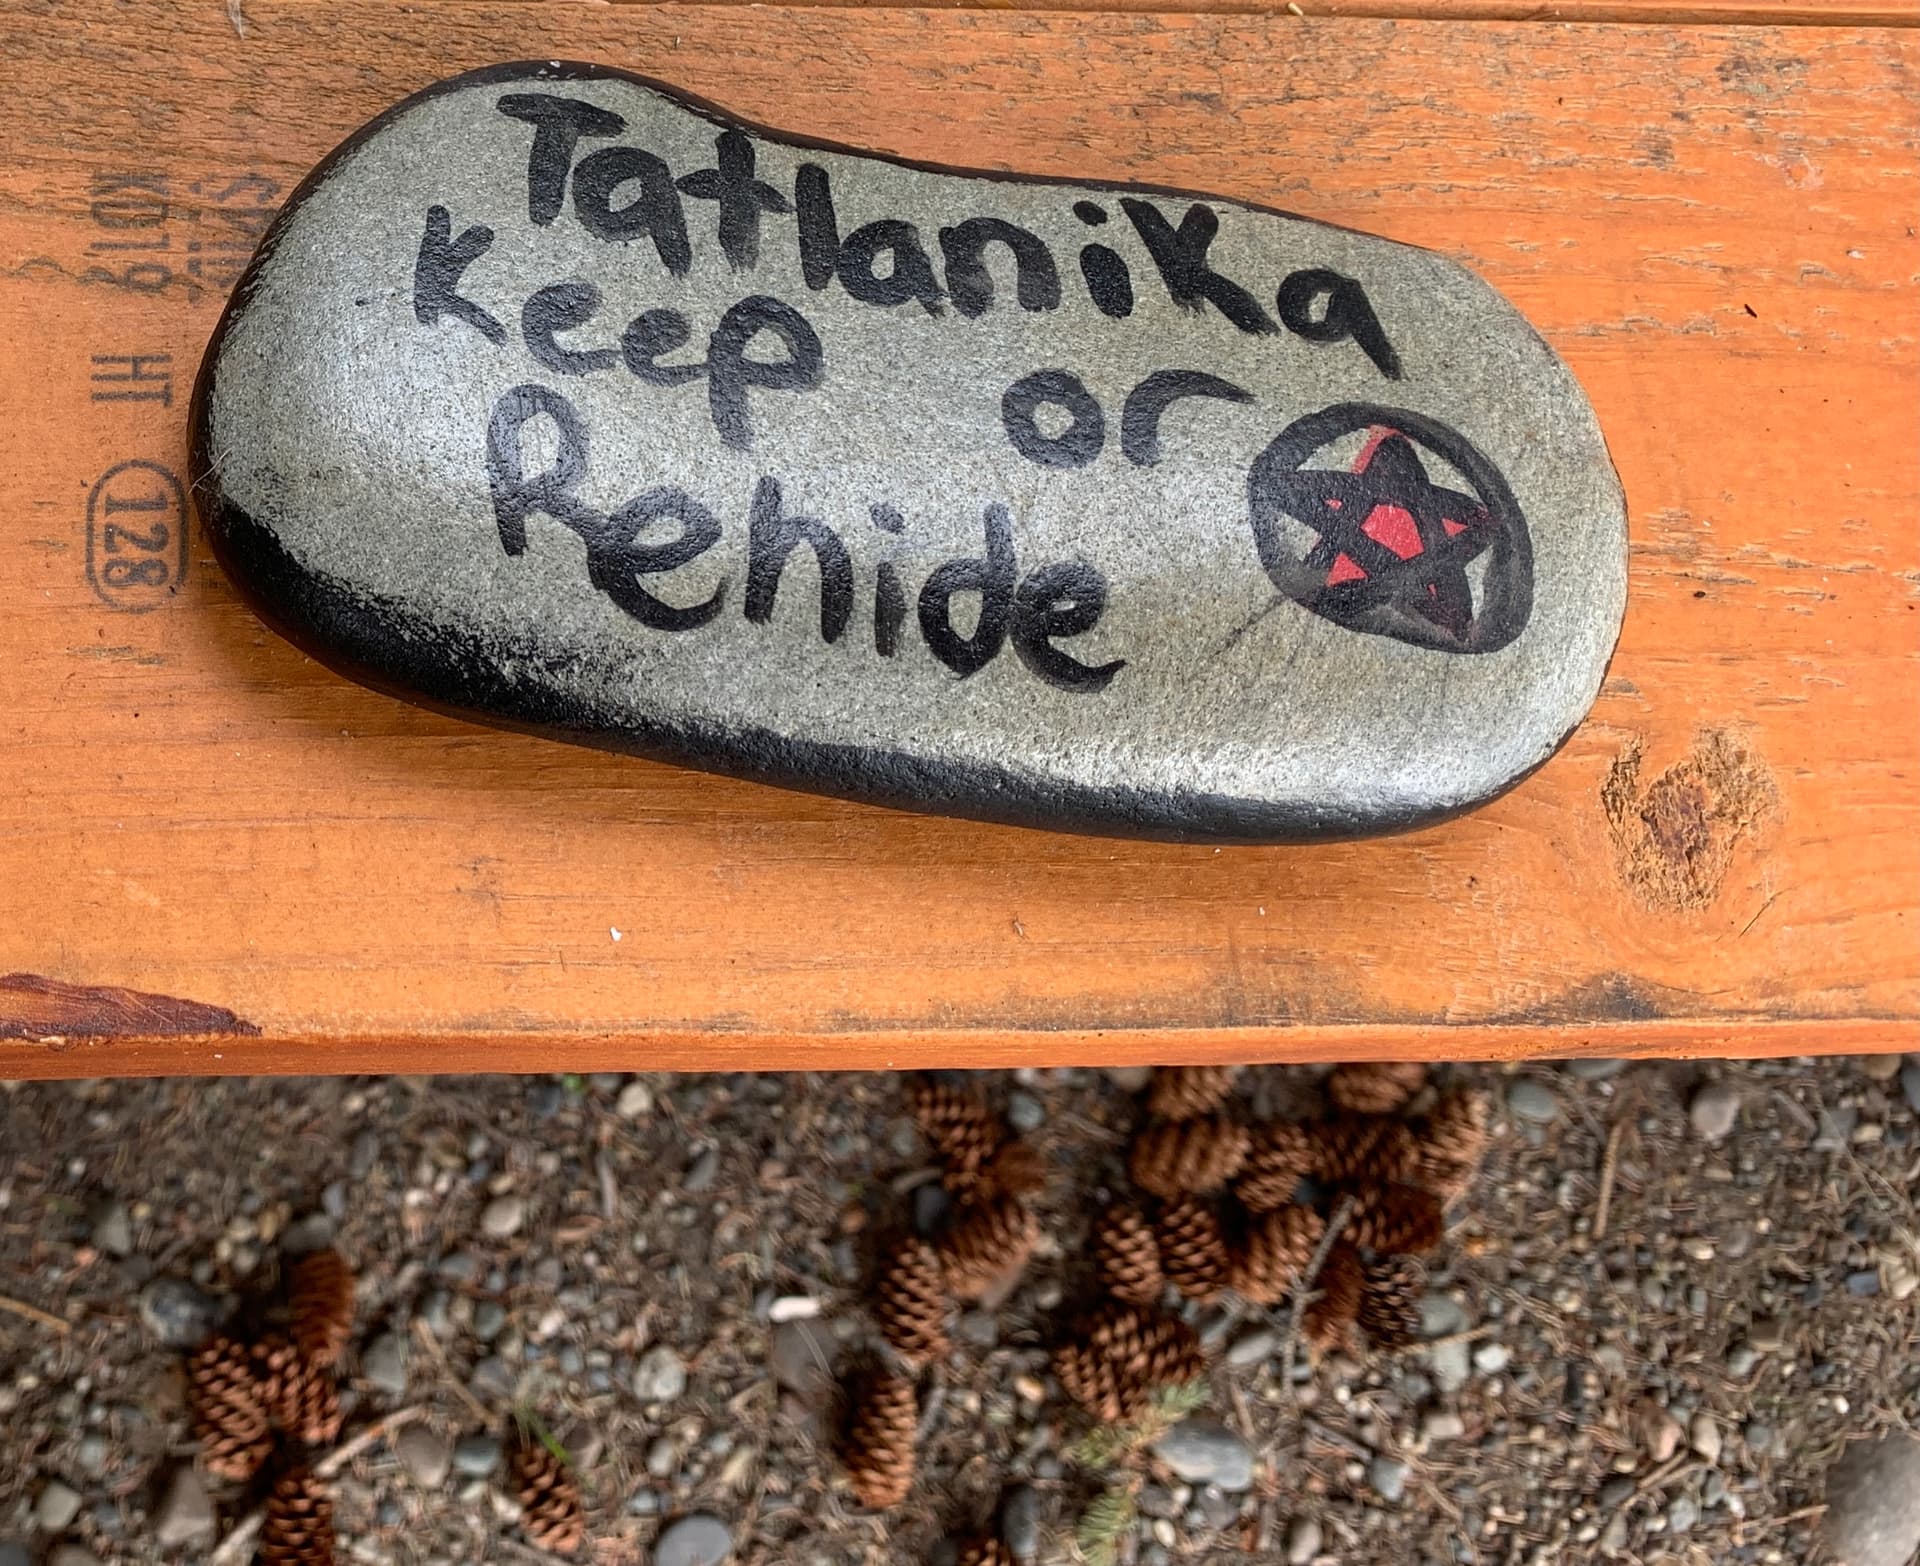
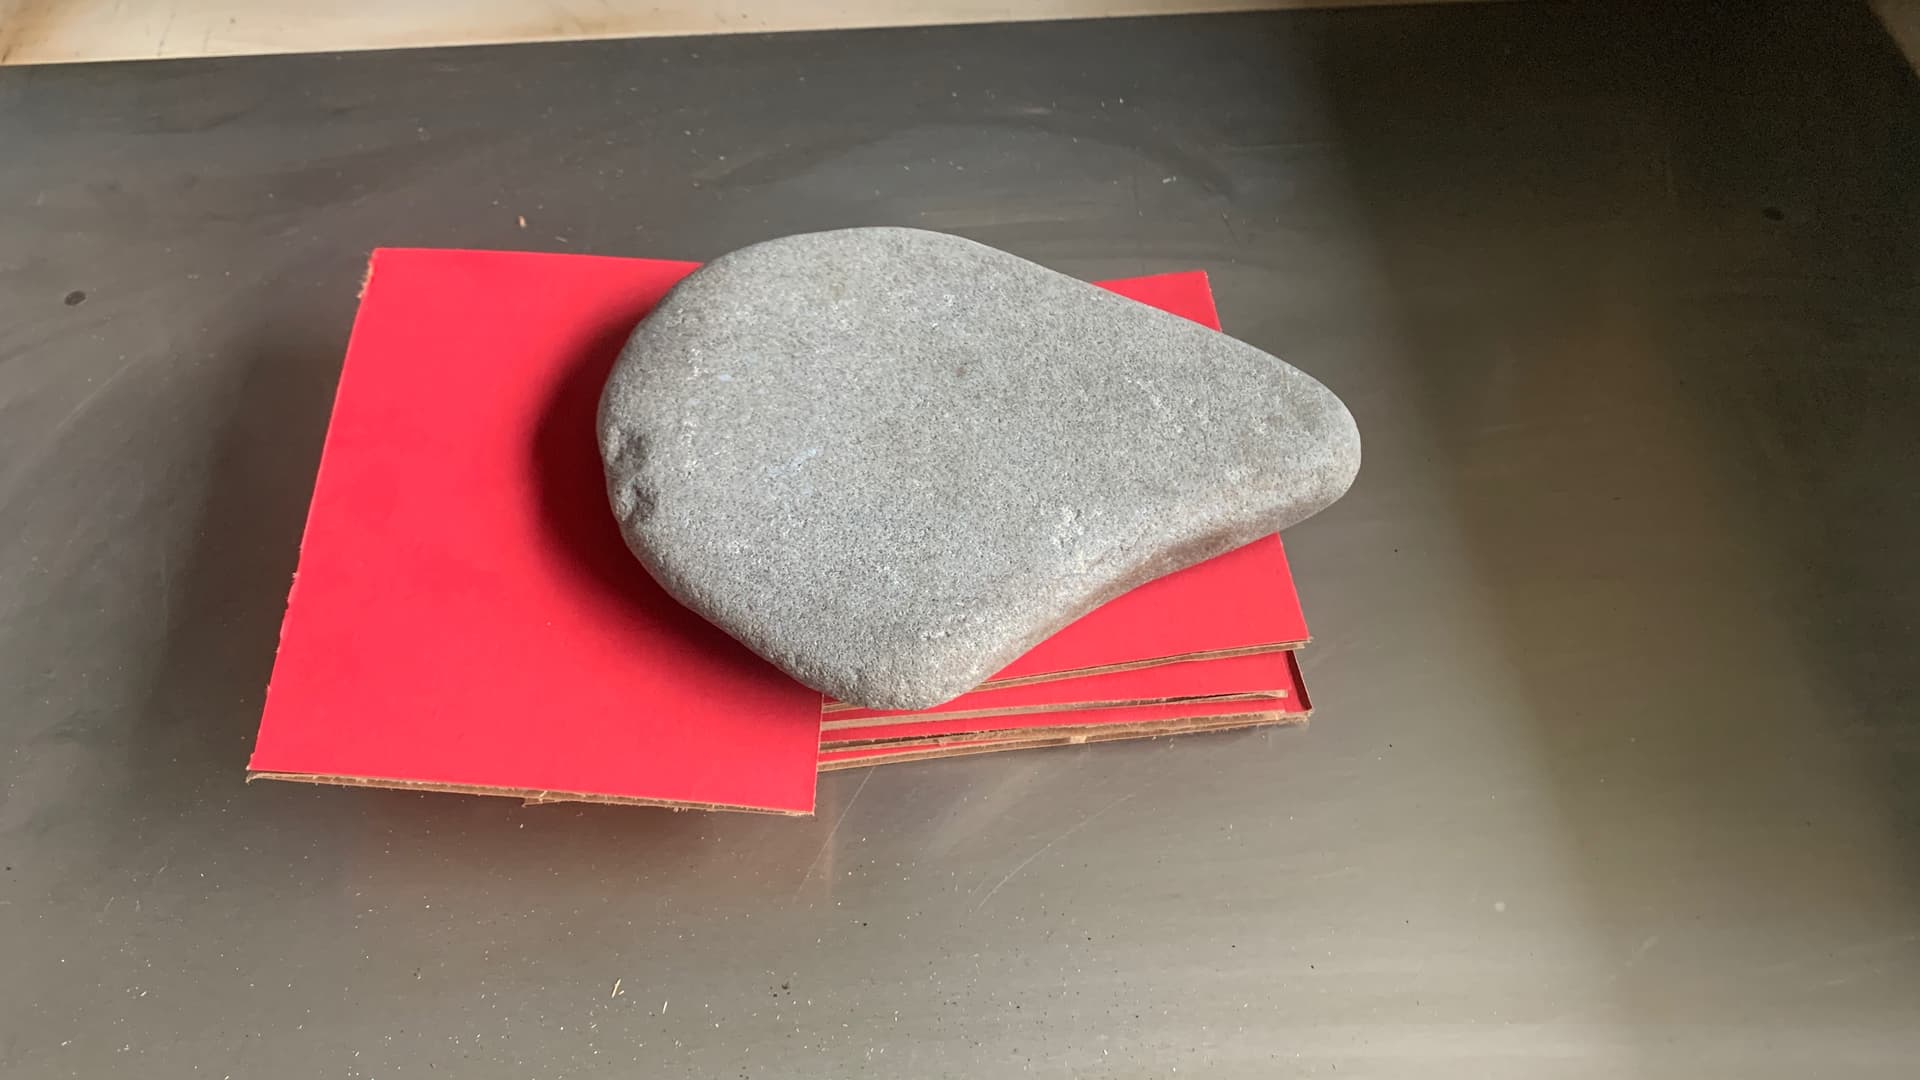
We didn’t find even one this time, so I knew I had to make some to spread around when I go back before the end of the season. Since I can’t hardly paint, might as well go for an engrave. I found this one in the campground and it appeared to be a good candidate.
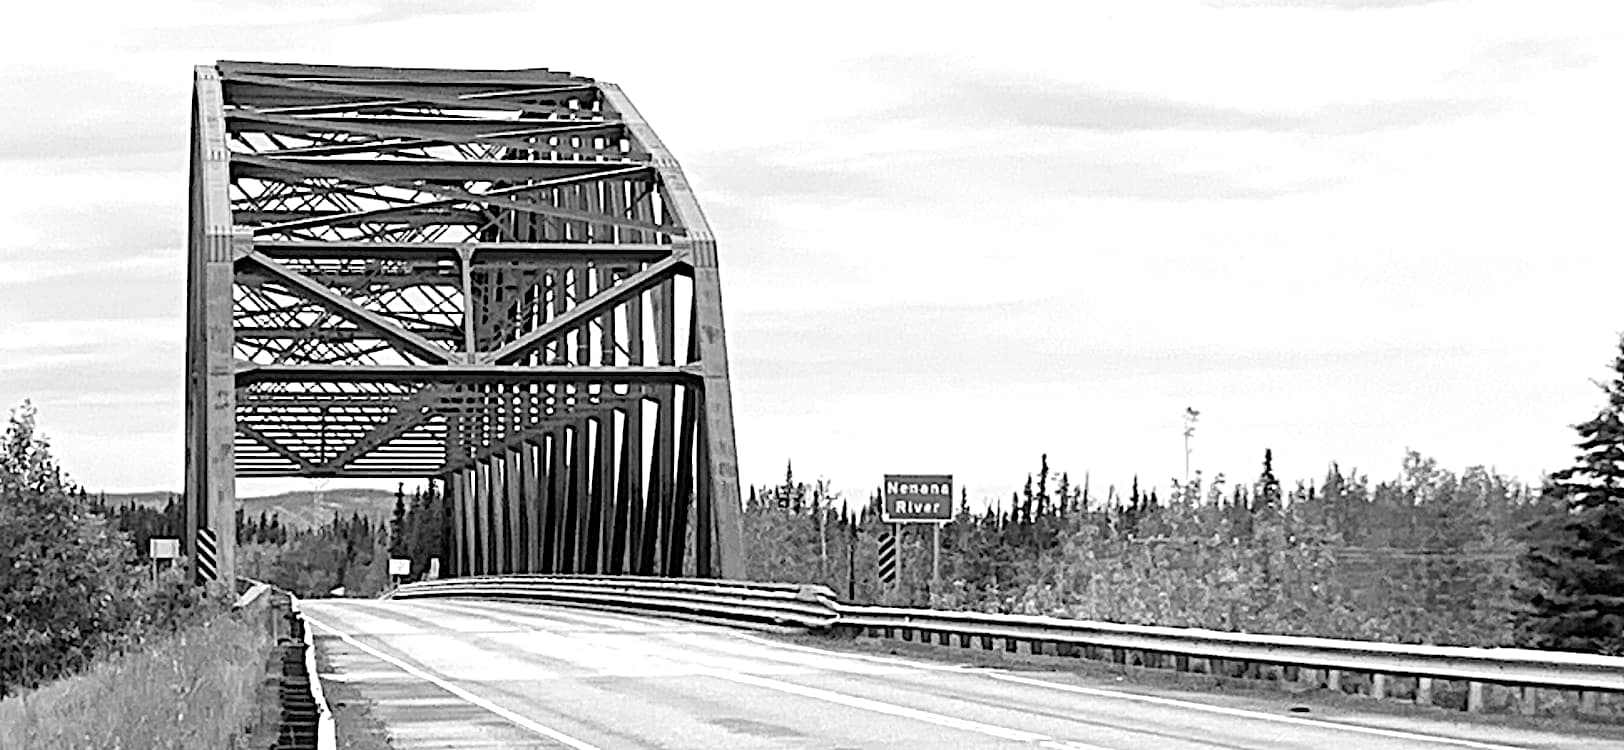
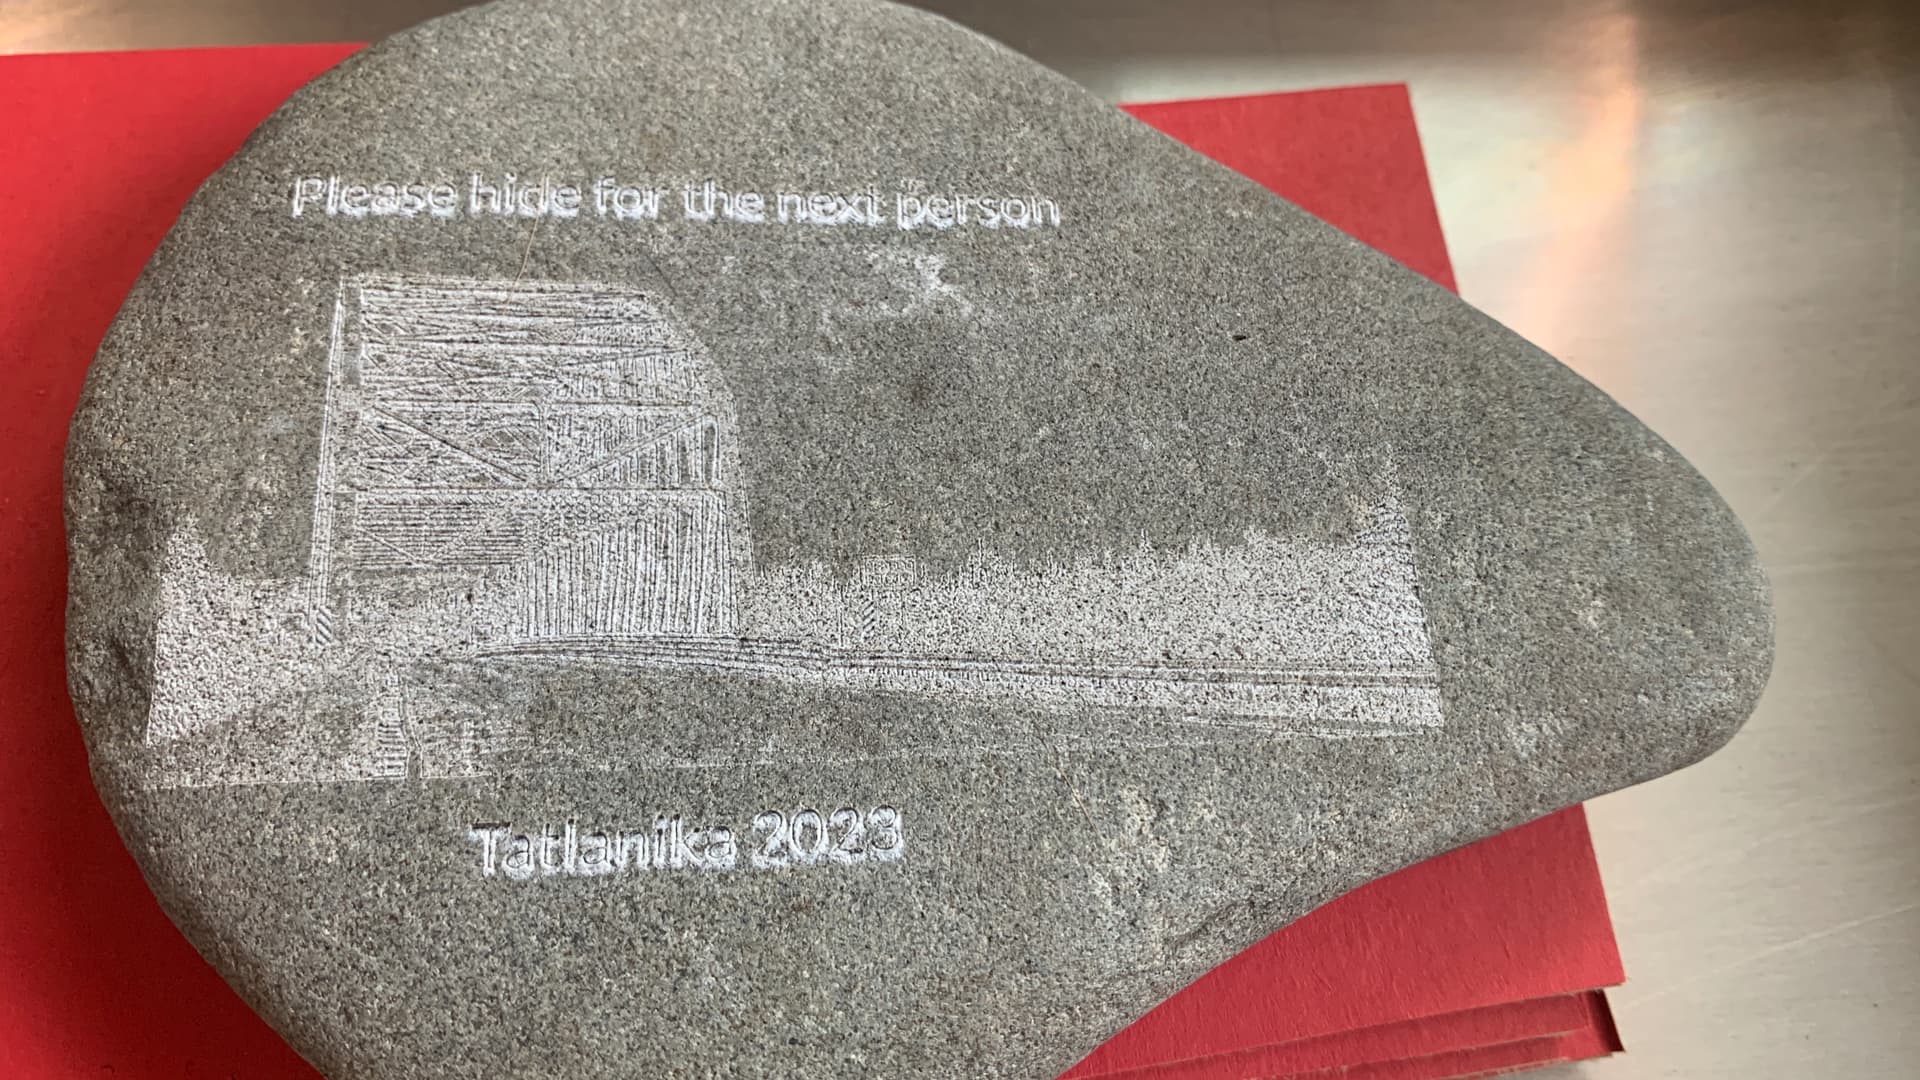
I took a pic of the bridge next to the campground and converted to Black and white, and just followed the same 500/Full/1x settings in the post above.
Pretty satisfied. I’ll make several more, with probably just the bridge, and bump up the font size a fair amount for better readability. And of course make them ‘Keep or Hide’.
Very satisfying.
HL
6 Likes