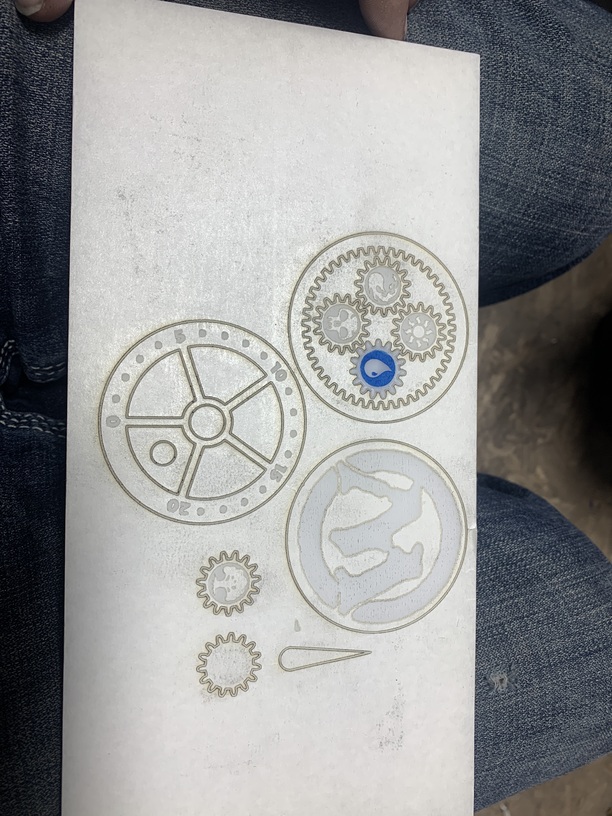
For some reason the laser will not cut more than half way through the proof grade items i purchased form Glowforge. I tried to make project and using the default settings then it does the cut it appears to be cutting a little over half way through on the cuts. I pulled the lens and cleaned it checked the bed and cleaned it and everything is flat when cutting. I retested it on the reverse side of the material and I can see where the cuts from the reverse side intersect with the new ones but still not cutting all the way through or even close for that matter. This is a frustrating issue because I purchased the materials i was told to use and yet it still wont cut properly. If I slow the cut laser down on full power it will cut PG mdf and plywood but the cuts are blurred and burnt.
They’re going to want you to cut a Gift of Good Measure (in your dashboard) on a piece of Proofgrade and post the time, and pictures of the front and back.
Luckily part of the purchase price of PG is a warranty if it doesn’t cut through when you’re using PG settings - so there’s that!
Post the images, and a staffer will get here ASAP (usually 1 day or less) to help out. Also, when you post the photos someone here might see something they can suggest.

thank you I just replied with some photos also for help.
The reason they request the GoGM is then they can confirm that it’s not an art problem. They can’t confirm that with any random design.
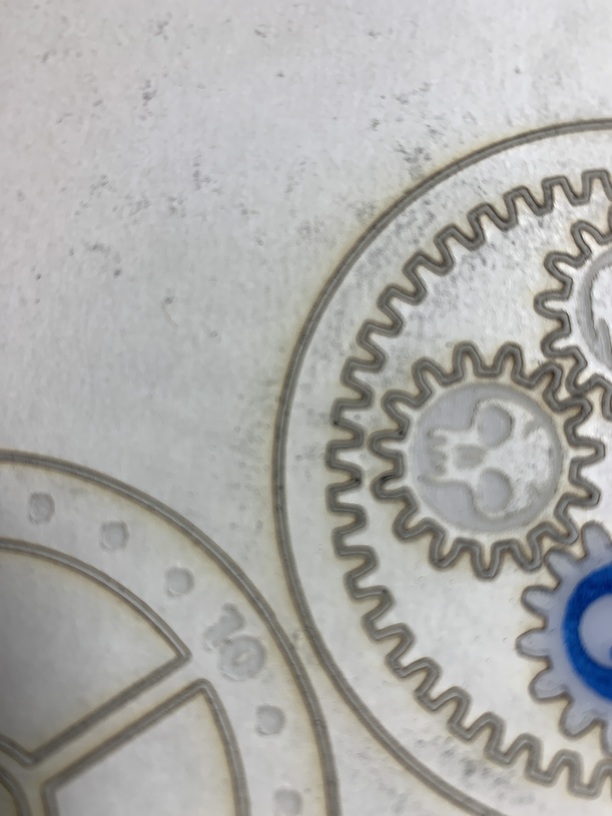
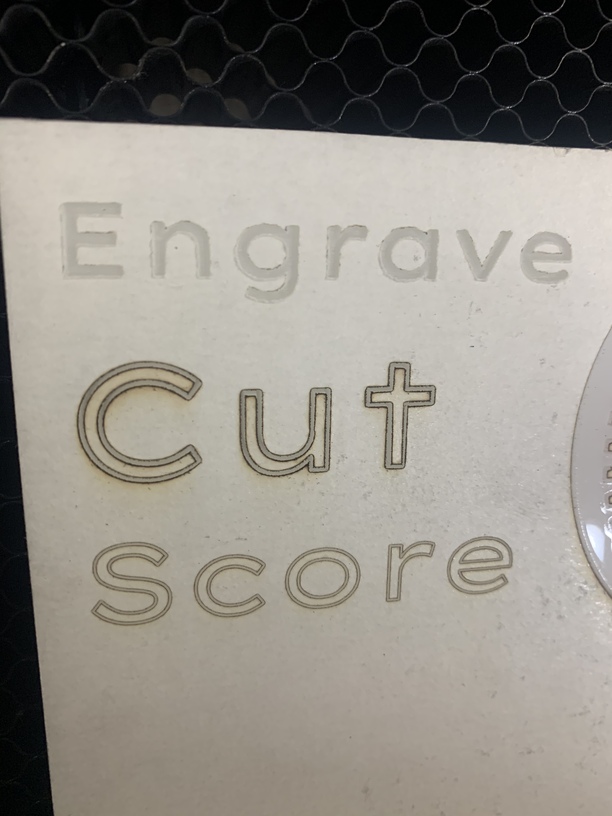
I will say, it looks like your cut lines are either very thick or cutting twice. Are you positive your lens is in the right way (bowl side goes into the head)?
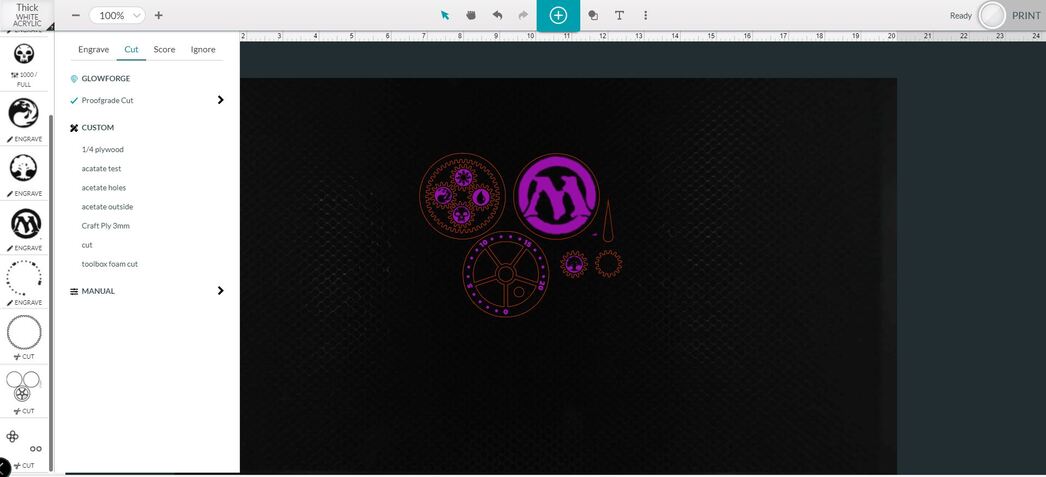
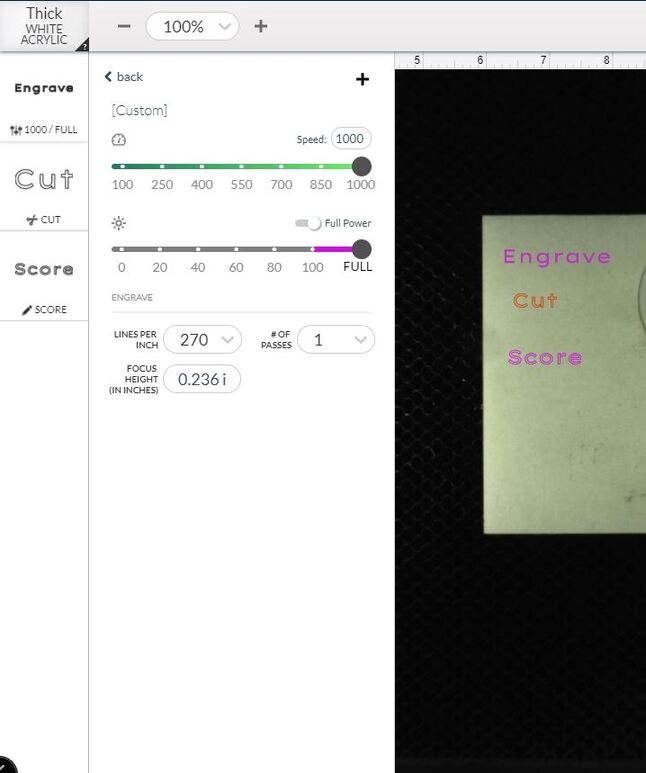
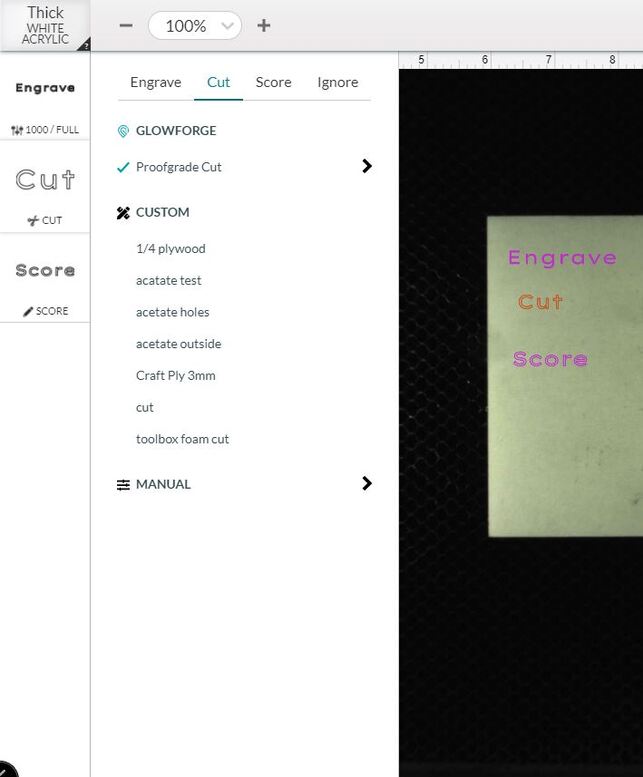
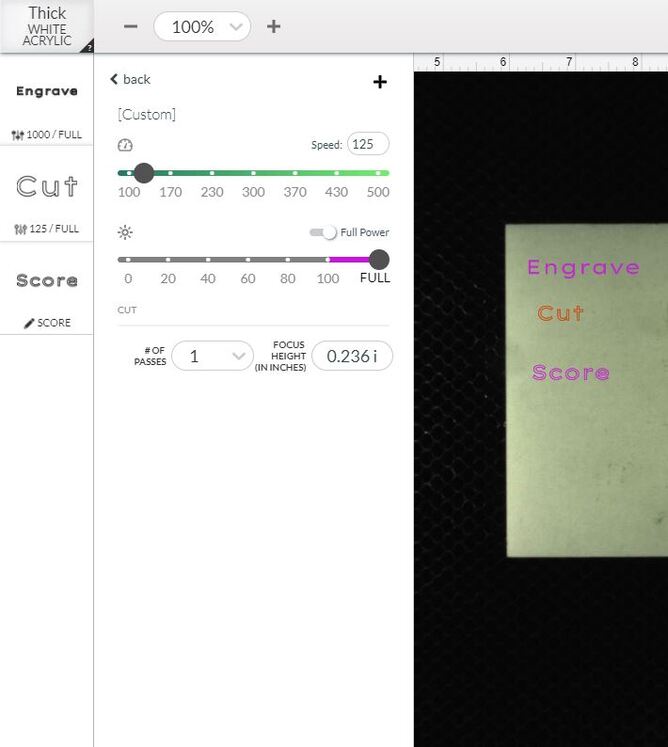
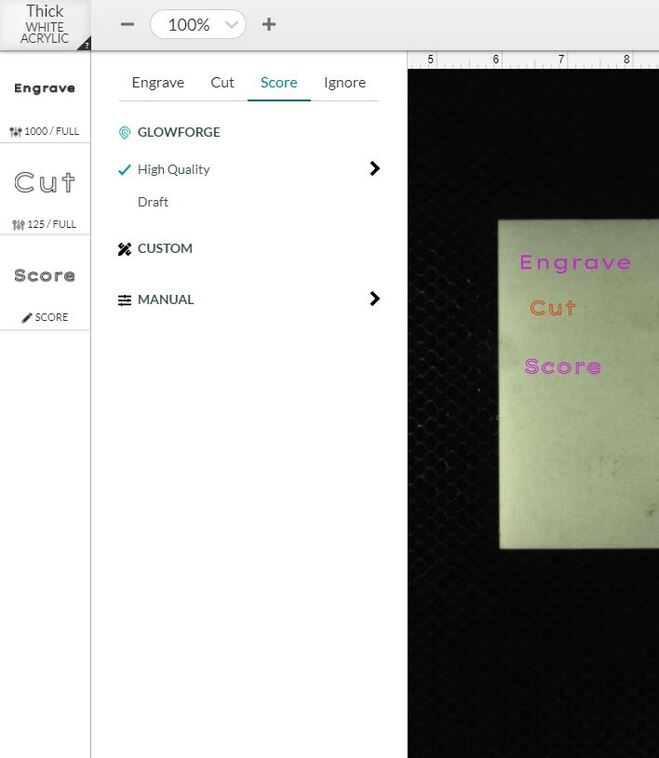
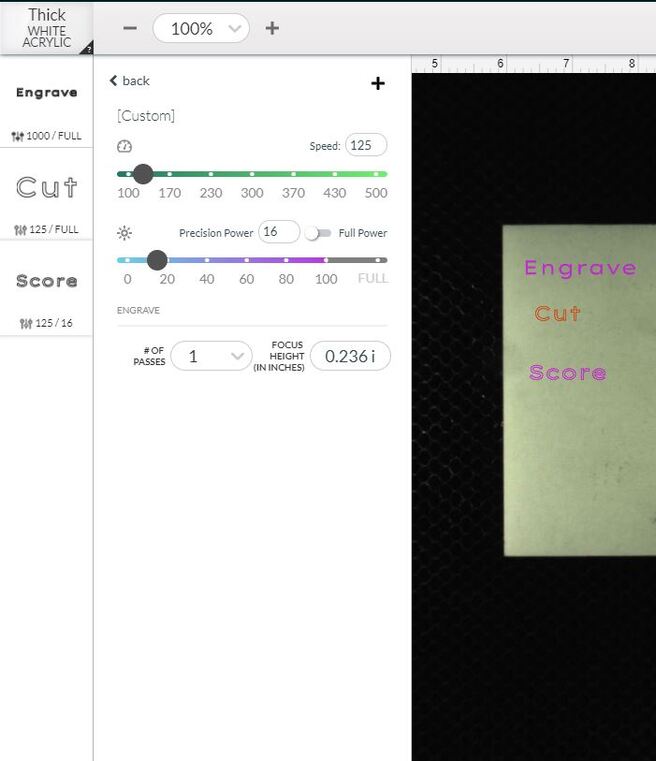
Also, if you post a screenshot of your GFUI with everything from the steps on the left to the name of your machine on the far right that might help.

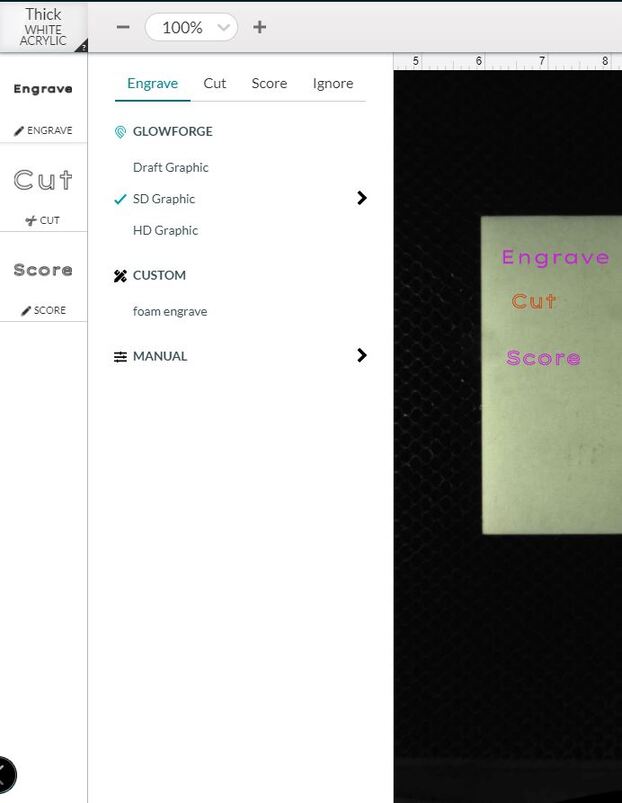
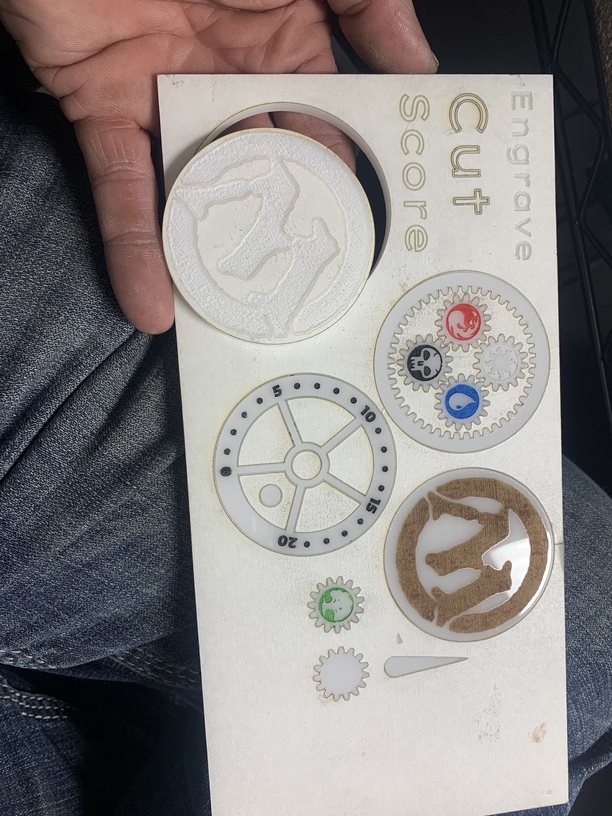
Besides it being a known file, support likes to see the gift of good measure because it also demonstrates all the features of the machine, score, cut, and engrave so they can evaluate the machine’s overall operation and compliance with standards of performance. 
I am away from the office for the night. I’ll get that done tomorrow.
Thank you for sending us that photo. I’m so sorry that your print didn’t turn out as expected.
There are several things that need to be checked if the laser doesn’t cleanly cut through the material. We’ve discovered that photos don’t always come through well in emails, so I’ve included several links that will take you to reference instructions and photos. Please turn off your Glowforge and check the following:
- The crumb tray is clean and properly installed
- The material is perfectly flat on the crumb tray
- All optical components are clean and undamaged
- Design is set to “Cut”
Once all these things have been checked, please perform the following test print.
-
Print the Gift of Good Measure on Proofgrade material, using Proofgrade settings.
-
When the print finishes, leave the lid closed and wait until the fans stop and the picture updates.
Check the completed print:
- If the Gift of Good Measure fails to cut through, take a photo of the front and back of the print and attach these photos to your reply.
- If the Gift of Good Measure cuts successfully, please try another print of the design you experienced the issue with, and let us know the results.
your proof grade MDF board will be a little hard since your out of stock on the website. can I get some 1/8 MDF and cut that for the same result in test?
I think i found the issue no one ever cleaned the side lens under the left side of the machine it has a dust spot on it and discolored, I cleaned it best I could and it seams to cut much better but still not 100% cut yet I will alcohol wipe the lens and see if I can get it clean.
Hello Dave, Welcome to the forum! 
You have just discovered why clean optics is the first rule of lasers. Infrared is just light until it touches something - then it’s heat. The goal is to transmit that energy instead of depositing it, and as the optics accumulate more and more film there is more for the energy to be deposited on. Eventually, the optics will be damaged.
Hopefully, you got that window in time! If there is a mark on the window that won’t clean off, then the surface is burned and the available energy is attenuated to a degree. That’s ok, replacements are in the store. 
Actually, that window is the first to show any deposit because the smoke is drawn directly at it, so it is my guide to know when I should clean. Shine a flashlight on that window you found, and if you see anything - lose it with a “Zeiss Wipe”. T shirts, paper towels, No.
I used isopropyl alcohol and a camera lens cleaning towel. Took a bit of scrubbing and I tossed the towel because the baked on deposits came off on the towel. But the lens is shiny and clean now and no scratches so I think I found it in time. Thanks to this community and staff I don’t have to replace the lens yet. I am ordering a new magnet lens for the lower one just as a spare on hand. Might order the others as well to have on hand. I don’t like having a tool down when I’m trying to get things done.