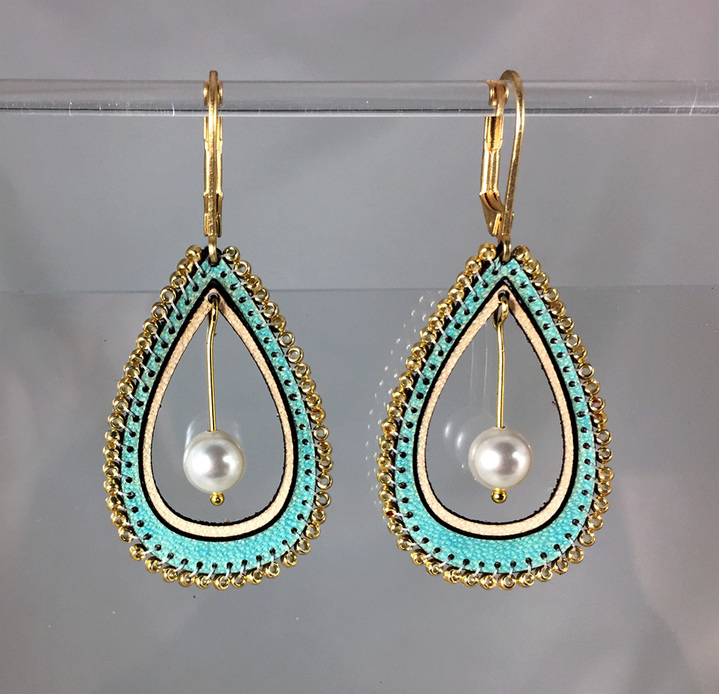
I promised to upload the design for my leather earrings, which I posted about a month ago:
Construction is not difficult but it helps if you are a detail person. And some of the supplies are not available at your local big box hobby store, you will have to go to a beading supply place.
List of materials:
Lightest weight Proofgrade leather (“Thin natural leather, 1.5 oz)
Beading needle, size 12
6lb Fireline beading thread in Crystal color
15/0 Galvanized gold color beads (or the color of your choice)
Two gold color ball headpins, at least 2”
Two 6mm Swarovski pearls (or 6 mm bead of your choice)
Two gold color leverback earring findings
Leather dye or Copic markers
G-S Hypo cement
Tools:
Jewelry pliers (round-nose and flat-nose)
Construction:
Cut the earring pattern in duplicate, using default Proofgrade settings.
Peel off the masking from the outer edge of the leather, leaving the interior piece in place. Color the outer edge with your coloring medium. After it dries, peel off the masking on the inner edge.
At this point it might be advisable to spray the leather with a matte acrylic spray if you have colored with Copics, or treat with the appropriate leather color preserver if using leather dyes.
Cut a piece of beading thread about 3-4 feet long. Thread the beading needle, and pull through one of the top tiniest bead holes from back to front, leaving about a 6" tail. Whipstitch around the tiny holes, inserting a bead between each stitch as you go around the earring.
Come out of the last hole and back into the first hole. Knot the two ends together with a double knot, secure to a back thread with half hitch knots, cut off excess thread, and add a dot of G-S Hypo cement to the thread ends.
Place Swarovski pearls on the ball headpins and mark on both where you want the loop on the end to be, so they will match. Using round nose pliers and flat nose pliers, create a simple wire loop on the end of each headpin. Poke the end of the loop through the lower hole in the earring. Attach the leverback earring finding to the upper hole in the earring.
Let me know if any questions, or if you make a pair!
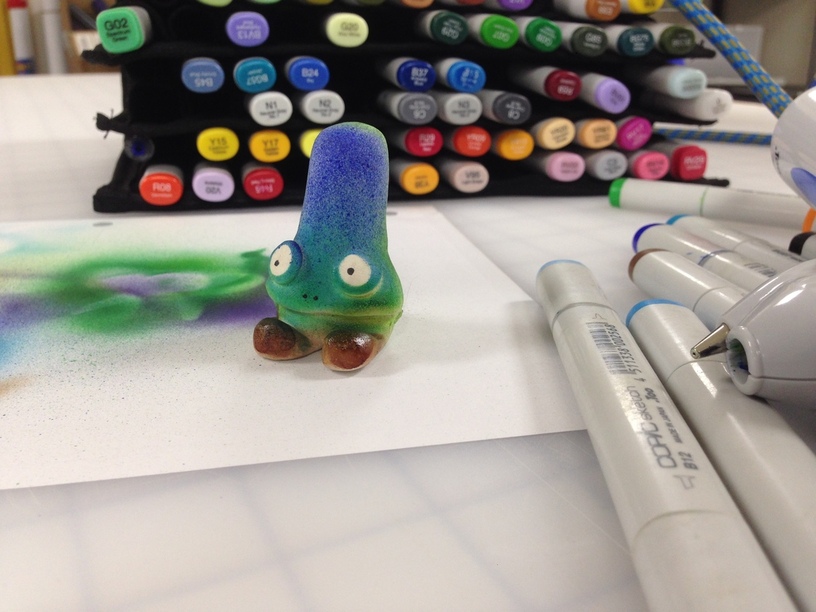
My copic airbrush adapter arrived yesterday, and I messed with it for a few minutes this morning. It’s neat, not as consistant of a spray pattern as I might have hoped, and def seems to like very full pens more than half-empty ones. Seems to work better in little bursts. No mess, and no propellant chemicals to worry about. Felt dry to the touch in about 10-15 seconds.
I sprayed a little blank fimo dude that I made several years ago and never got around to coloring.
O…M…G!! That is so incredibly generous of you!! And maybe very unwarranted…I don’t think ANYONE would EVER fault you for selling those designs, maybe even in the catalog, if they set up something like that…
Several swear words ran across my brain in astonishment as to how beautiful those earrings are! Does that happen to anyone else?! I was like, “Holy bumble-butts! No fan-doodle way are those made on a laser! Geez, look at those little shootin’ pieces! That must’ve taken hours”.
Truly impressive!!
I made my wife earrings once. She threw them away. No lie. Still leaves a bit of a scar But I still love her . Perhaps I’ll make her these for Christmas!


 But I still love her
  . Perhaps I’ll make her these for Christmas!