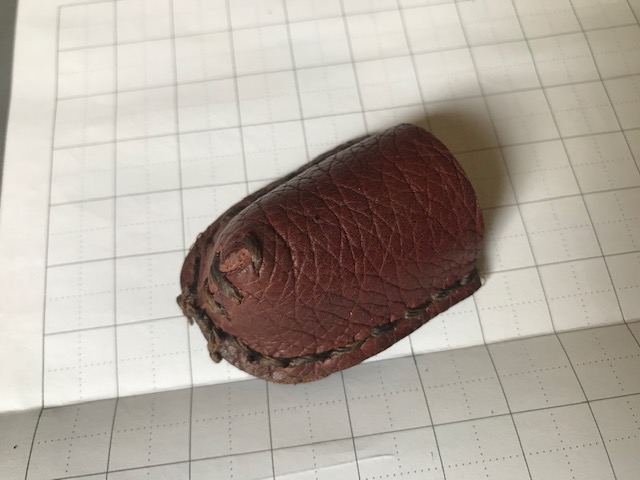
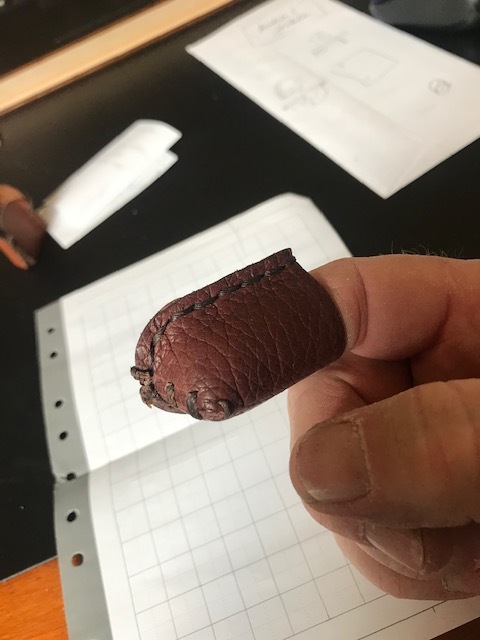
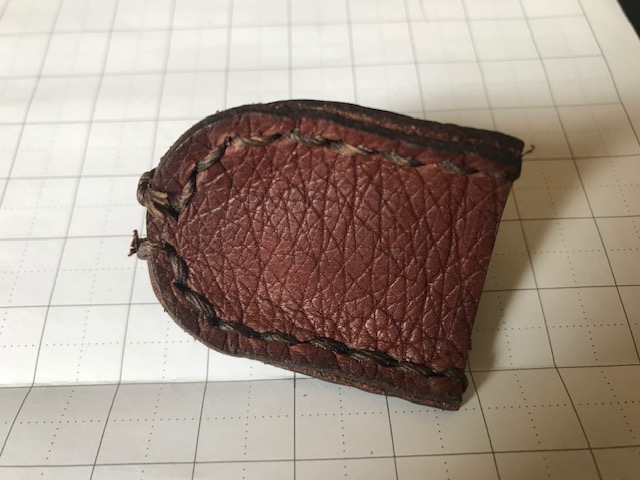
Spent an isolation day making and re-making a leather thimble to help me grip the needles when hand sewing my leather projects. This is it so far although i have to hand punch the stitching holes. If anyone has improvements please let me know so I can try to improve my thimble and my skills.
Thanx, Craig
11 Likes
Why didn’t you laser-cut the holes?
1 Like
do you have a picture of one that is assembled?
Current lack of skills. I can do some of the holes on the straight portion but so far can’t do the holes on the curves.
Check out this tutorial by Nick:
Your pattern would be a dot, the path would be an inset from the cut pattern you already have. When done, convert the resulting object to path (bitmap trace) to get the outline for cutting.
5 Likes
GFUI has a new beta thing so you can add shapes in the program itself when you usually would go to print you can add shapes, I’d try that. I’m pretty new though too so maybe there is something I’m missing as to why that wouldn’t work. Let us know what you find out
Thanx, I will try your suggestions. So far it has been cut the basic shape, sew partially together, take apart and make changes then re-sew
1 Like
Thank you for this.
I use text along a path with periods. The Arial Rounded period works well for my patterns. I make a big line of them then select a linked offset of the object I want to add sewing holes to and then do text to path. Then convert the dots to a path using “object to path” and ungroup them. Lastly,t copy and paste the section of holes to the pieces that are sewn together so everything lines up.
3 Likes
Cool. I have been using Edwardian script periods at 30 or 36 pt. But only a few times and until now I haven’t done offset at all. Thanx for the tips, I will try them and learn new skills in the process.
smart
Thank you, this is gold. I had no clue and I really appreciate it because I’ve already wasted so many hours drawing everything in and angling objects individually…there might be happy tears 

3 Likes
Somebody later suggested “text on a path” using periods as well - I never thought of that, but it’s a great idea.
1 Like
How do you determine how many stitches per inch. I usually do four when I do it with punches. When I do it with Inkscape I alternate periods and spaces then stretch in one direction?
I mostly design bags so the default 30 pt arial round gives me about 5 stitches per inch. That’s my go to. I haven’t needed to change from that.
k2qwrki what do you mean by stretch it?
I do four stitches per inch because that matches up with my leather punches.
So if I am doing a 9 inch long piece 4x9 = 36 plus one for the zero point.
Once the dot/space/dot sequence is typed in and converted to a path I use the height and width on the tool bar to make it 9 inches wide then do the placement. That works mostly, now I have to learn to do curves using the offset. Hopefully that makes sense