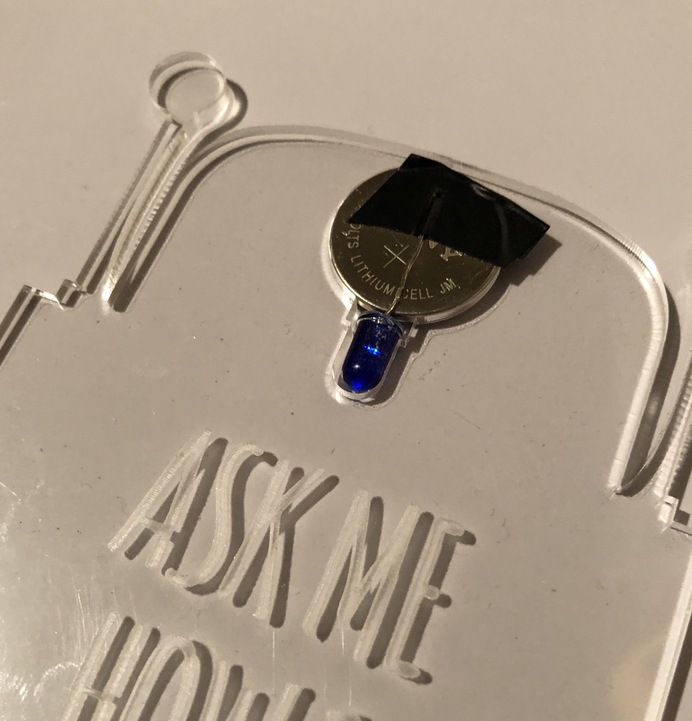
I got the flashing LED at the maker faire from NightFire, a very nice couple. As Tim said it is a simple all in one LED.
What was the dimensions of the acrylic that you used?
Thickness? It was medium proofgrade acrylic.
Yes. What was the thickness that you purchased from the store?
They only have two sizes. Medium and Thick. It seems to vary a bit. It was a tad thinner than the medium draftboard. I measured the acrylic and mine is 3mm.
hey i made this, i think its great! only problem i am having is the acrylic snaps off on the tabs when I try to push it in the holder. any tips?
Did it break when flexing before going into the holder? If not then the holder might be too snug. I made two and the second one I glued the edges to close the mark and it was too tight.
I used proofgrade acrylic I didn’t treat it in anyway. You might try adding some strain relief holes in the tight angles of the tab. Once it snaps in it isn’t going anywhere I have to use a penny to push the tab and work it out.
Good luck. I hope to see a photo of your project.
2 Likes
Sometimes acrylic needs to be annealed to make it less brittle. If you search the forum for “anneal acrylic” you’ll likely find recommended conditions. I’m thinking I did it in the oven at about 180 degrees F for about an hour, but it was a long time ago.
2 Likes
thanks but they snapped when i was just trying to get them in. i am going to try again but may just sandwich the pieces together and set them with a small screw to prevent the breaking.
hmmm did not know that! I will have to research it! thanks!
c
1 Like
I had to file down the inside corners of my holder to get the tabs to fit in. Once I did that, no problem at all.
1 Like
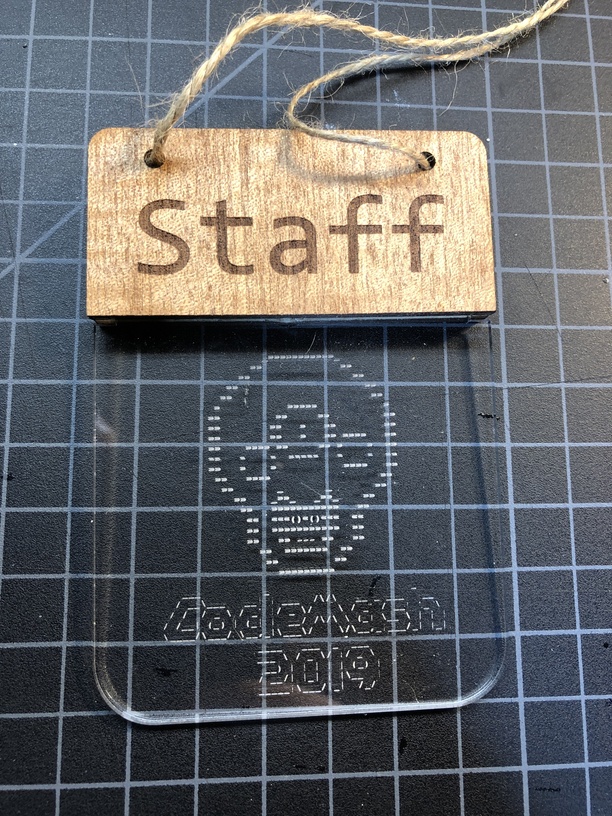
I forgot to post my make. I help organize a volunteer software developer conference in Ohio called “CodeMash”, back in January. I made about 10 badges, one for our staff members. They turned out really well and got a ton of compliments. I made mine out of 1/8" poplar wood and engraved some veneer for the text. I also have one that I engraved with a QR code with my Glowforge referral code on the back side.
7 Likes
are you all using thick or medium proof grade material? I made another one and it works but when I put the led on the battery it doesnt fit as nice and flat as it should. I am using a 3mm led as well. Both my acrylic and my plywood are proofgrade medium, was thinking maybe thick would give me the extra room?
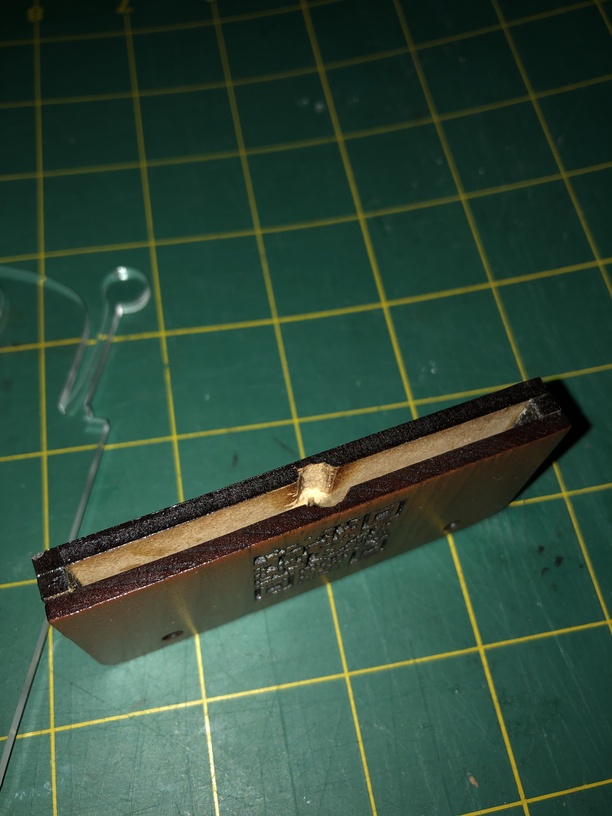
My first one I made was using some PG draftboard that was about 3.2mm (1/8") thick. I ended up switching to Poplar (had extra) that was also about the same thickness. I took a drill and removed some material in the middle to better accommodate the LED. The legs like to bend otherwise. Here is a picture that shows it.

1 Like
hmmm ok thanks!
No prob. Make sure you don’t open it up too much, because then the LED legs won’t stay on. It’s a little tricky but once you figure it out it’s easy. (you could also put tape on the legs / battery if the hole is too big).
2 Likes
I did a bit of both. The raster file for the engrave was not deep enough so I sanded it a bit with a dremel. You could also use a drill. Another option is filing down the edge of the LED. I think when I made mine I did not clamp the wood, so it is not as snug. Next time I will wrap the acrylic with some tape and clamp in to dry, then remove the tape.
1 Like
so i cut the front and back out of medium plywood but made the three internal supports out of thick plywood. that gave me enough space for the battery and led so now it fits together perfectly!
2 Likes
@bwente
Do you have a video of how you put the badge together or photographic steps? I think I printed it correctly but the CR2032 battery I have doesn’t fit and I can’t figure out how to glue the pieces together.