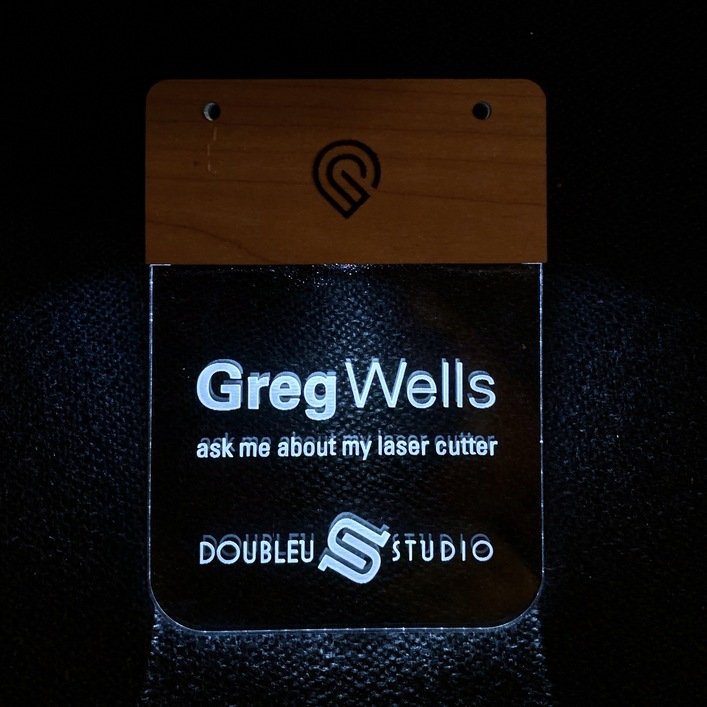
I saw in the post by @laird that you used a ball chain to hold it around your neck. Where did you get that? It looks great with the rest of the design and much better than my simple bobby pin. Can you buy it cut to length or do you need to do that yourself?
Any craft store will sell ball chains. They even have them in different colors. 
3 Likes
Yes, what @geek2nurse said. I had a promotional dog tag that got mine from.
I did realize a design flaw. You have to take the chain out to switch the design out.
2 Likes
Nicely done! 
Good luck on getting some referrals.
1 Like
Did you find out whether you got stuck outside or inside for NoVa MakerFaire? Looks like it might be a warm one next Sunday.
outside. but i have a portable AC to bring with me. hopefully that’s enough.
right now my weather app is showing 88 next saturday and weather.com shows 86 for sunday. so fingers crossed that it doesn’t get any hotter than that, it’s not too humid, and it doesn’t rain.
3 Likes
I just made about 2 dozen of these for Halloween. They came out great; many thanks for the file. Here’s the final batch:
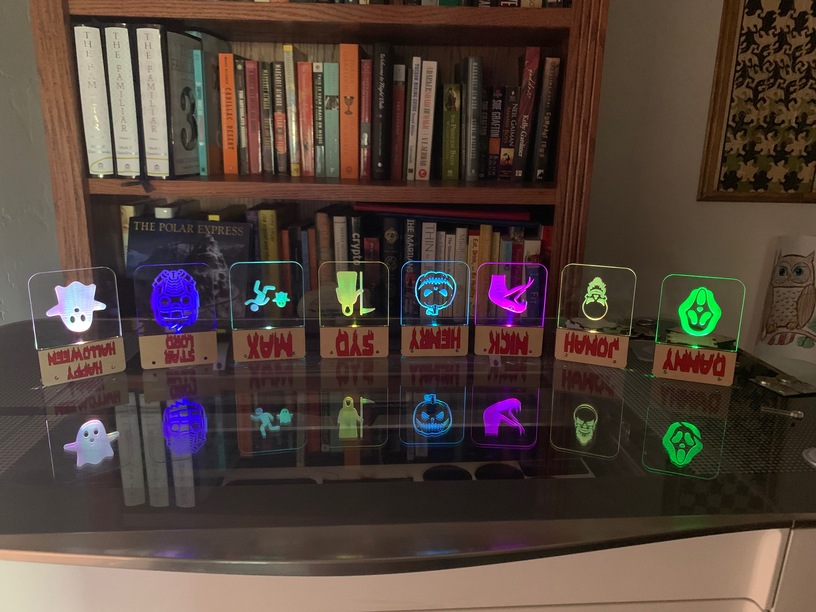
I used a font called “Bloodlust”, and svg’s from the noun project.
I was not able to find an SVG in this thread with a rectangle to engrave so the 5mm LED fits, so I have included my update below. I found that an engrave speed of 600 and full power produces about 1.5mm of depth in draft board. The rectangle extends very far inside because I was having problems with the legs of the LED catching if I made the rectangle shorter. This means that the tape used to hold the legs to the battery is even more important.
Going into batch mode also meant I needed a quick way to glue these up. So I created an assembly jig, which is really the original file with the sides subtracted. I found a drill bit to use in both holes to help with alignment (3.5mm and 9/64 I think). The idea came to me when I selected the wrong things to cut in my practice run.


I must say that I am not a fan of the default engrave in PG acrylic. It is too deep for my tastes. I like speed 800, power 65, and focus 0.25 for 1/8 PG clear acrylic.
12 Likes
Did you see the post where someone ghetto-rigged a duct out of cardboard, to force the air from a floor-standing AC unit underneath the GF (which is where the inlet duct and fan are located)…
you mean mine or someone else’s?
No idea, I just remember seeing it recently and thought of it when you said you were taking an AC unit to an outdoor event.
if it looked like this, it was me:
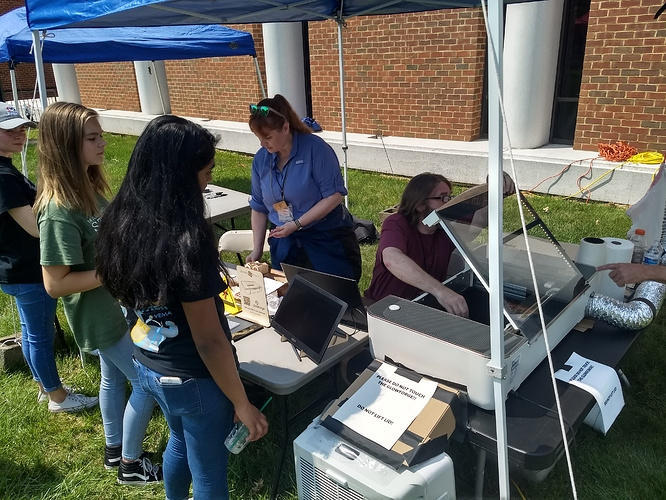
that’s what i ended up doing for the makerfaire. it’s a sliced up UPS medium box.
6 Likes
And it was sweaty hot that day.
2 Likes
Those are excellent! Did you used colored LEDs or did you color them yourself?
I uploaded a bitmap in a followup reply for the engrave.
The gradient wasn’t worth the time to make a difference.
I am so glad the badges worked for you. They are a bit “fiddly”, but it worked on my first attempt.
BTW the reflection is perfect, nice job!
I used the color changing LEDs listed earlier.
I kept a chisel handy after the first glue up to ensure there was room for the ends of the acrylic to seat. I needed to do that a couple of times even with the alignment jig. I also broke one acrylic insert while inserting.
Thank you for your additional information to this super cute badge tag idea. I am new (like brand new) and want to try this for my first project. Your Halloween tags turned out so great. I was wondering for your engrave for the acrylic, did you choose Draft or SD or HD graphic? Thank you for any further info you might care to share!
2 Likes
If you re-read @stoli’s post they didn’t use any of the default settings but instead set speed/power manually.
To get a very shallow, but noticeable, engrave in PG acrylic, I used speed:800, power:65, LPI: 270, and defocus:0.25. I believe 270LPI corresponds to SD. The defocus (0.125 above the nominal surface) helps to smooth out any artifacts from the mastering.
I created a mini material test board that only varied power and speed in a grid of rounded rectangles and chose what I liked the best.
Note that I only changed the acrylic engrave because the default deep etch did not suit my taste. But, it would be perfectly acceptable to leave the engrave at the default setting. The only tailoring needed is for the engrave on the draft board to create enough room for the LED.
2 Likes
Thank you so much for your quick reply and for this additional information! You gave me all the settings I needed and I was able to create some cute Christmas LED badges. I was using some purchased LED badges and did not know I should have removed the acrylic covering so the results for the first one was ‘interesting’. But after that they all came great!
Thank you for your help. I thought they had started with one of the default settings and then made manual adjustments to it. Trying hard to learn how to use my Glowforge.