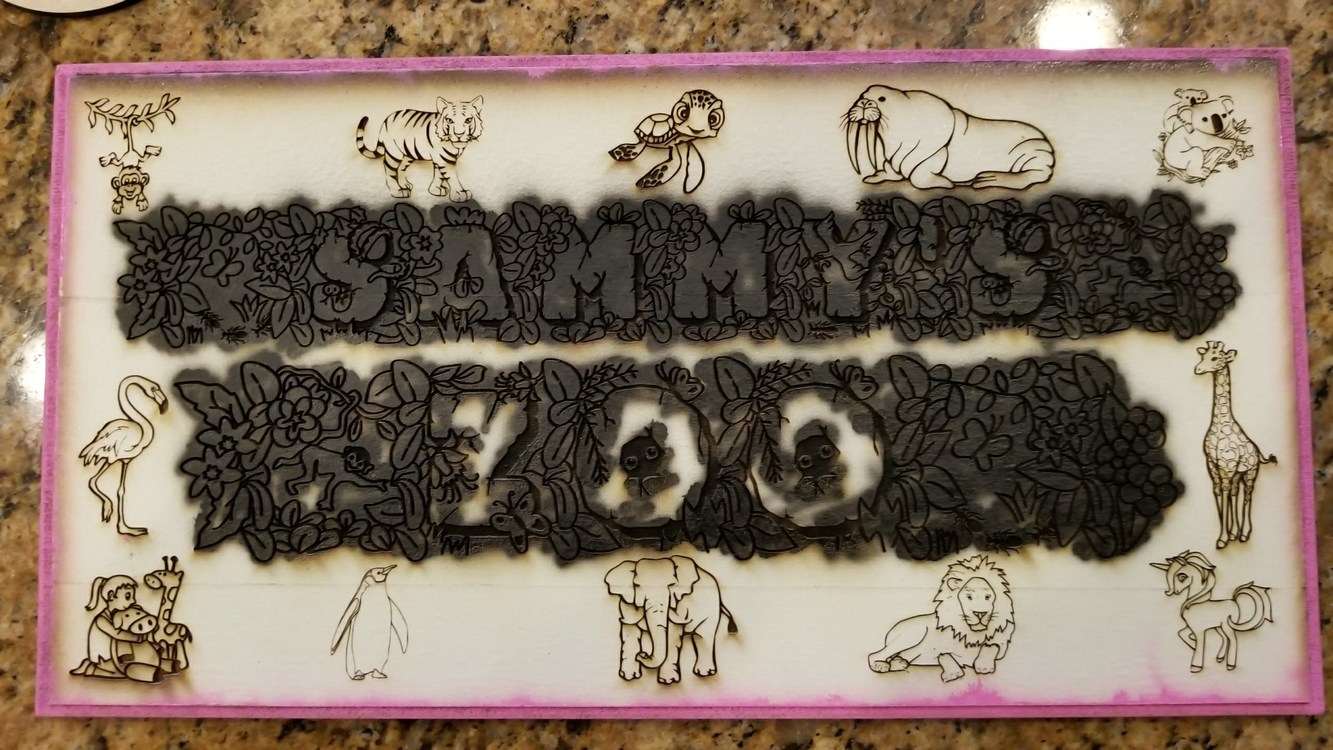
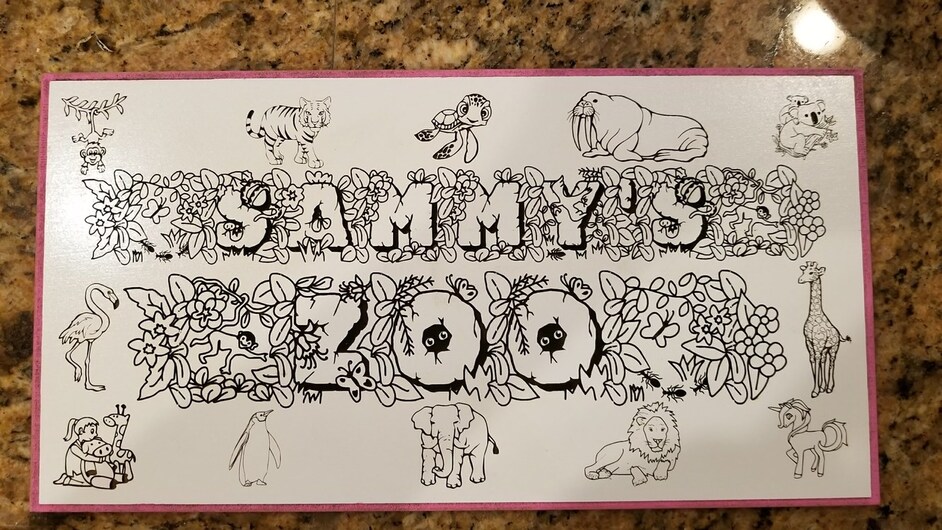
I cut a coaster and a sign for my daughters “zoo” today. The zoo is like one of those ball cages in a store where you pull out the ball you want from between the taught bungee cords, except the cords are hot pink, the cage is Princess white (naturally), and the balls are stuffed animals.
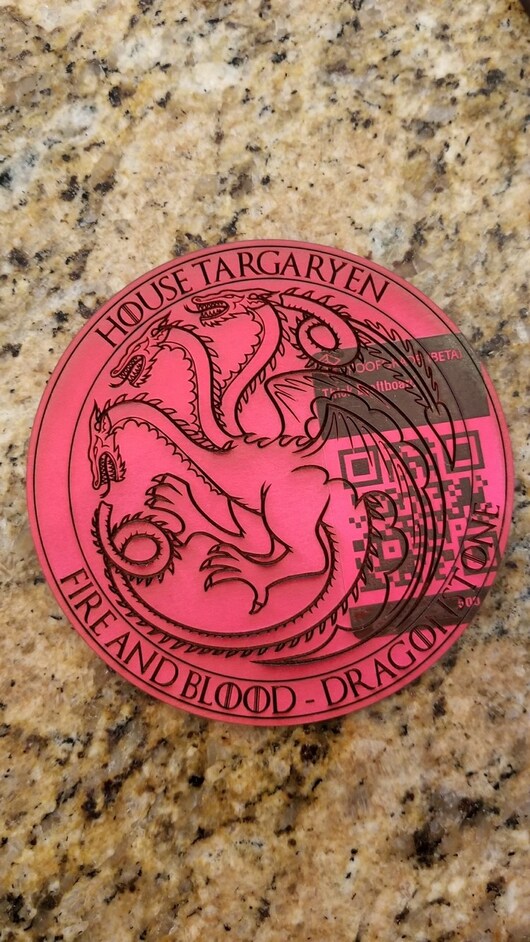
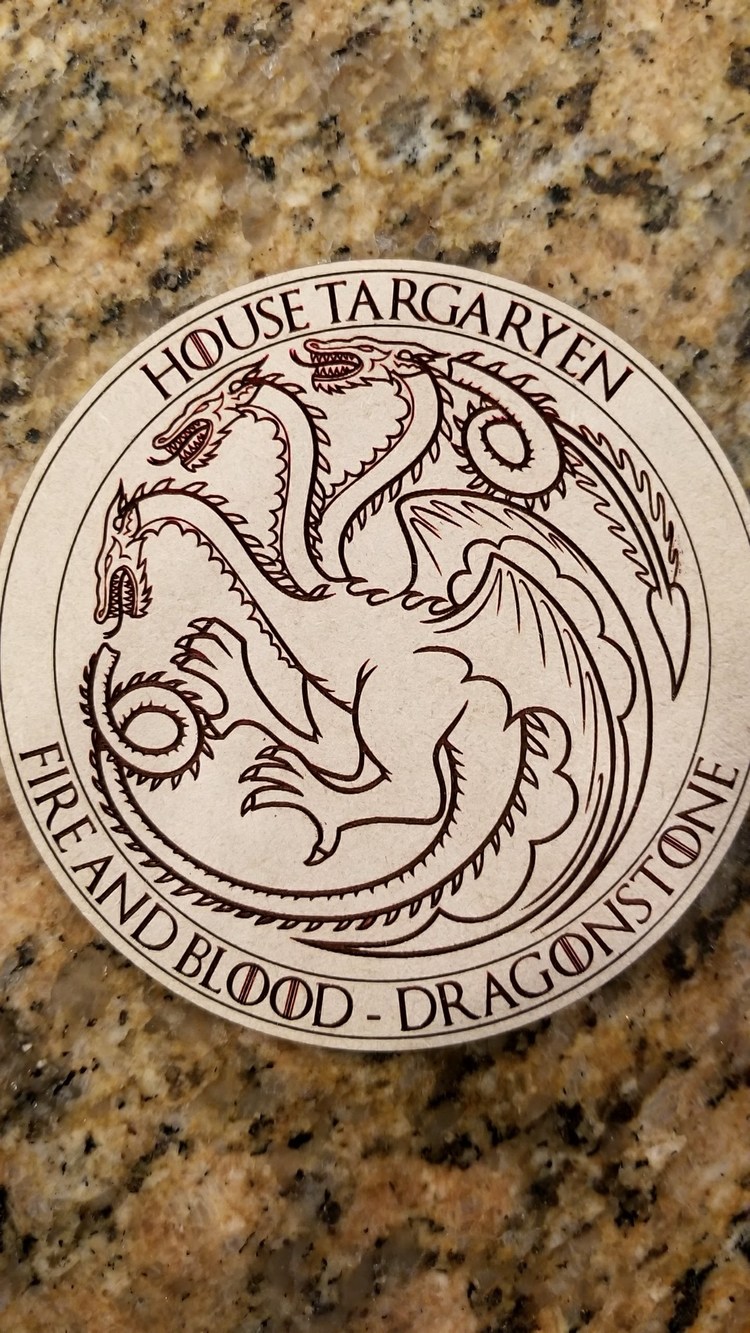
So the short version is on the coaster, I tried to direct red paint down into the engraving before I weeded it. When using an airbrush, I learned the paint mist is so fine it doesn’t cover well, and we’re trying to cover charring, so I ended up with a little red tinge instead of the bold highlighting I was looking for.
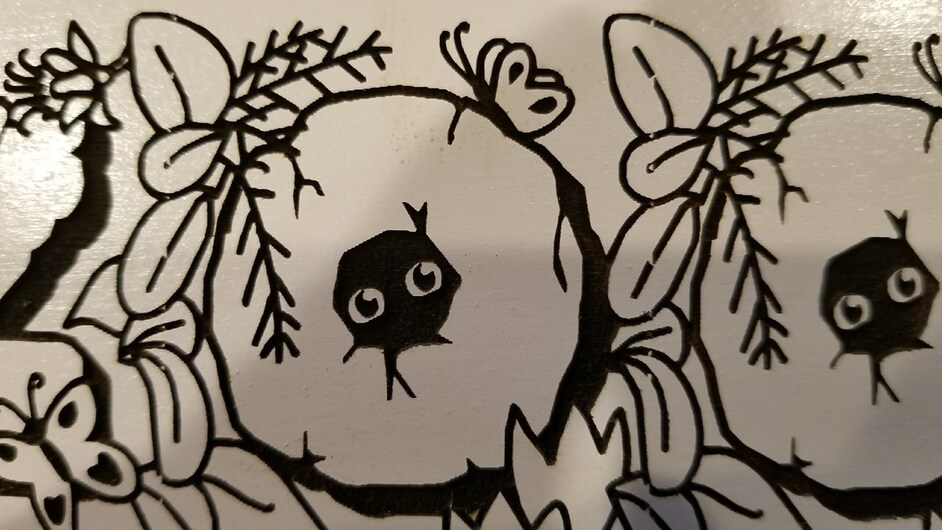
It’s not all bad news though. I also discovered that using black with an airbrush really adds contrast and makes the details pop on the “zoo” sign, especially as I had prepped the board with a coat of Princess White beforehand.
I’m going to try the Game of Thrones coaster again later in the week, and see if I can get better color depth with a rattle can. If anyone has a different/better method, I’d love to hear about it!
I found that cheap craft store acrylic paint and a cheap, short, stiff brush does a good job of getting into engravings. The rattle can was no good, and more work too when you account for overspray hassles.
The only trick is you can’t scrub too vigorously or you may disturb the masking, but overall I found it easy and effective.
These look really cool. Interesting about the most being almost too fine. I had considered picking up an airbrush for color filling engraves, but first tried a paint marker and was pleasantly surprised with the results!
From experience doing this with wood grain and routed signs and things like that a good hard nail brush / scrubbing brush to work the paint into the cracks works well.
A quick blast with an orbital sander afterwards takes the the paint off the top surface.
I can second GrooveStranger in regards to the rattle can: it hates adhering to the char in engraves. I had decent luck doing what you’re not supposed to do - spray it on thick so it is more like filling with a resin and then squeegee. There was minor wicking under the paper, however.
I want to see if using a primer first will work before totally abandoning the technique.
If there is a way to make the rattle can work that would be great for big jobs. For small jobs I really like that I can do acrylic paint and a brush indoors without special prep.
Yesterday I though, ah hah! I can paint that engrave with this fine tip brush I bought. Turns out the brush was as thick or thicker than the engrave (the engrave was a name), but still the paint didn’t want to adhere so I did more of a fill than a paint. Also, still had wicking under the masking. However, I used acrylic leather paint and not acrylic craft paint as that is what I had.
They make brushes for stenciling, just good quality “stiff”, short bristled. Not sure if it would make much difference, but just throwing it out there…