I read earlier where someone posted “third times a charm”. Same…and I dare say the end result was perfect!
4 Likes
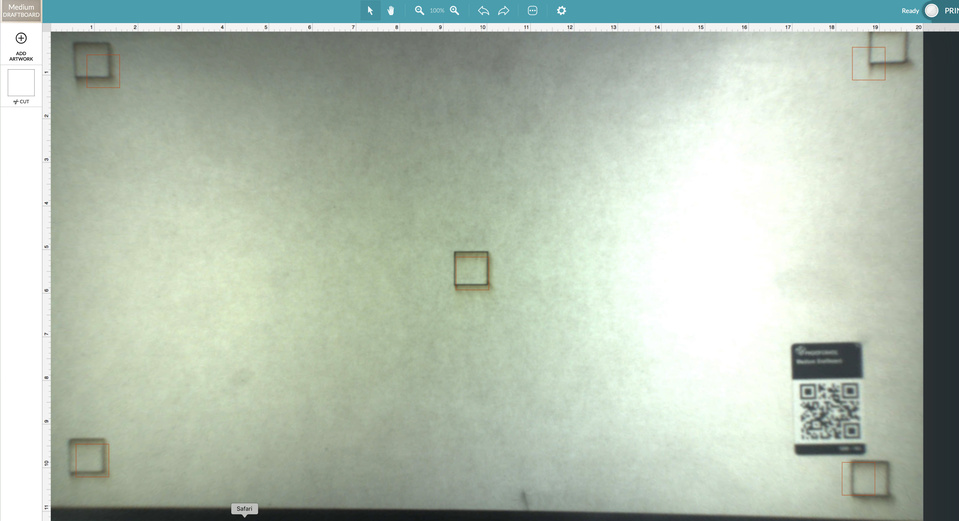
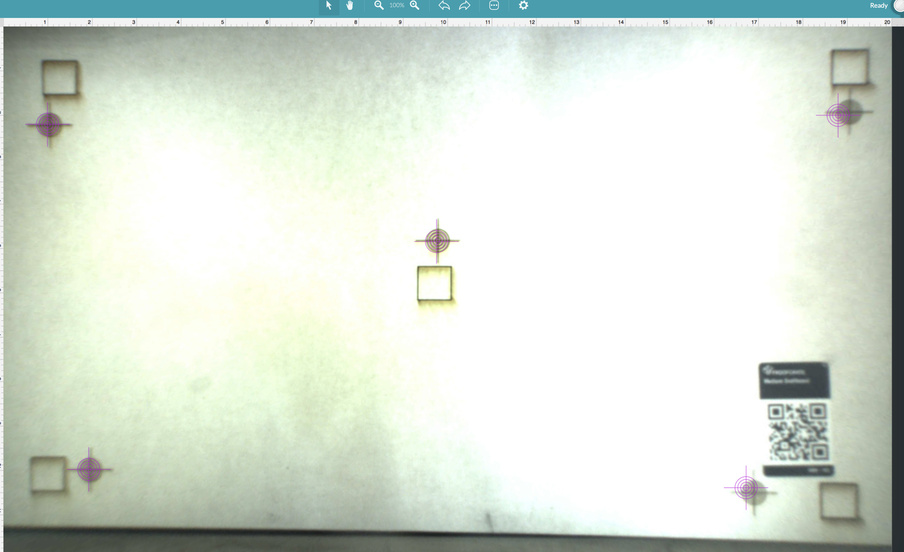
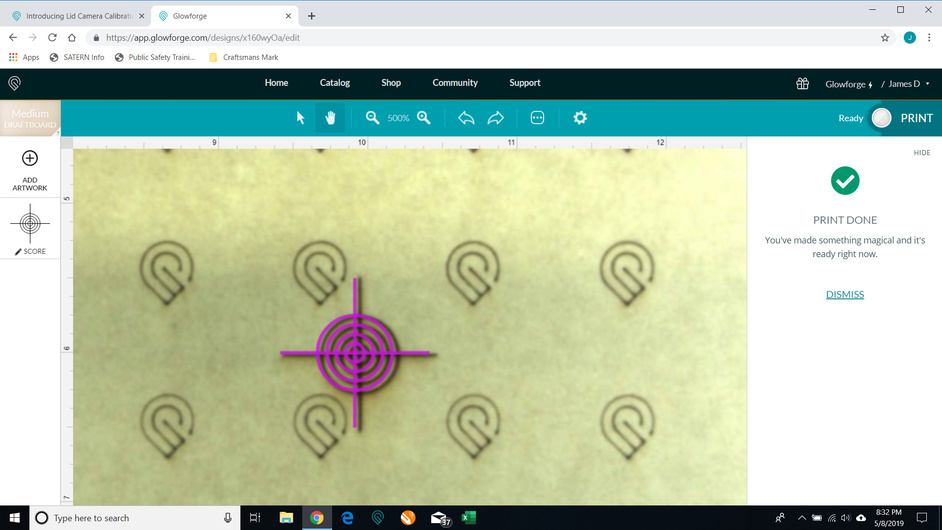
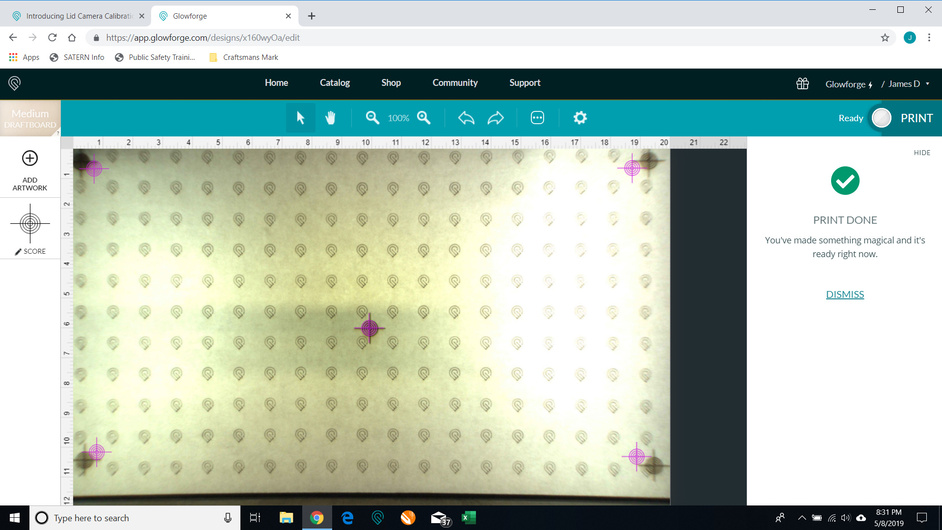
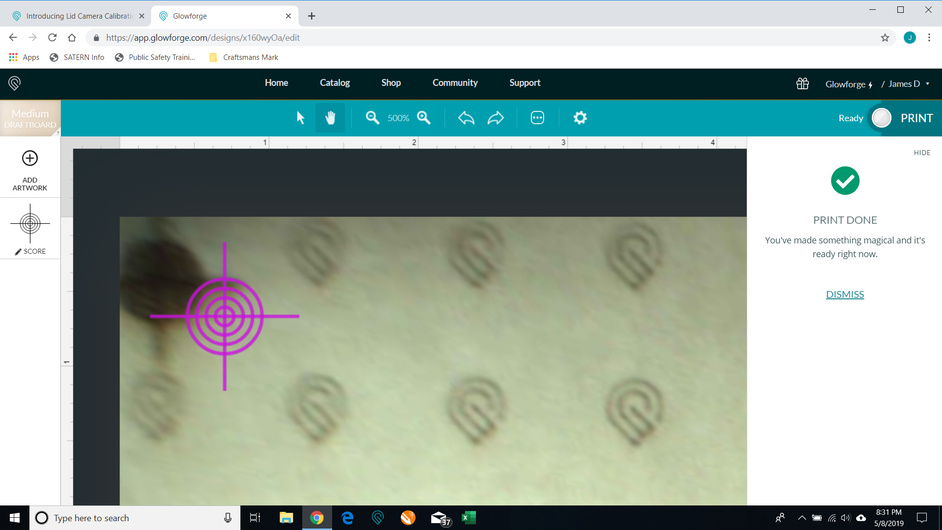
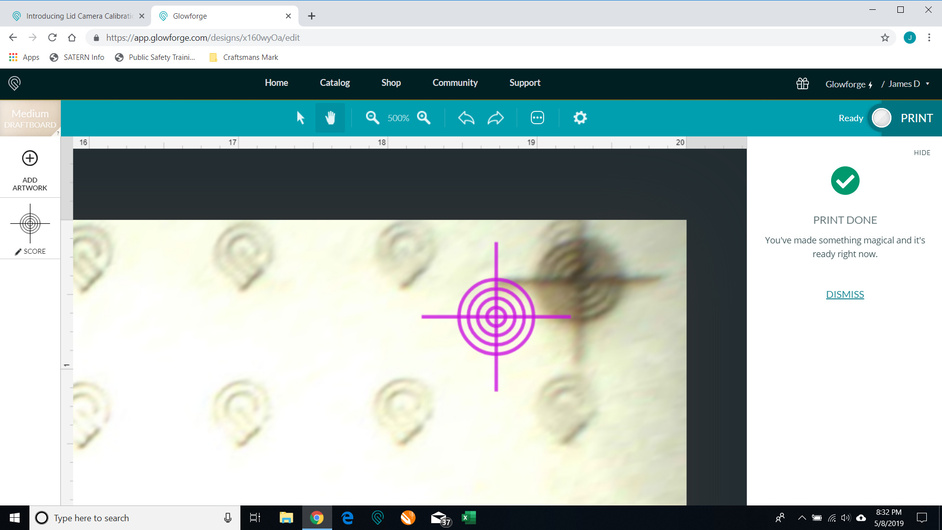
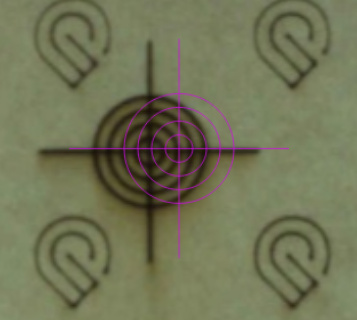
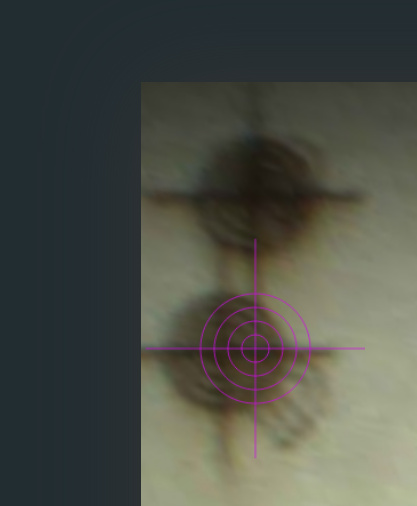
My alignment has always been terrible even with a clean crumb tray - it greatly affects the usefulness of my Glowforge. I took the first screenshot this morning (squares), ran the Lid Camera Calibration and took the 2nd screenshot (targets). Still very off - I’m so jealous of those who got alignment! Can the Glowforge support team please help? Thanks.
Thanks for letting us know how those tests went. I was wondering: when you printed all of the corners, did you use Set Focus in the center of the material? If so, you might see offset in the corners if there is even slight warp in the material. I’m interested to know whether the results improve if you run four different target prints in the corners, using Set Focus before each in the intended location?
2 Likes
Oh no! Thanks for sharing that screenshot and those details. We’re looking into it now and I’ll update you just as soon as I know more.
So having a bit of a problem. Didn’t want to post here because it’s “sans crumb tray” - but @jae @vee @dan: HELP! ![]()
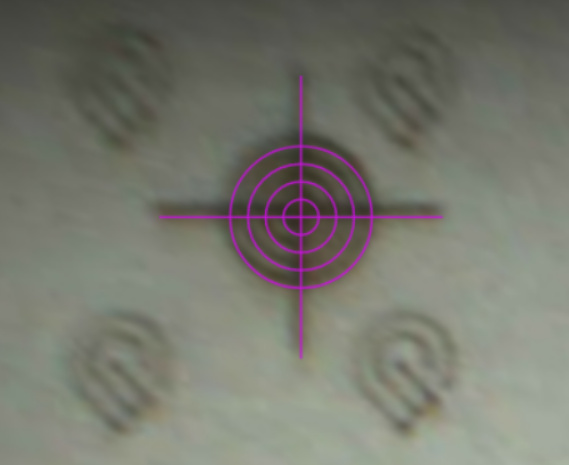
It’s flat medium draftboard and I set the focus on the crosshair not the center…I will do it again and attach screenshots
For some reason the reply wasn’t tagged to you… it is below Bigjohn
Whole process took about 15 min.
1 Like
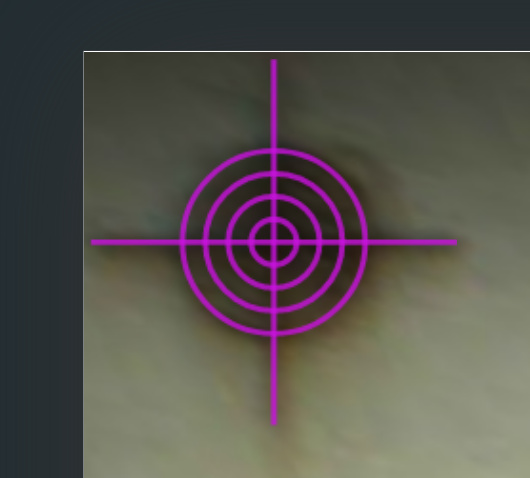
So i did the calibration using a tablet since i didnt want to have to run up and down 3 short flights of stairs but i couldnt do the test print with the target file. So went to the computer and tried to find it. No such luck so i made a quick one considering the file isnt a huge deal as long as you have something to compare it to. so below was my spot on hit.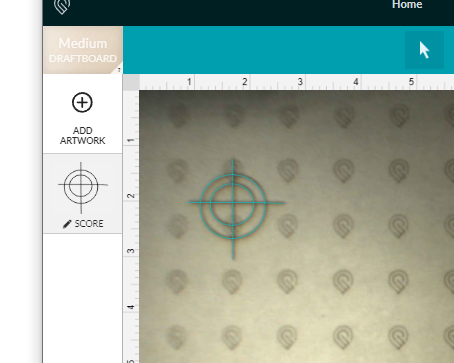
You cant see it because it is actually underneath the image!
Good job guys!
10 Likes
I had to calibrate twice because the first sheet of PG Draftboard was slightly warped, resulting in an alignment error. I put in a new sheet of Draftboard, pinned it flat overnight with magnets on the crumb tray, removed the magnets and tried again. This time the calibration nailed the alignment. Joy!
2 Likes
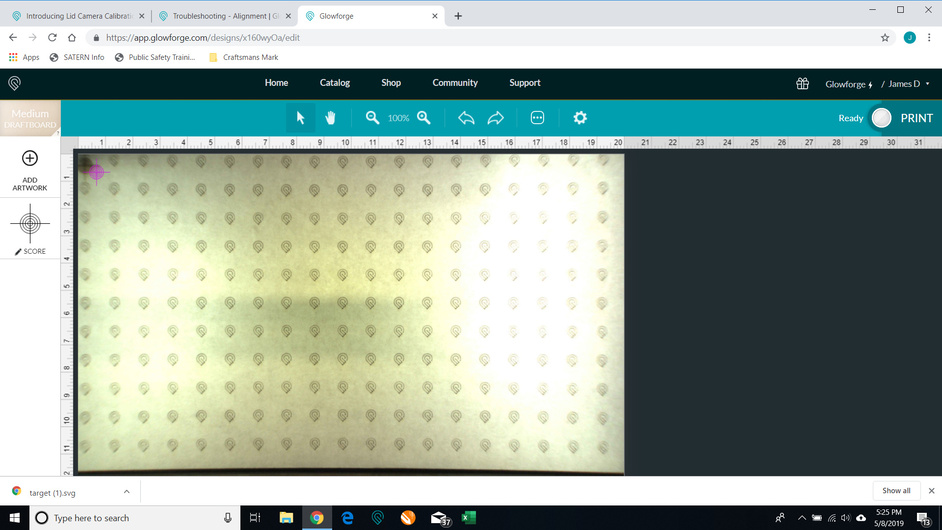
I just ran the calibration using ![]() Medium Draftboard.
Medium Draftboard.
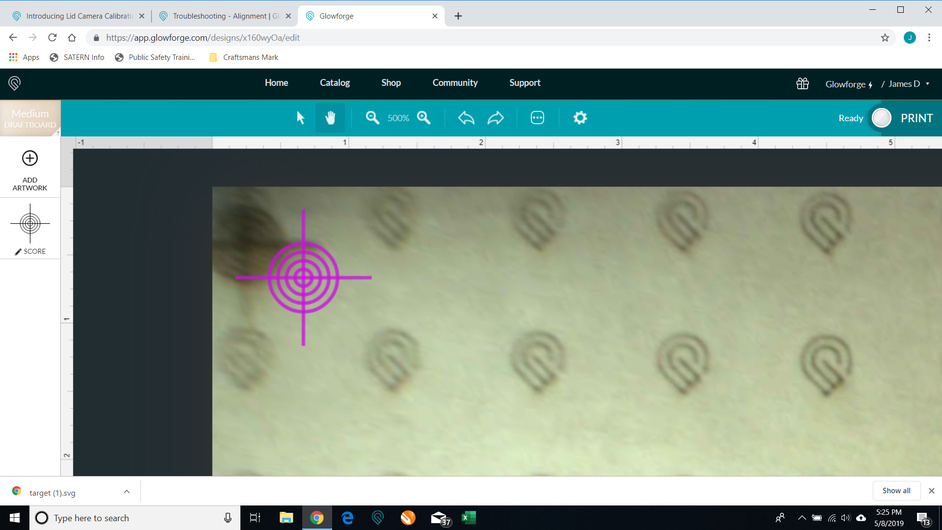
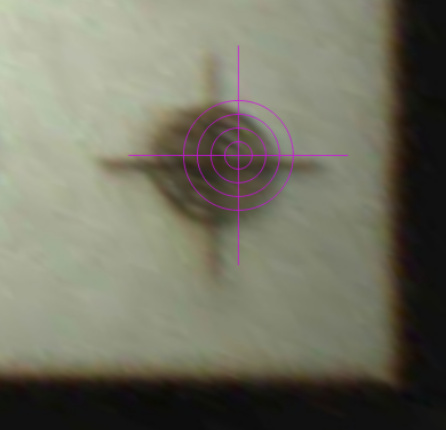
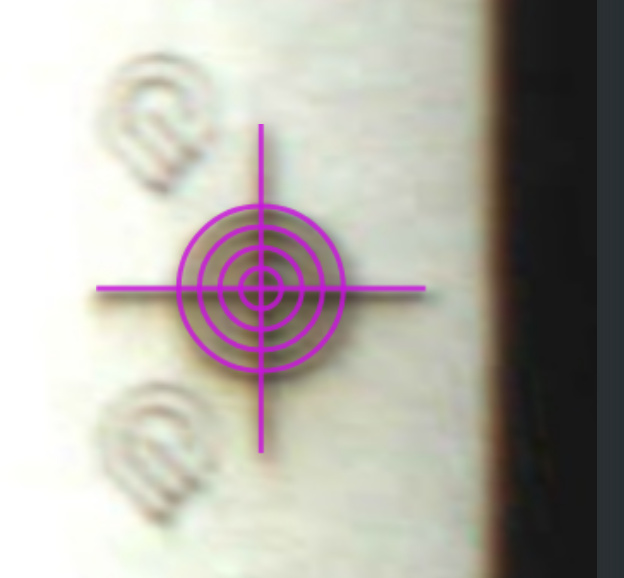
The first check (top left corner) was great and made me very happy:
Being a developer I know 1 test is no test so I tested the other corners as well.
Top right:
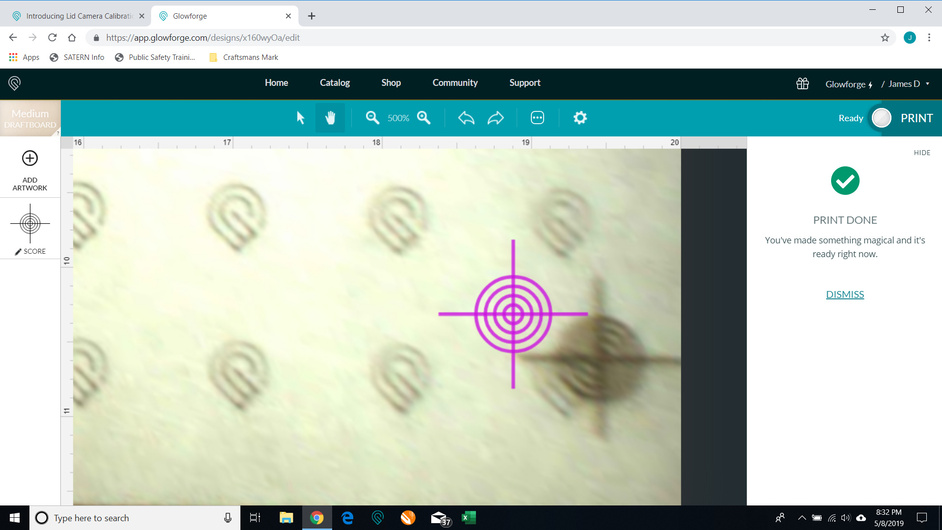
Bottom right:
Bottom left:
Middle:
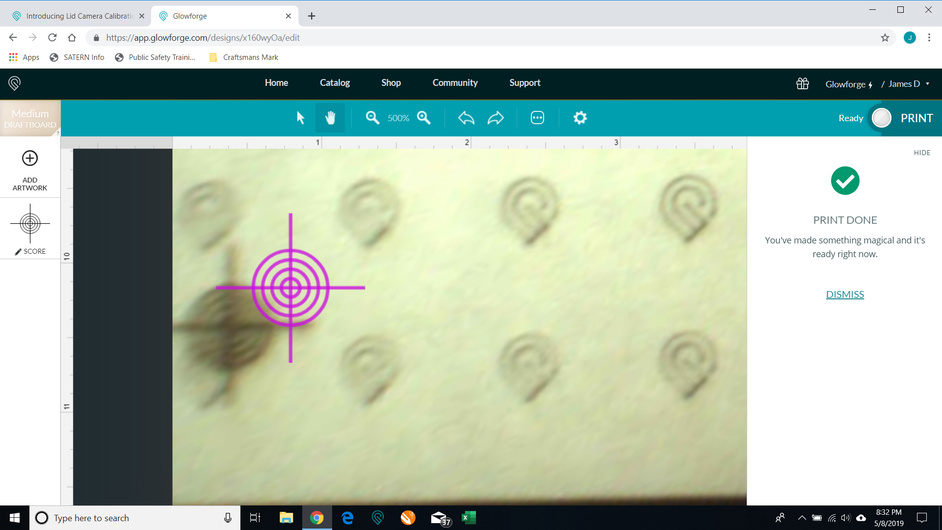
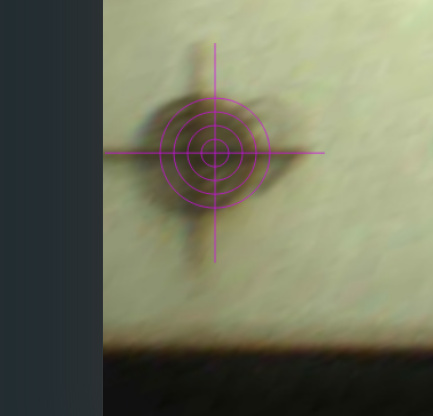
Because these results are terrible I tried top left again:
It seems the calibration is lost again.
I did not open the lid after calibration.
Do I need to calibrate again? Or is something else wrong?
1 Like
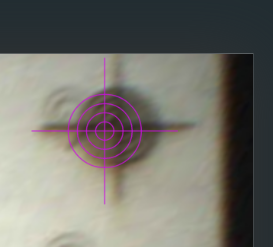
I turned of my  and had some lunch. I came back and wanted to try once more and printed two more targets and they are spot on again:
For now I assume it is all OK now. And will continue with my ‘normal’ cutting work.
It’s almost Mother’s Day and still need to cut a lot of designs 
5 Likes
I felt a great disturbance in the support, as if millions of voices suddenly cried out in relief and were suddenly silenced

25 Likes
@joe tipped me to this last night when we ran into eachother. THis looks amazing. I had been off the forum and not even really using the machine for a long while as I chase sub-thou precision on the lathe.
This feature is likely to bring me back.
Thanks, @dan and team!
7 Likes
How did I miss this??? Very exciting, as soon as my GF is back up and running (hopefully soon, depends how long the part takes to get to me) it will be one of the first things I do.
1 Like
Hi all, been a long time since I posted last. I tried this today, two separate attempts. I am having an issue that states the set point that I chose cannot be measured. Material is either too tall or short. This is on the same piece of medium draftboard I am using to do the process. Any ideas on what could be causing this? I tried to turn off and back on, did the targets again but they are still way off and get the same message about material height
Did you set the focus in each spot before printing each target? If not, they can come out different.
Where did you select the point to measure? If you pick one too far to the left the set point reading can’t be taken because the red laser dot will be off the material. You can watch when it takes the measurement to see where the dot falls and if it’s not on the material try it again on a new spot.
1 Like
Also a possibility that the two windows on the bottom of the head on either side of the lens are dirty. The head camera may not be able to clearly see the red spot. Had that happen and give a similar error.
2 Likes