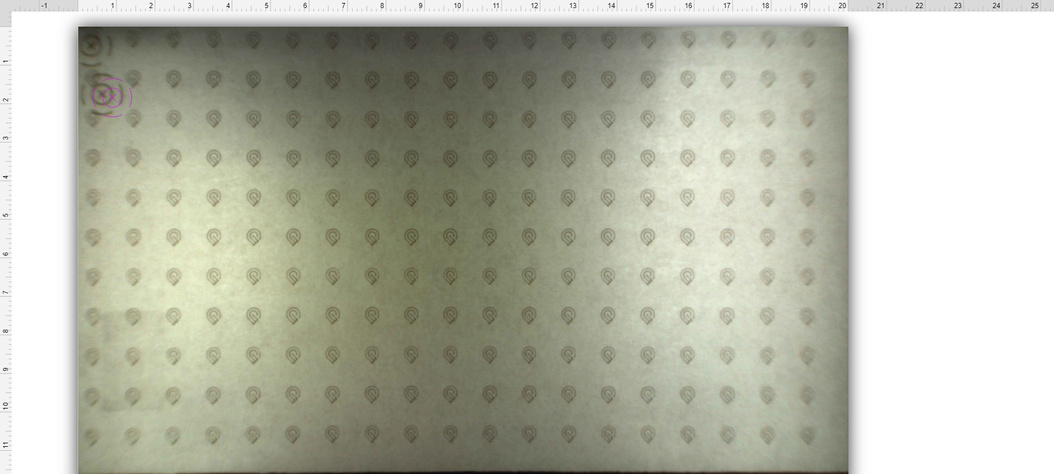
Thanks. I’m giving it another go with a clean board completely covering the honeycomb. It looks as flat as I can tell without precision measurement. It’s printing in a dark room.
Once the print is complete, I’ll run in and see if I can catch the next step. Maybe my presence will ward off the evil spirits.
Mine is not even in the ballpark. Not so bad from side to side, but about it misses about 3" off of the top of the crumb tray. You can see the camera is pointed to the door, before it even starts. Followed the calibration instructions to a “T,” watched the video, wasted a piece of brand net proofgrade material. I wish I could get my snapmarks back, it was nice not to have guess if will print in the right place. Wasted too much material. Bummed.
You should probably post a screenshot. The developers are monitoring this thread to help with troubleshooting, and they can roll your calibration back to where it was before, if needed.
I’d definitely suggest trying it again. Some Others have said it has improved on a second time. Be sure your material is FULLY forward in your Glowforge.
And, if you are not happy with the results, do post pics of the end result so the team can review and potentially make adjustments.
So I still haven’t done this yet. But since it’s a holiday weekend I might just have a few extra minutes to spare.
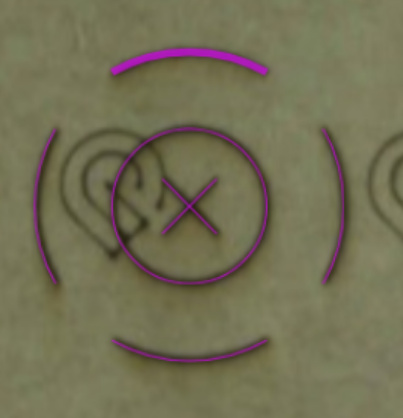
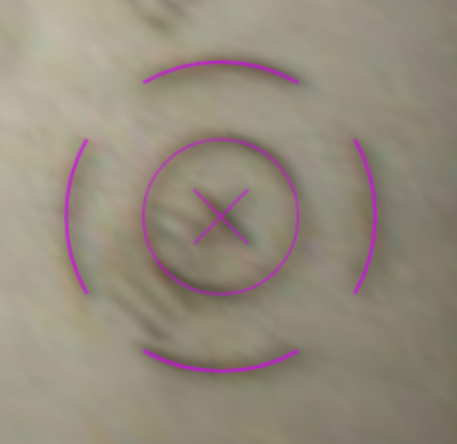
Question: Is it possible to do a Before & After? Can I get my hands on that targeting reticle before I start the process, run one off, grab a screenshot, and then calibrate and compare? I mean, I realize I can just use my own reticle, but I figure that wouldn’t be “official.”
You should be able to see the front door and you won’t be able to see all of the back of the honeycomb. The tray is much deeper than 12" so you’ll never get all the way to the back. If the top cutoff doesn’t let you see about 12" then you’ll want to report it, otherwise it’s normal.
I have never seen 12" up except when the focus is at 0.5 inches I get 11" max and the cut line goes gray at almost exactly the upper reach (and the left side reach) of the available view. only at right side and bottom can I see where I cannot cut.
Didn’t seem to help at all, I followed the steps all the way from completely cleaning the machine to the end and printed the test image, still 0.5 in off.
I’ve tried 5 times now and during this time, I had cleaned the camera, reset my wireless router and internet after disconnecting the power cord on the GF, restarted my computer, cleared cache and cookies off my laptop, contacted support who told me that since this is in beta, they couldn’t assist and that a senior support staff will reach out. I also made sure to clean out the tray, any crumbs under the tray.
I don’t know what else to try to get this to work, currently, my cuts are about .25 inch off, not to mention, all the cuts on the left side of the cutting area doesn’t cut completely through.
Is there anything on this list that I’m failing to try yet?
This is all happening while you are trying to run the Calibration? Two things to make sure of…
the material needs to be flat(no warp in it) and the material has to completely cover the front of the crumb tray. If the material isn’t pulled far enough forward, the calibration attempt will fail.
Yeah, it stops at calibration. I have the Medium draft board (PG) flat on the cutting area. I have the material right up against where the honey comb stops. I’m going to try again, this time with the material right up against where the tray ends, hopefully that works.

 from this point on and will just re-mask again and again.