Damn, Youtube didn’t notified me 
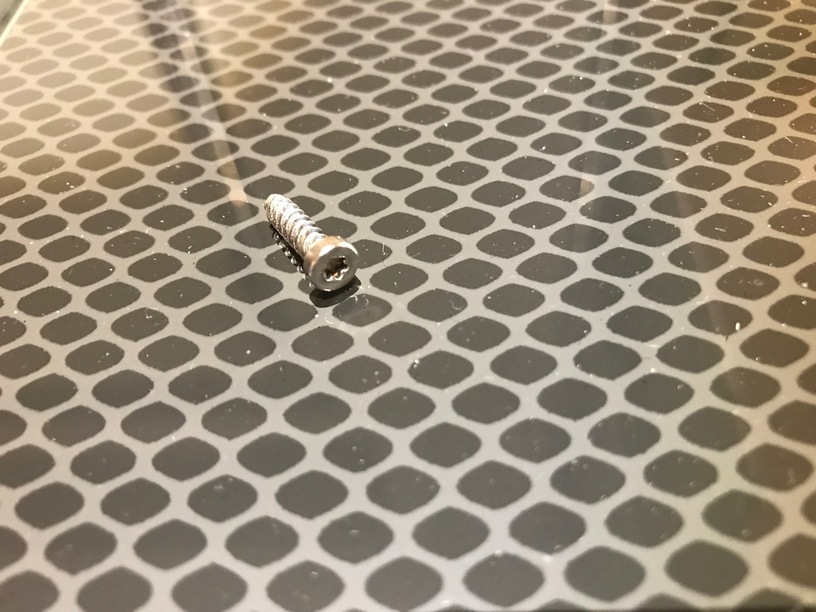
Oh yeah, you’re totally right. I was so excited to see that screw hole that I missed the identical one on the other side. In that case, I have no idea where this screw came from, if anywhere. It’s possible someone dropped it while assembling, couldn’t find it, and grabbed another one.
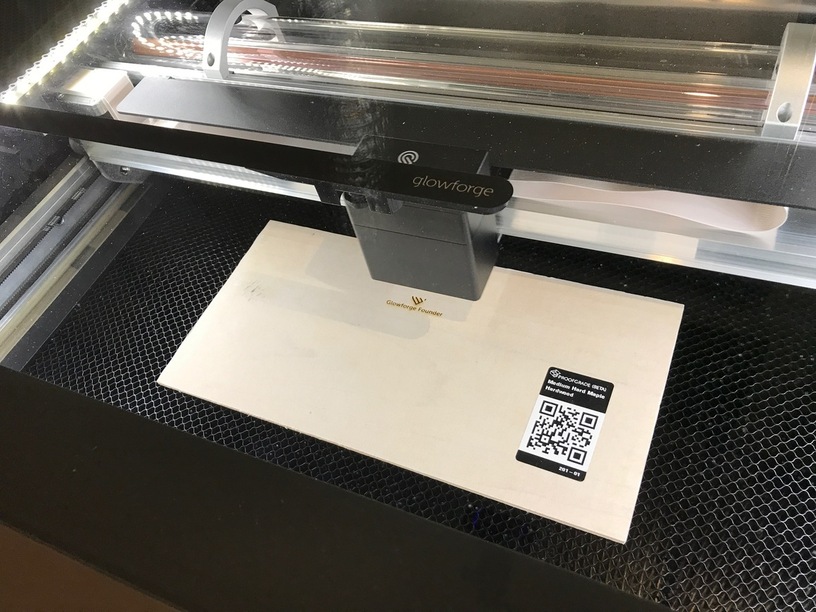
Here’s Zapp Brannigan at work, and the mystery screw.
I am now in awe of the people who had designs ready to go and have been producing such amazing things. I now have a Glowforge, and my brain is completely vapor locked on what to do with it. I guess I’ll run through a bunch of samples and demos to get the juices flowing.
13 Likes
Don’t forget the Free Laser Designs category. I found that cutting @ian’s tray puzzles was a ton of fun.
1 Like
Thanks for the live video, it is so much fun to see your work 
Way to go. thanks for streaming. Great to see the unboxing and get some tips for the experience. Enjoy it!
1 Like
I had picked up hose clamps this morning, then to my surprise there were two included in the box.
I don’t remember anybody mentioning this previously. Don’t know if its new or it just wasn’t mentioned.f
1 Like
I got the spring-loaded hose clamps, but collected wisdom seems to be that you want the worm gear style. I got frustrated and gave up and just taped mine for now. When I get a chance, I’m going to revisit the ventilation hose with more attention to detail.
1 Like
In my experience, the most important component is actually the tape - if you do a solid job of sealing all seams, that’s more important than the clamp you use.
3 Likes
Good to know. I did a rough job all around in order to get to the playing more quickly. I’ll go back and do it right when I get my blast gates and booster fan.
The first cut in maple hardwood was impressively odor free but over the course of the night it has gotten out and seeped through the house. I think smokier plywood, more cuts than engraves, and positioning near the left side of the machine all contributed to additional smell escapeage.
So excited to have this machine. But tomorrow I have to go out to dinner with a bunch of other SRE managers instead of coming straight home to laser. 
5 Likes
Would love to know details on your electrical upgrade. I may need to do the same.
Pretty simple really. I had a dedicated 20 amp circuit installed for the Glowforge. Overkill for an 800 watt intermittent load but in for a penny, in for 160000 pennies. The reason I did is that effectively everything in my basement was on one circuit: several computers, 3 monitors, laser printer, 3D printer, CNC machine, shop vac, soldering iron, bench power supplies, and various other things. I shouldn’t have gotten away with it as it is, but adding a laser cutter was out of the question.
Since the basement was already fed from a subpanel, I got a new 60A feed, replaced the panel with a bigger one, and added two new 20A outlets, one for the Glowforge and one to split up some of the other stuff and get rid of my daisy chained power strips.
It hurt my wallet but as an investment in correctness and safety it was worth it.
11 Likes
Last night while cutting the Founders ruler my daughter made a comment about the smell. I told her well look at all the smoke. (The proofgrade cherry hardwood smoked a lot)
After it finnished she said “we better check on our Brats”. I had put some brats on to simmer in beer before we started setting up.
When she arrived in the kitchen the pot had gone dry and was smoking a bit  Now I’m not certain it was the Glowforge that we smelled. Probably a mix…
I have my joints taped well but there are perhaps some small leaks between my foam insulation and the window where vent goes out.
7 Likes
yes. good.
1 Like
IKEA here too 
The production units at Bay Area Maker Faire had the spring clamps. There were several topics about them. @palmercr 3D printed some nifty holders to go on the clamps. I’m going to use these as I did ship my original screw clamp back with my PRU today. I figured I’d send them back everything they sent me, including the vent hose. I did run a wad of cloth through the hose to knock out some of the ash.
If you are a wood worker, they’d be pretty easy to make up.
3 Likes
The next episode starts shortly, but fair warning: I’m going to be mostly taping up the exhaust hose for the first half hour or so.

2 Likes