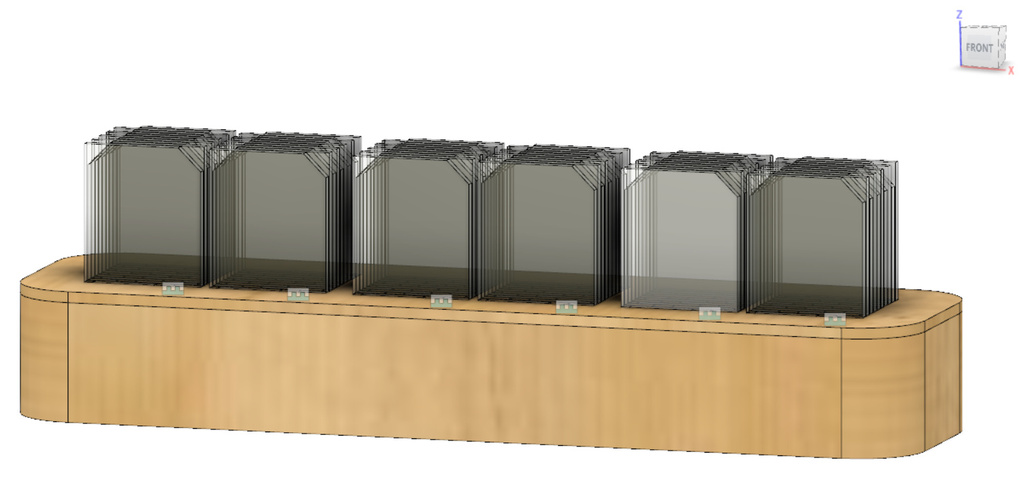
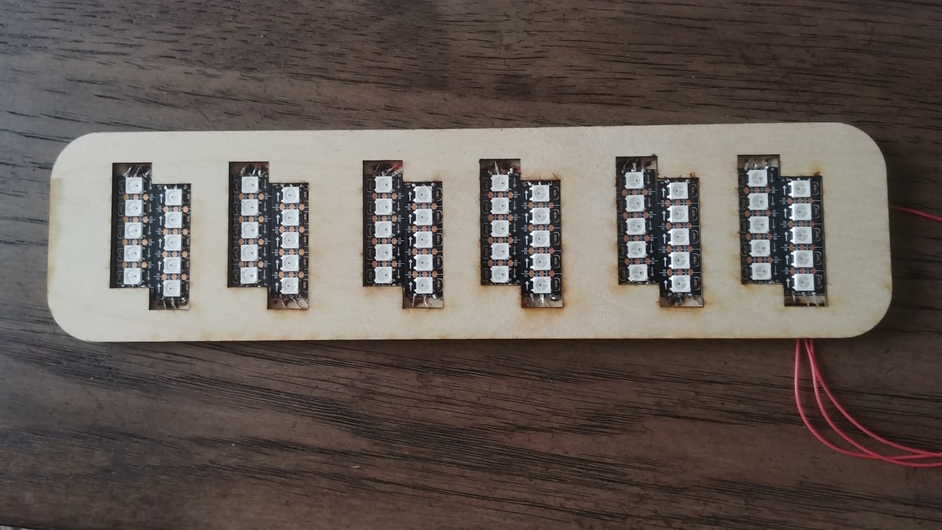
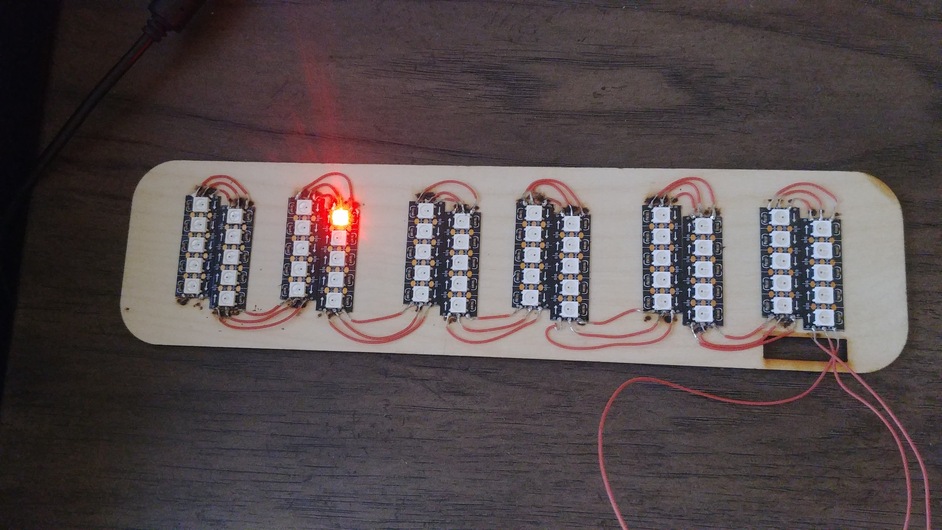
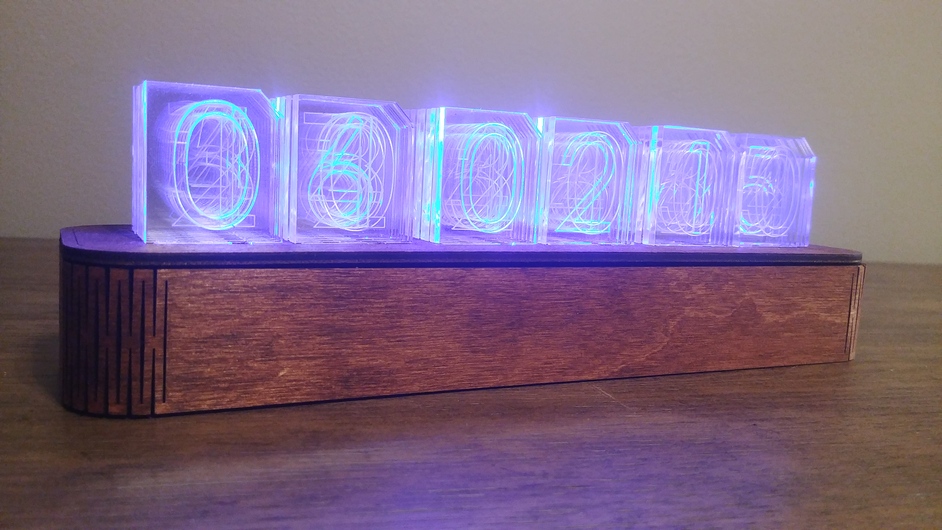
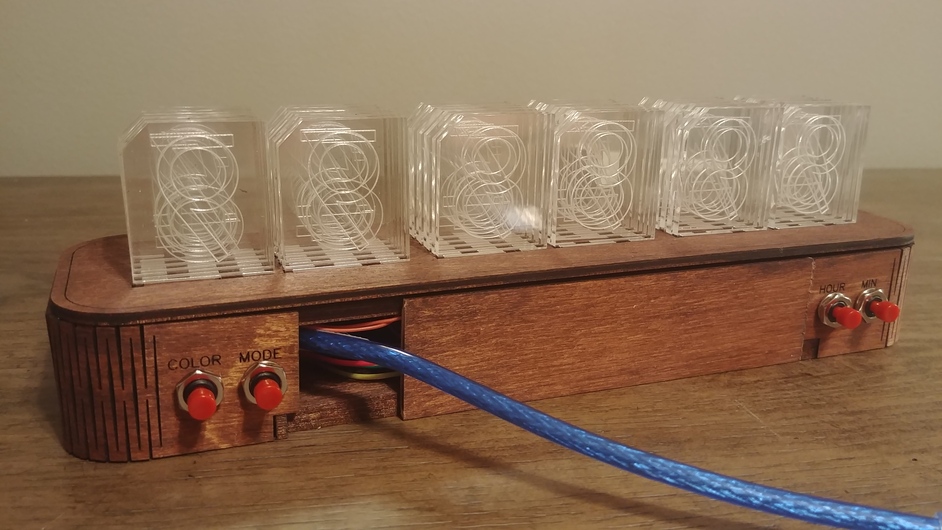
Baltic Birch box with living hinge, scored acrylic number tiles, WS2812 LEDs programed with and an Arduino Nano coupled with an RTC3231. Modeled it all in Fusion 360
Went through a couple prototypes before i settled on a design that worked for me. Many other makers I gleaned from online so i can’t take all the credit, but im pretty proud of my take.
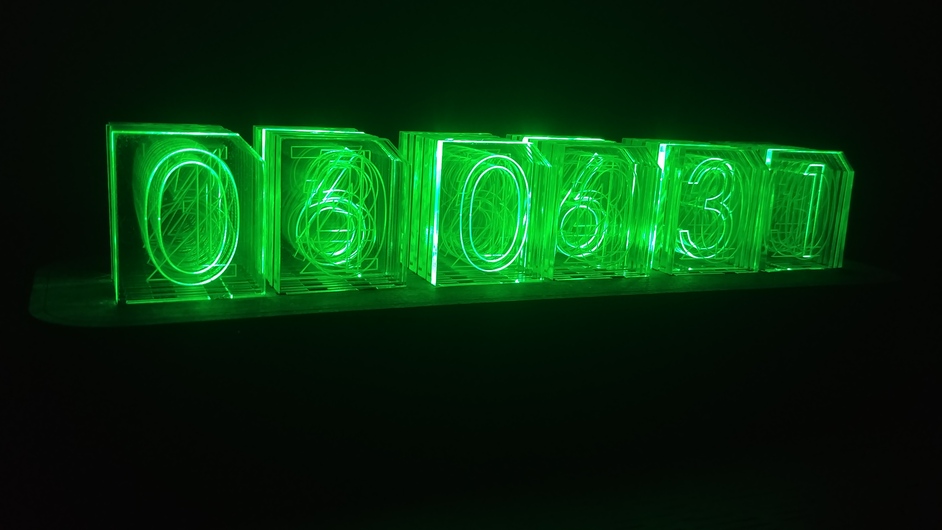
Ill also add that it’s faily tough to photograph on a smartphone, the characters are far more legible/crisper in person
Special shout out to my awesome wife who is a programming wizard.
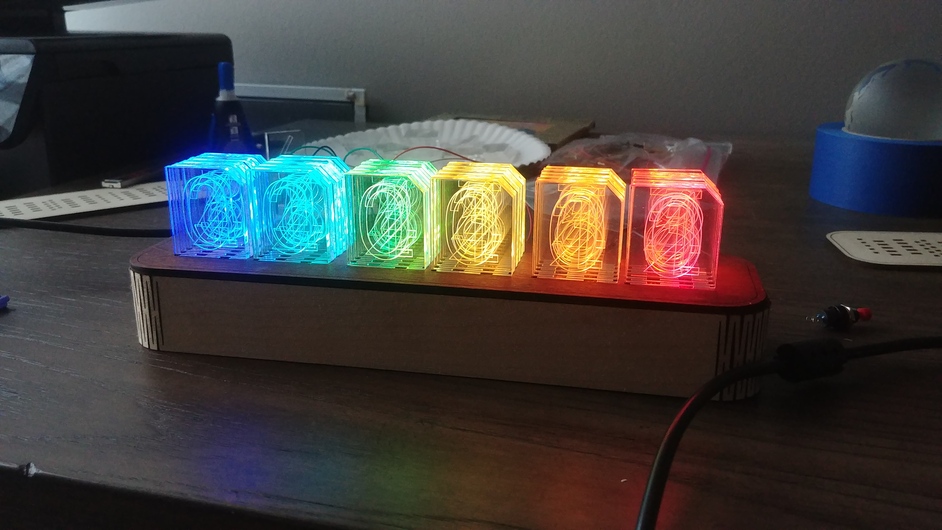
Thanks! We made it so we can cycle through as many colors as we want at the push of a button. Plus the chip reads temperature as well which will be handy to watch the room temp while cutting.
The numbers do run from front to back, i wired the way i did to get the numbers as close together as possible. I was afraid if they were spaced out it wouldn’t very easy to read. The code compensates for the way it is wired.
Mostly about looking consistent. I wanted the ability to have other “modes” as well that i hadn’t thought of. Temperature, calender, timer, etc.
The corner relief is just cause i thought it looked cool
The guy that sells lixies has somehow figured out how to do it super thin, he must be using a really dense led array. I think maybe he open sources his board design, I feel like I saw eagle cad files at some point.
Have you considered placing a small section of foil between the base of each sheet to help keep the light from moving between sheets? I have a similar project planned and am interested in keeping the light to just one sheet at a time.
Considered that sortve tying as i experimented. I made tolerance for of the acrylic tiles so tight they “snapped” into their groove so they really don’t touch each other. The light pollution looks worse in the picture than it is in person.
I don’t get how he’s using 1.5mm acrylic and 5050-form factor leds. Seems like there would be significant bleed.
I’d be after some of the newer smaller ws28xx-alikes, like the SK6812 mini.
I wonder if fastled supports them? Probably, they aren’t new. Wait no, I’d got for the apa102 2020s, they’re definitely supported and come on a strip with a 200 led/meter density (!) That’s crazy.
Near as I can tell you need 10 leds per lixie minimum, but I would maybe setup two strips and do two lights per, so you’re looking at either 40 or 80 leds, and that easily fits on a 200-led meter. Get a couple clocks out of it
Also, are you using a feather or a feather m0? The feather is a pretty small processor like you said, but the m0 is plenty powerful for fastled and a clock unit. I use a standard arduino nano to power my word clock deigns, which uses 110 ws2812b’s and has a ds3231 clock unit [and does a lot more than just clock]. $3 of nano clone, and you’re in business.