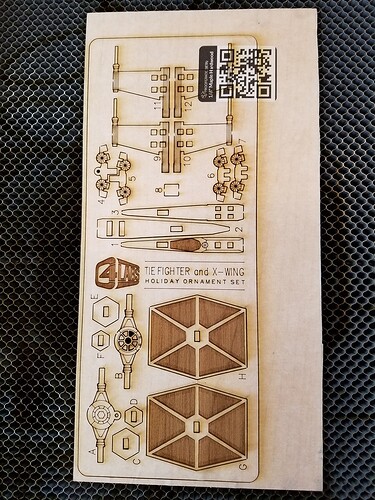
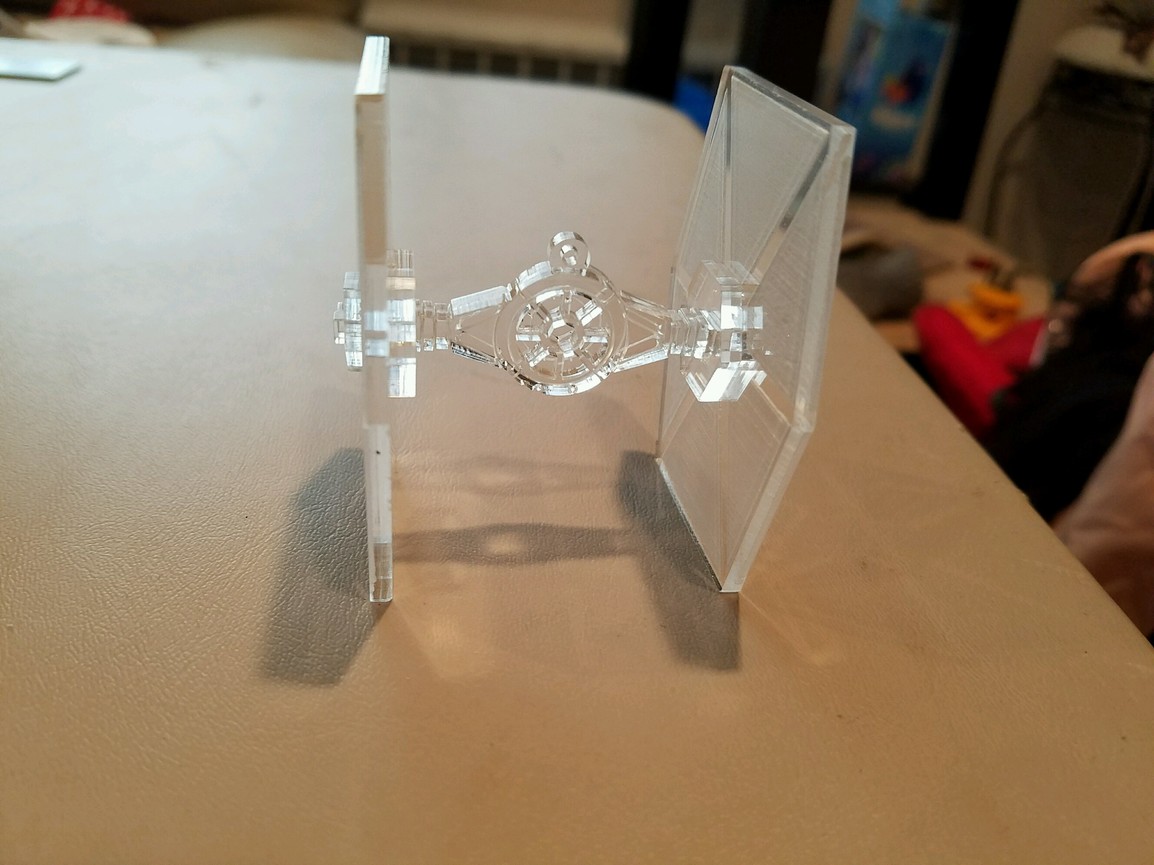
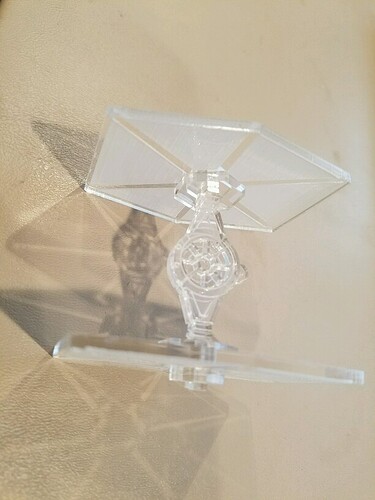
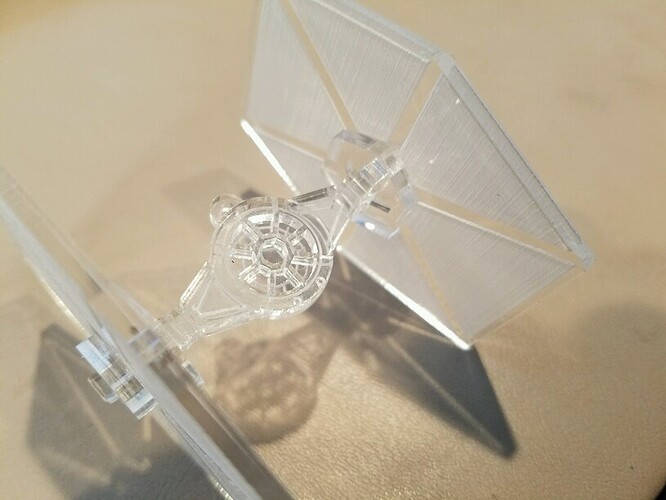
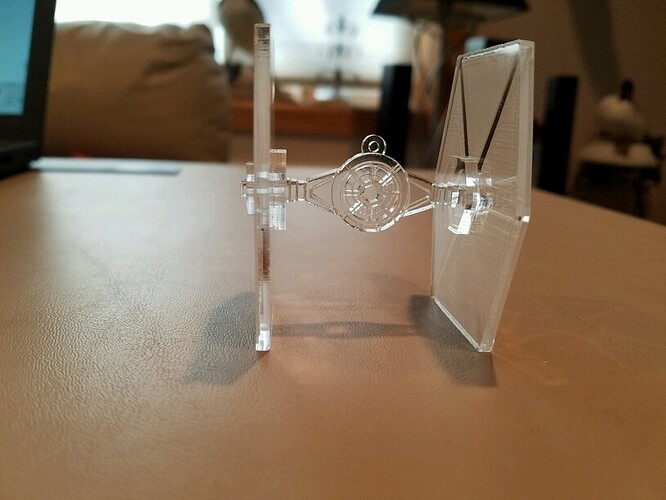
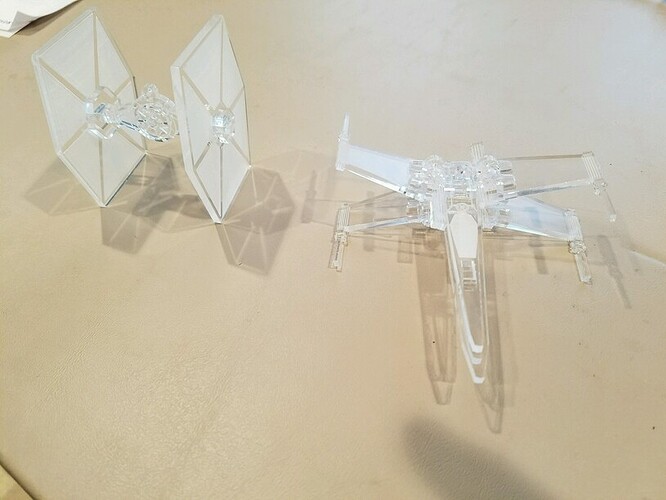
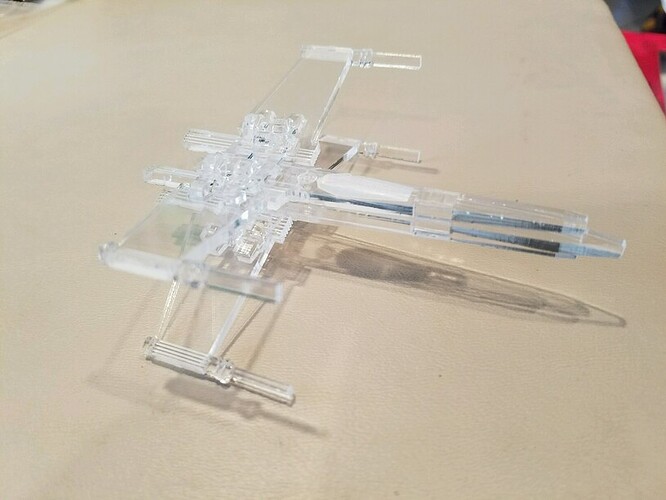
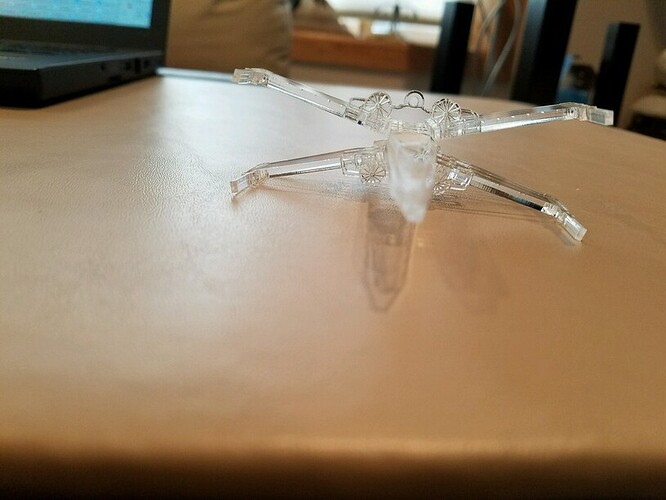
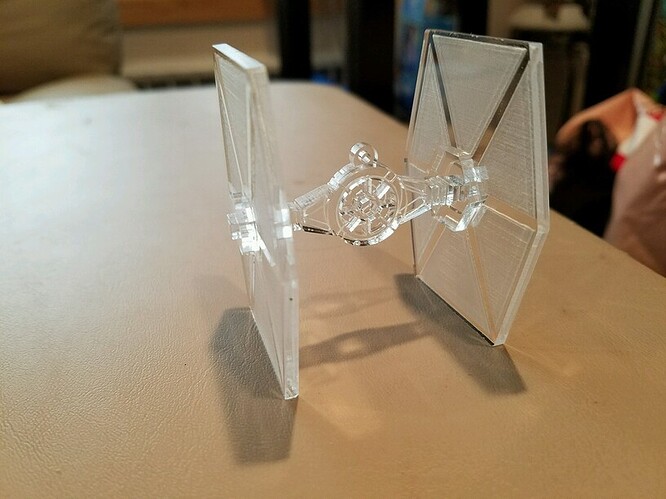
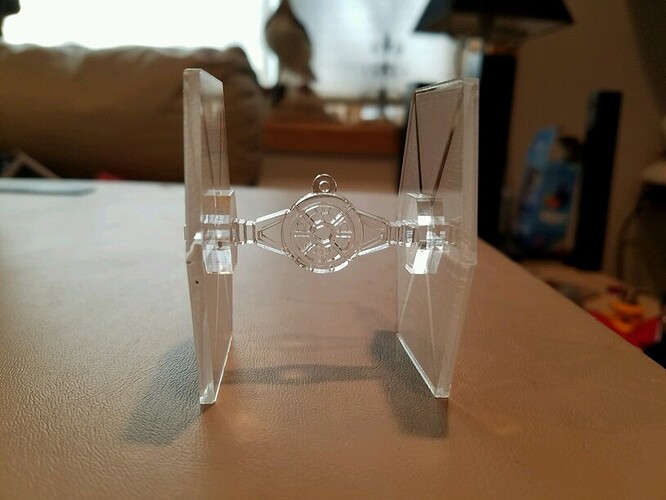
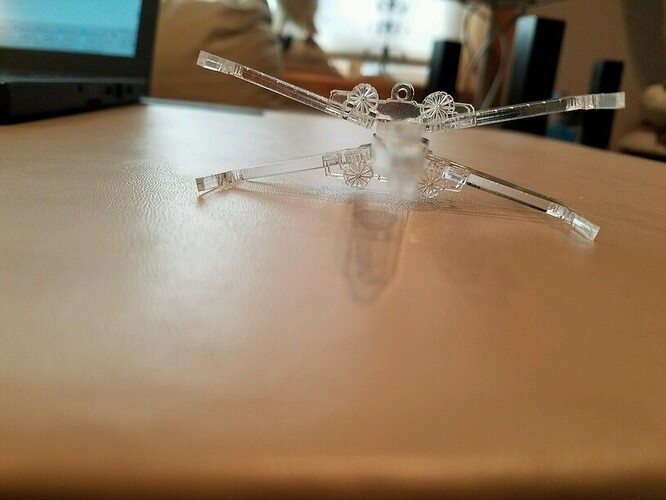
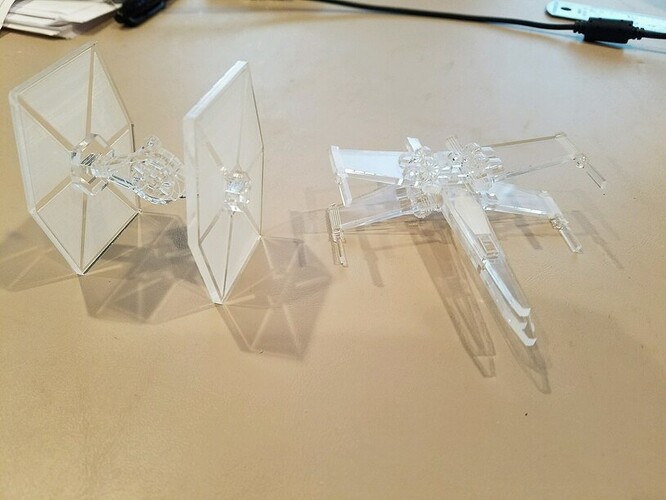
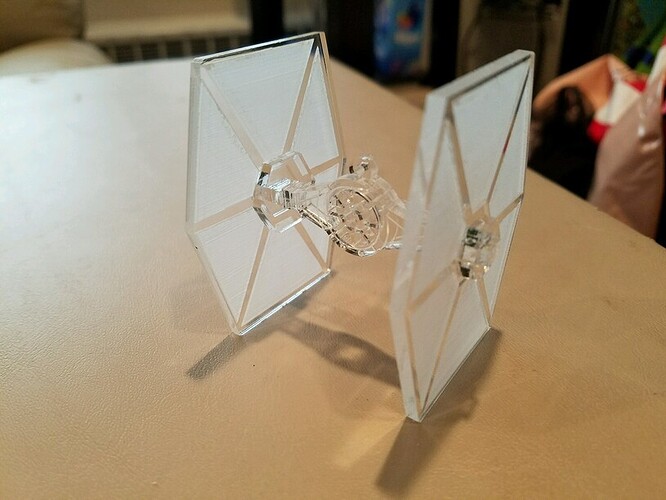
Made the X-Wing and Tie Fighter Ornaments :) Learned a lot, too; learn from my mistakes! - Update, now in ACRYLIC, OOOHHH, AAAAHHH

From this thread: Tested Gets a Glowforge - Second Pre-Release Unit in the Wild

And this post: Tested Gets a Glowforge - Second Pre-Release Unit in the Wild - #78 by YawString

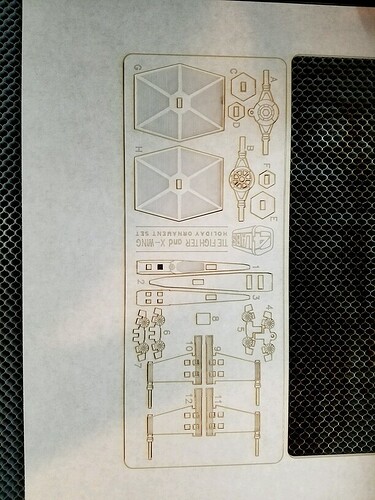
I made this!

And I learned A LOT along the way…

FIRST thing I learned, is that you do NOT want to make projects like this with Non Proof Grade Plywood! Which was what I first tried it with.

“But why not?”, you ask… I mean, it looks soooo nice; what is the problem??
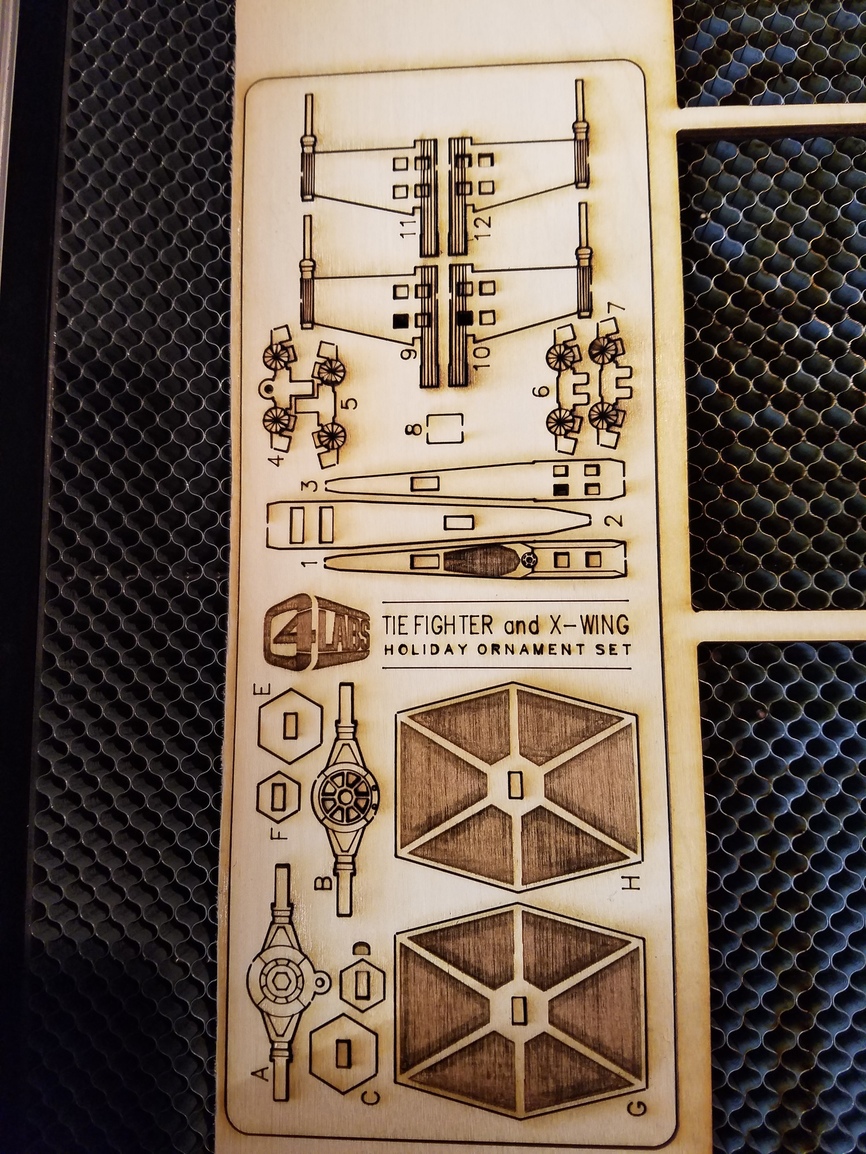
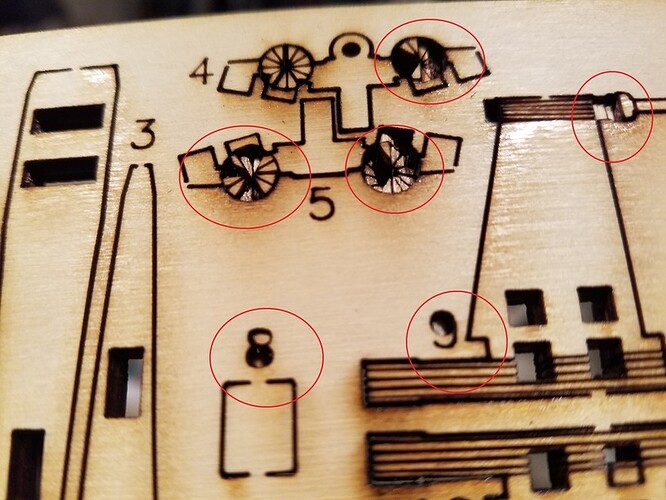
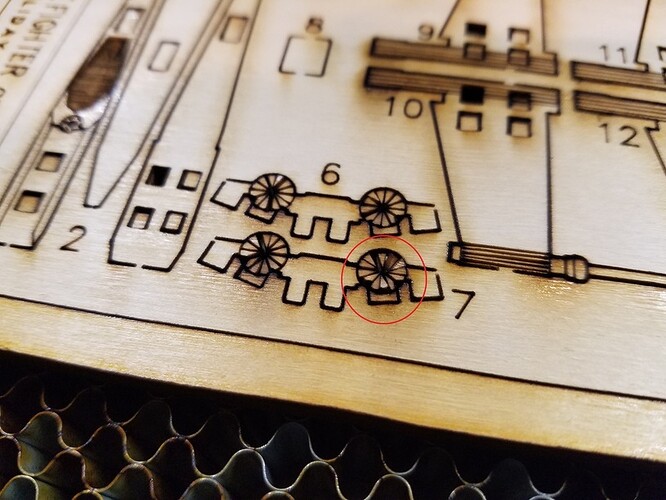
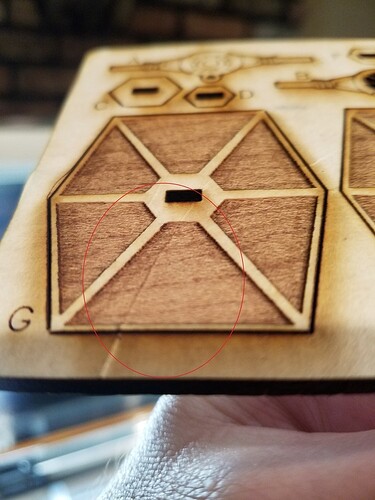
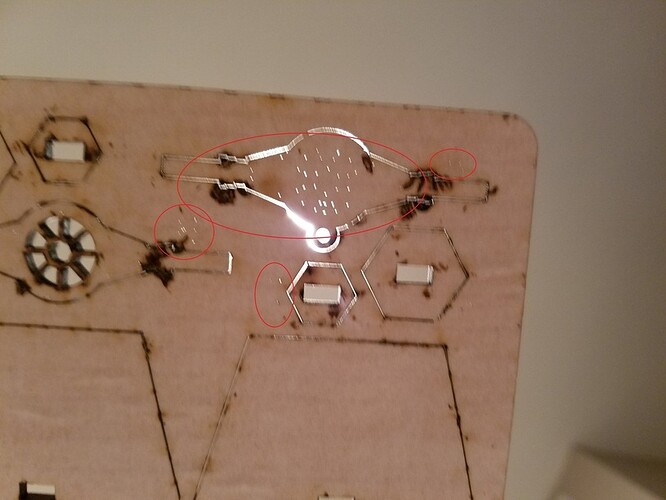
Well, THIS is why not; look closer:

That’s right; the plywood layers actually separate, lol. At least the 1/4 Inch Birch Maple Plywood from Home Depot does, anyway.

Not sure if Proof Grade would have made a difference, though, sorry; I did not test that…maybe someone else can confirm?

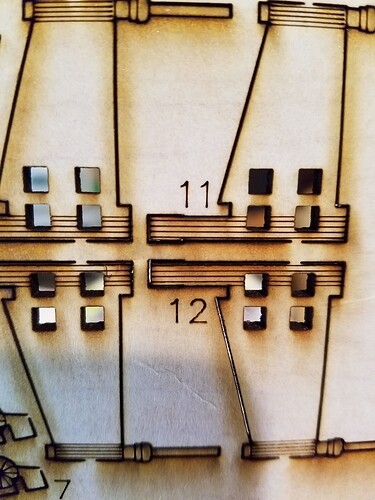
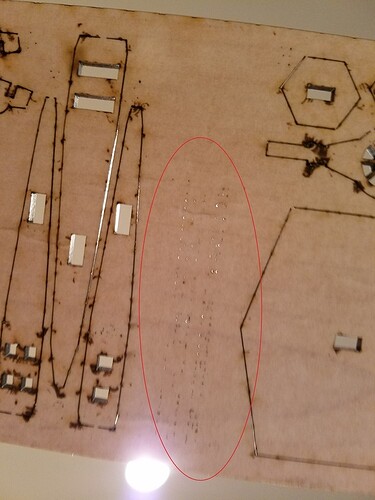
SECOND thing I learned is that when you shrink down delicate (to begin with) images like these, then they quickly become VERY fragile, and are easily broken when trying to break them off from the material. Especially with plywood. Use an exacto knife to cut the remaining perforations, if you can, and be verrrryyyy gentle. Use a rolling twist too, if you can, to break off the pieces, instead of trying to just punch them out.

THIRD thing I learned is when you are making pieces that will be assembled together - as in they have slots and tabs that need to fit into one another - you have to make sure that you are using material of the correct THICKNESS. These cuts are designed for 1/8th inch thick material, so my using 1/4 inch material resulted in the tabs being too short, and they would not reach all the way through all the layers when assembling it.

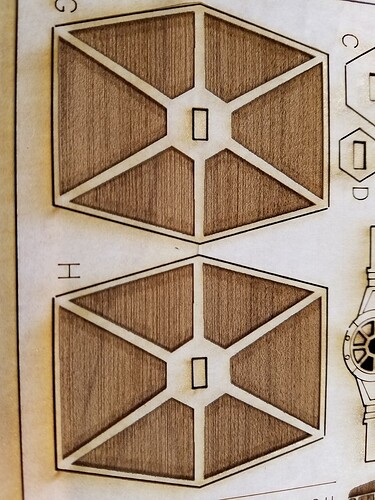
Sooo, I switched to 1/8th Proof Grade Maple Hardwood, and resized it smaller so as to not use up my whole piece:

Close up, look how pretty!

And that is when I learned the next thing:

FOURTH thing I learned is that even if you are using the correct thickness that the design was intended for, you still CAN’T resize it.

Because if you do, then you will run into a separate problem: The width of the tabs and the slots will no longer match! And you won’t be able to assemble them, and you’ll have wasted more time & materials

:scream: :scream:

FIFTH thing I learned is that the ProofGrade paper needs to be perfectly flat, or at least that I need to not create creases! The paper on a lot of my PG hardwood pieces has been bubbling up / detaching in spots (I will let support know), and so I partially peeled it off, and then squeegeed it back on nice & flat, but I created a crease in one main engraving spot, and this was the result:
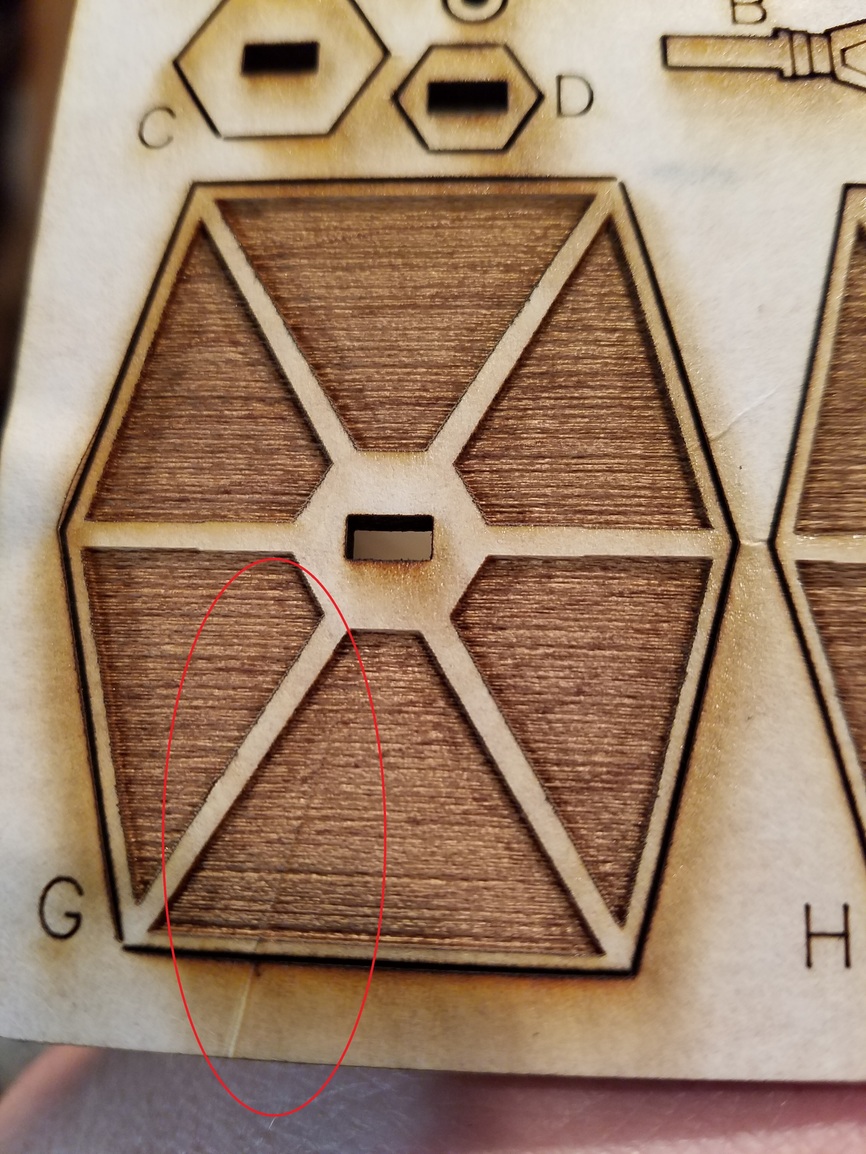
That’s right; the crease actually interfered with the laser, and the wood was engraved a bit less in that area, resulting in a ridge. Interesting, and maybe this can actually be used deliberately…hhhmmmm…

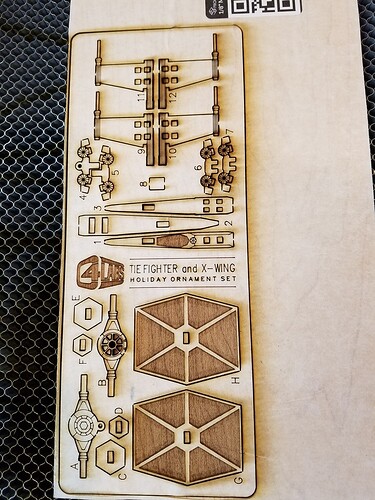
And, so, finalllllly, having learned all of that, I made what I hope is a correct version. Please don’t hate me, but I don’t have pics of the assembled pieces yet, because this was a gift to a friend. I gave it to him today and he will send me pics of them once they are assembled.

Look how prettttttyyyy:

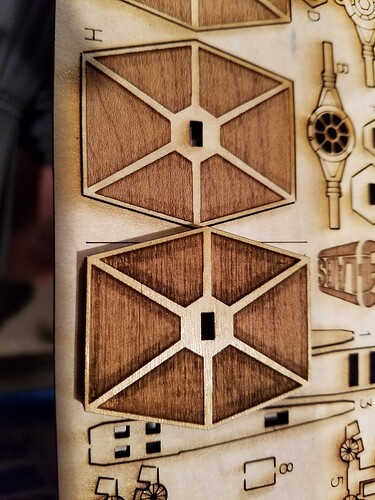
Comparison of the proofgrade hardwood vs non proofgrade plywood:

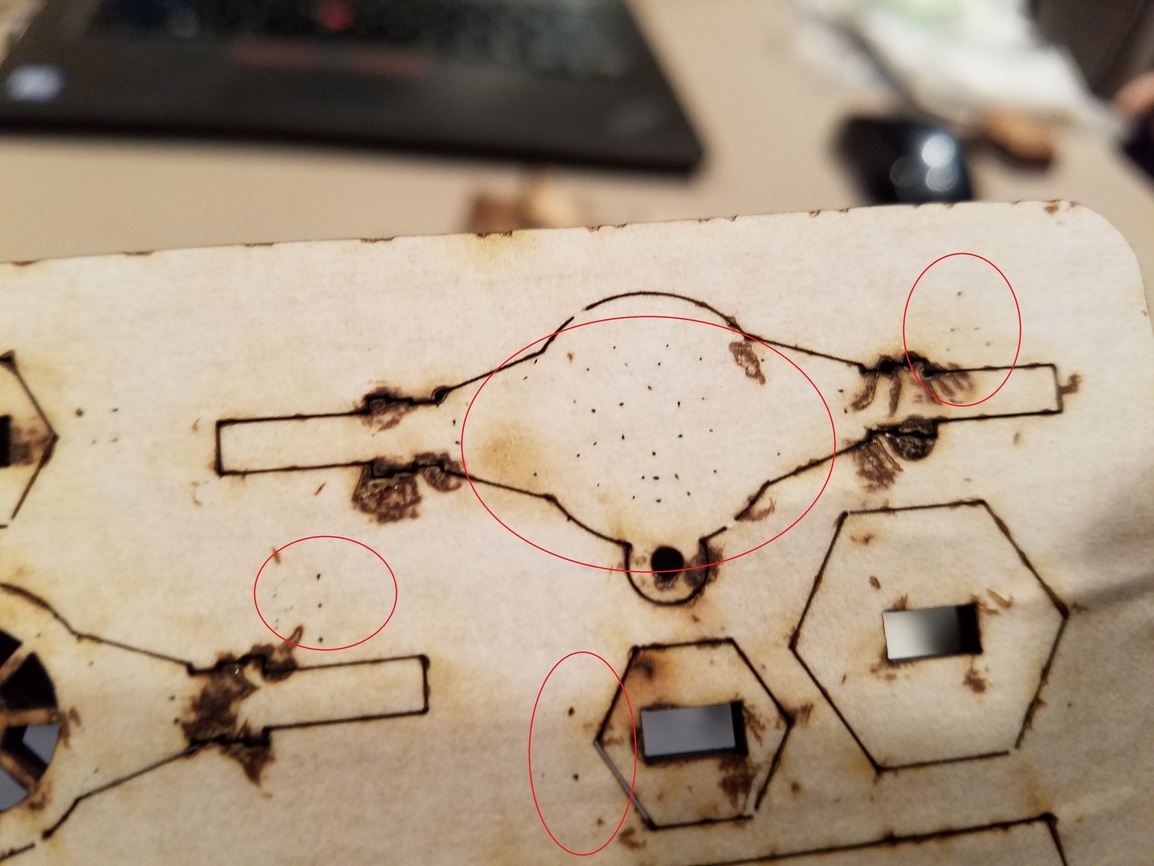
The scoring cutting all the way through in spots is still occurring, btw:
68 Likes

Have you reported the overpowered score on PG?

Yep, and others have mentioned that they know about it :slight_smile:

Yep… well-known issue. They just haven’t gotten to it yet. :slight_smile:

Great job on the tie fighter @nunzioc ! :smiley:

3 Likes

Thanks for the details! PG looks SWEET!!!

1 Like

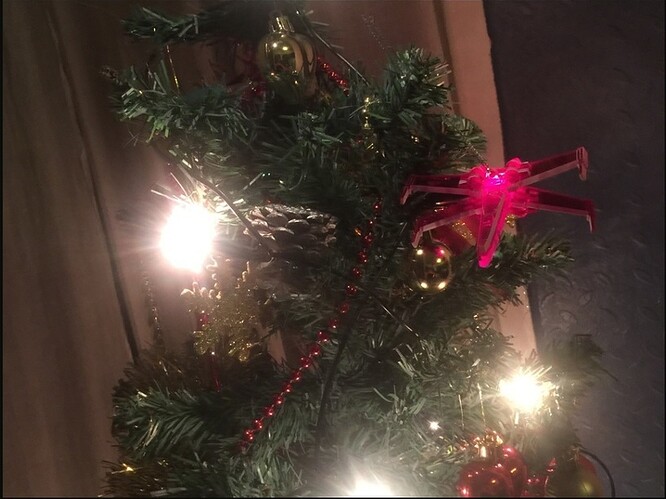
Btw, I will also be making these out of acrylic, because, I mean, come on, look at this:

I will post when I do.

And I think I will try to revise the cuts so that it goes all the way around, instead of leaving small spots that keep them connected to the material. 'Cause I don’t look forward to trying to manually cutting / cracking off those pieces in acrylic.

12 Likes

Really appreciate reporting all of this to us! Thanks for sharing your experience!

1 Like

Nice write-up, and yes, I have been getting schooled since the laser came to town!

2 Likes

Well done and nice write-up! I have those files and will be making quite a few for presents later in the year – they look great.

For what it’s worth, my workflow with pre-drawn plans like this is

  1. Measure the material in multiple locations with a set of calipers to get a good idea of its average thickness.

  2. With the magic number in hand, use Illustrator/Inkscape/AD/etc. to measure the notch thickness in the design.

  3. Scale the design so that the notches match the material, making sure to select all the elements in the design (I usually miss at least one critical piece :confused: ).

This should get you in the ballpark, then you can fiddle with kerf adjustments, if you are so inclined.

12 Likes

Nice job, and good learnings. Once you waste a slab of your favorite material you learn real fast.:laughing:

8 Likes

You probably just saved several people from making similar mistakes. Thanks for taking the time to document everything for us. :grinning:

5 Likes

Really nice write up and documentation. You illustrate the many challenges of bringing a design in. All these factors figure into things, especially material thickness.

The scoring works for certain applications, but when the lower power is enabled, it will be helpful. Until then I used closed path filled vectors for things like text and numbers.

Sizing of the tabs and slots is one of the primary challenges to any design.There is rarely a design that you don’t have to tweak for the material.

There aren’t failures, there are just unintended outcomes!

10 Likes

Glad to know it’s not just me! I learned this lesson today as well, and wasted 2 sheets of PG in the process. It gave me a major case of sadface :disappointed:

At least now I know that it’s a common mistake, and I’m in good company. Thank you @nunzioc for sharing your experience, and for illustrating it so well. Thanks to @dwardio as well - your explanation of how you deal with pre-drawn plans makes a whole lot of sense now. Will try that next time.

5 Likes

Cardboard is your friend. Find a couple different thicknesses and it helps. I also to lots of simple test cuts using squares and slots to help me find kerf allowances.

Here is one for Proofgrade 1/4" acrylic.

11 Likes

LOL, yes - that occurred to me midway through sheet # 2. Never said I was a quick study :wink:

PS. Thank you!

4 Likes

I’d love to see your test cuts but it’s not showing up on my browser (Firefox on Mac).

Edit: nevermind. It was just really pale, I see it now.

1 Like

What I’m hearing here is: “Somebody needs to make a parametric Fusion 360 model of this that can be scaled but maintains proper slot and tab sizes.” :slight_smile:

9 Likes

I really could help by changing the thickness of the lines so the show up better but that would mess up the designs where I take that into account with alignment and size of an object in Inkscape like this test piece. The tab is sized at .5" exactly. What it ends up as in relation to the slot is the kerf adjustment needed in the slot. It drives me insane but with such small pieces I don’t waste much material figuring out kerf.

4 Likes

Thank you for the report - we love the data.

What a great print!

5 Likes

Thanks, my pleasure! And if you liked that print, check it out in Acrylic…

Btw, I changed the color of the logo so that it is now a score instead of an engrave (saves a few minutes), and I extended the cut lines so that it would cut all the way through, which eliminated the need to carefully break the pieces off…not easy to do with 1/8th acrylic…

It doesn’t allow you to present it as a gift plaque anymore, so keep that in mind…easy enough to delete a tiny piece of the line in one corner, I guess…the original open pieces were too long, imo.

If anyone wants the updated file just let me know and I’ll post it here…

58 Likes