From this thread: Tested Gets a Glowforge - Second Pre-Release Unit in the Wild
And this post: Tested Gets a Glowforge - Second Pre-Release Unit in the Wild - #78 by YawString
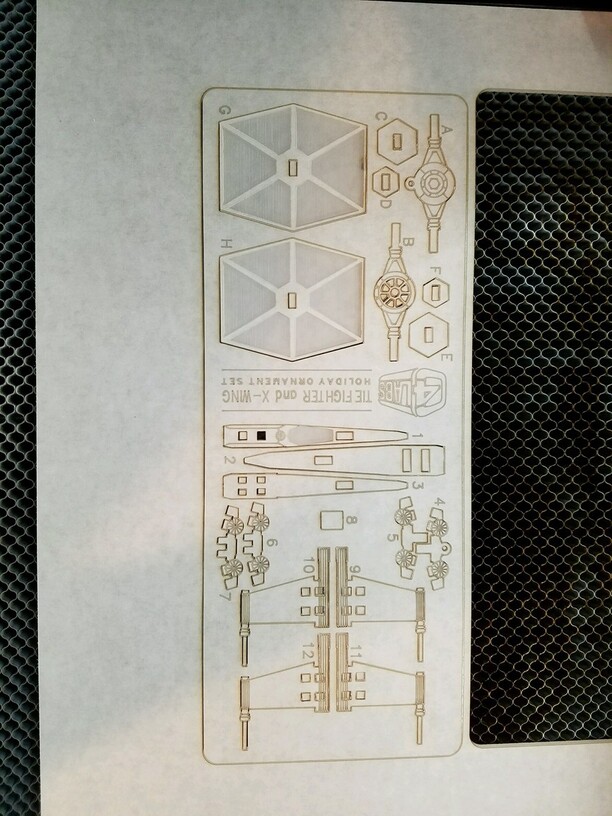
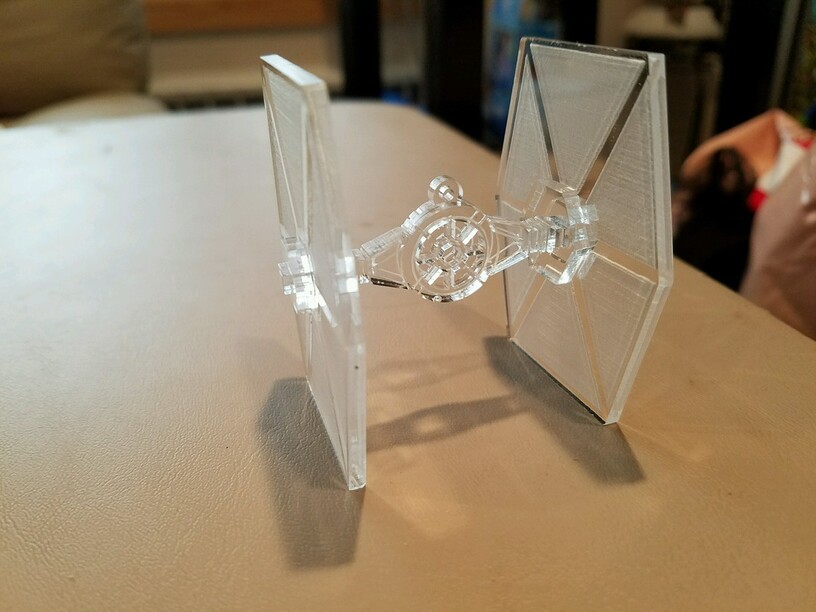
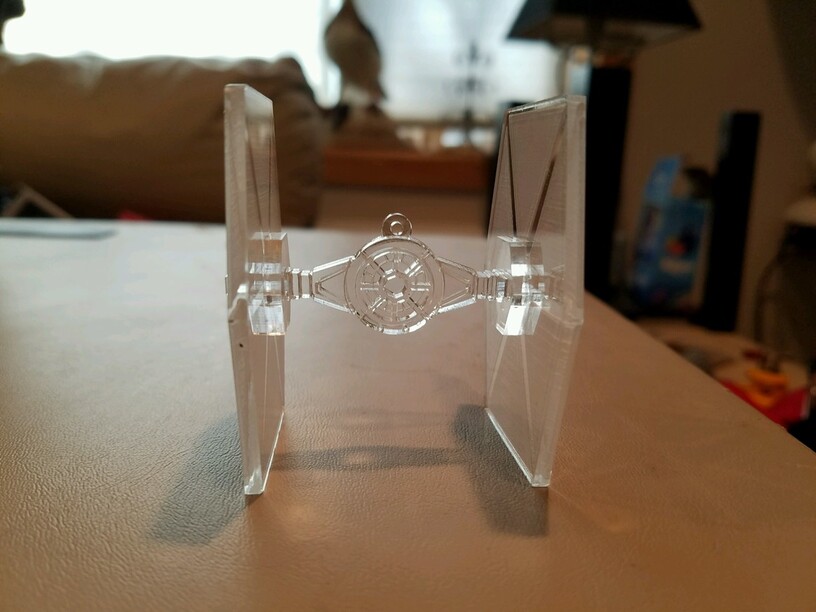
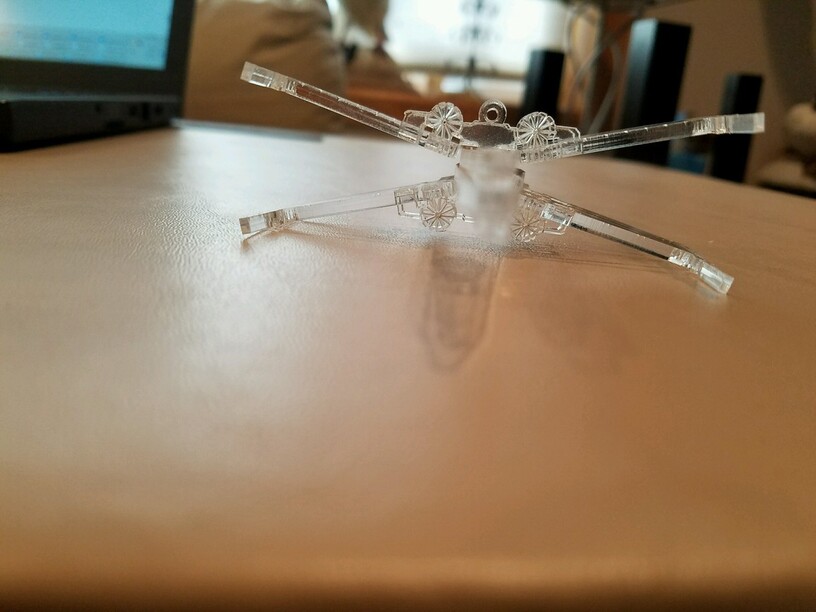
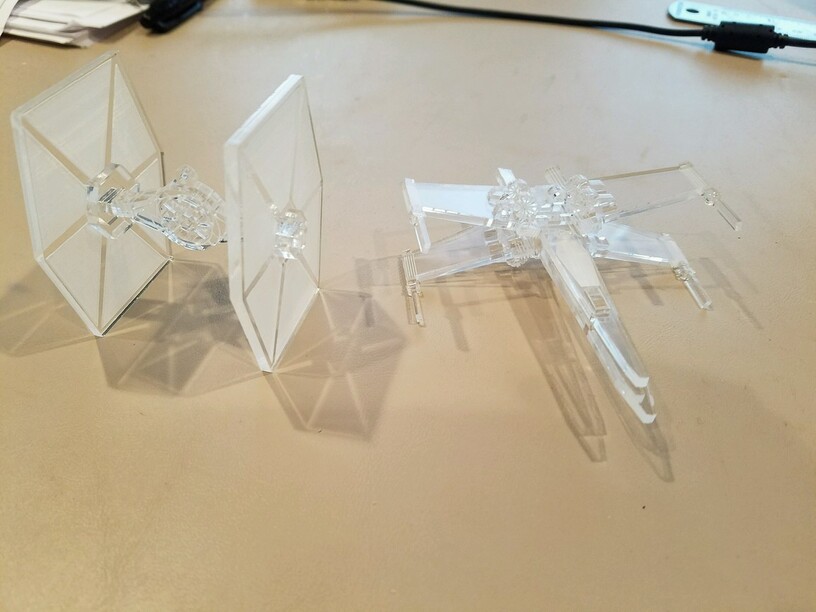
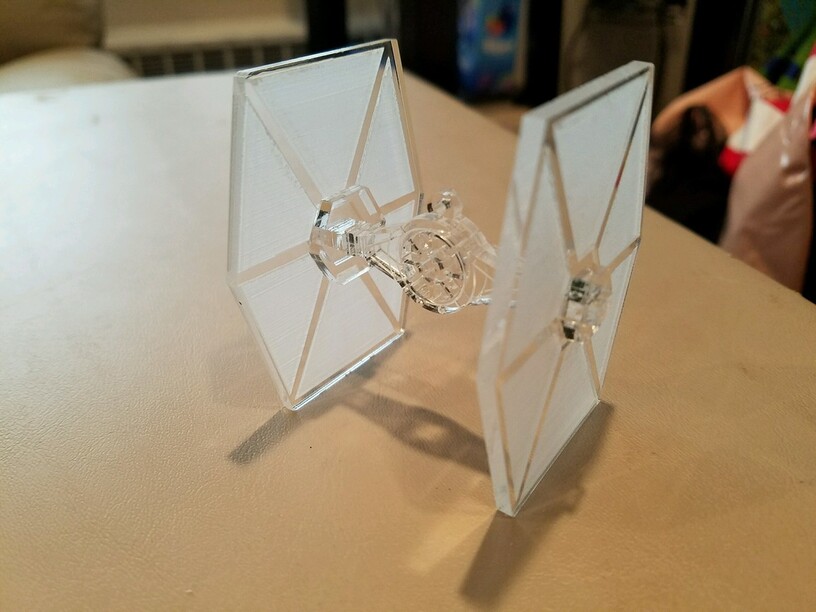
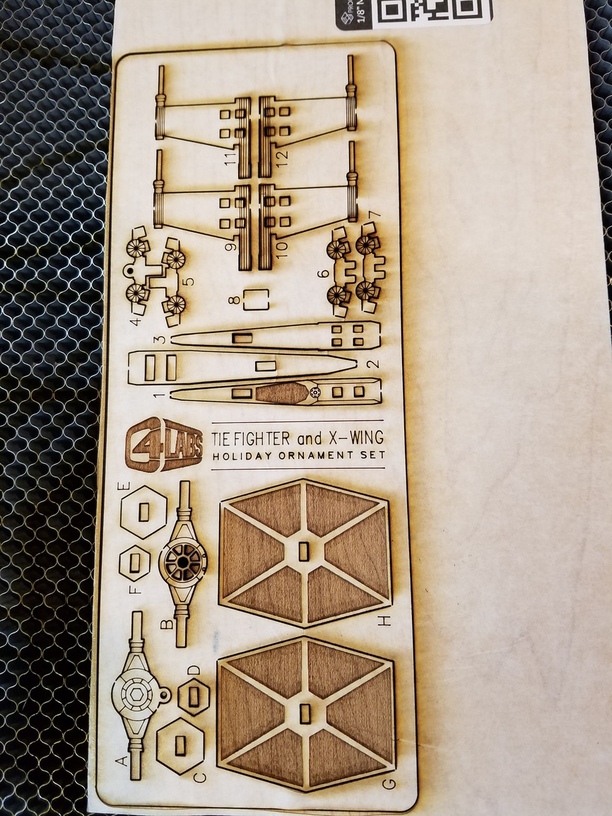
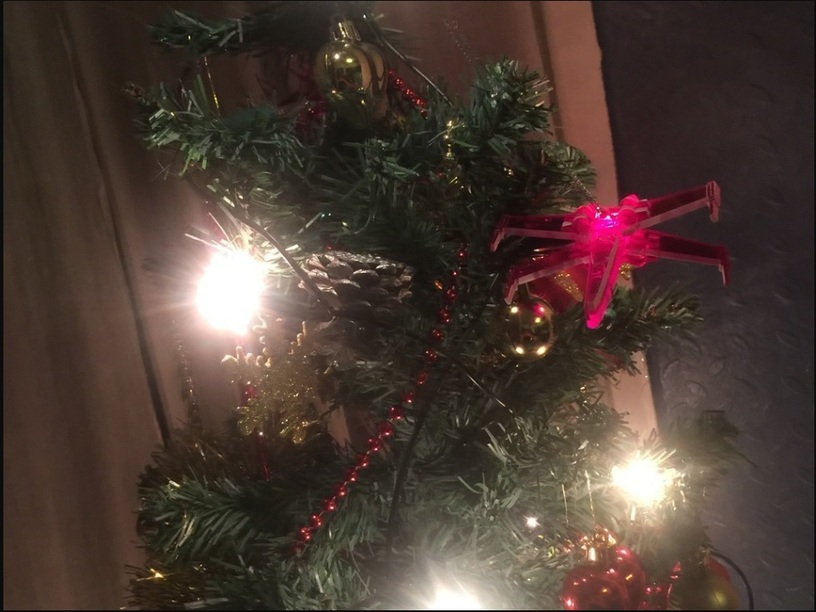
I made this!
And I learned A LOT along the way…
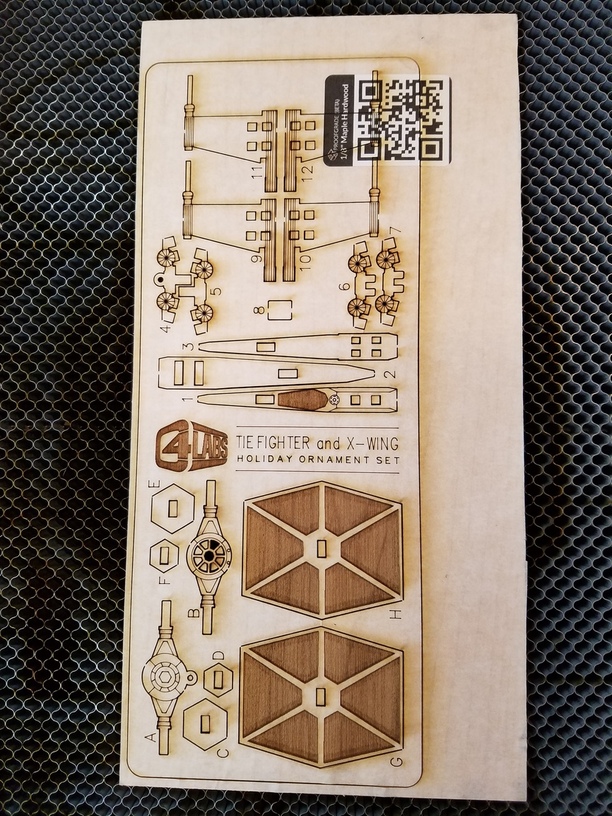
FIRST thing I learned, is that you do NOT want to make projects like this with Non Proof Grade Plywood! Which was what I first tried it with.
“But why not?”, you ask… I mean, it looks soooo nice; what is the problem??

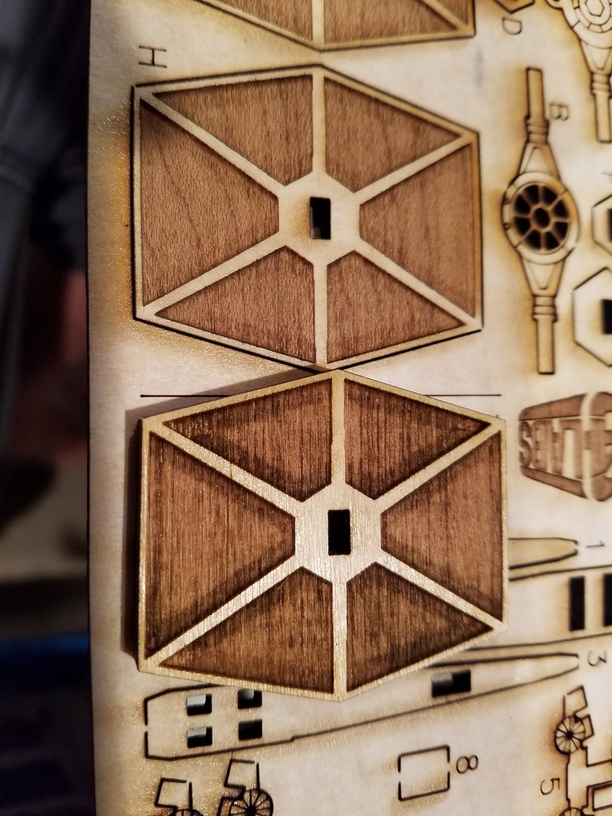
Well, THIS is why not; look closer:
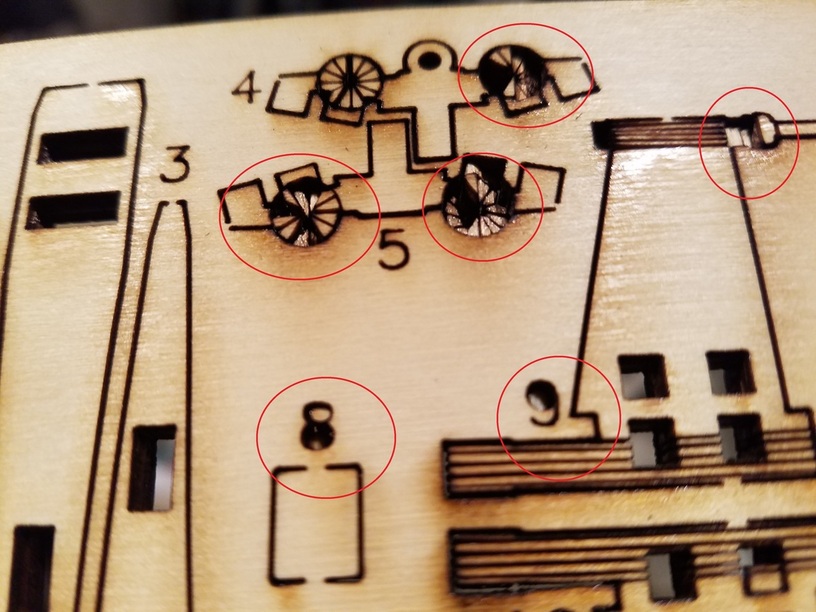
That’s right; the plywood layers actually separate, lol. At least the 1/4 Inch Birch Maple Plywood from Home Depot does, anyway.
Not sure if Proof Grade would have made a difference, though, sorry; I did not test that…maybe someone else can confirm?
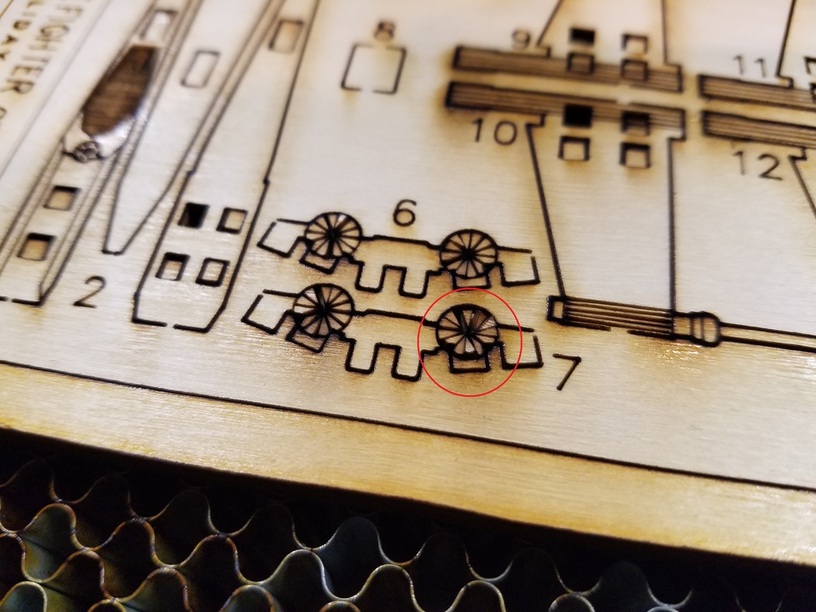
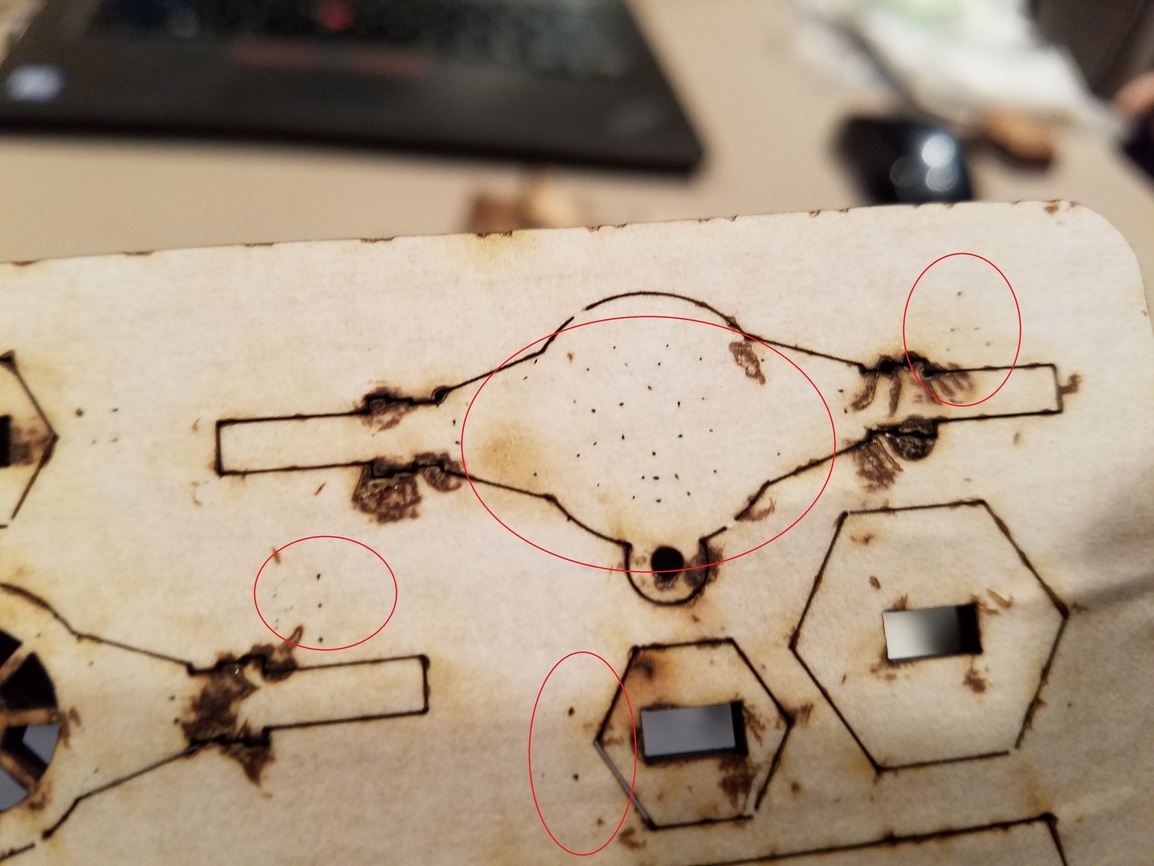
SECOND thing I learned is that when you shrink down delicate (to begin with) images like these, then they quickly become VERY fragile, and are easily broken when trying to break them off from the material. Especially with plywood. Use an exacto knife to cut the remaining perforations, if you can, and be verrrryyyy gentle. Use a rolling twist too, if you can, to break off the pieces, instead of trying to just punch them out.
THIRD thing I learned is when you are making pieces that will be assembled together - as in they have slots and tabs that need to fit into one another - you have to make sure that you are using material of the correct THICKNESS. These cuts are designed for 1/8th inch thick material, so my using 1/4 inch material resulted in the tabs being too short, and they would not reach all the way through all the layers when assembling it.
Sooo, I switched to 1/8th Proof Grade Maple Hardwood, and resized it smaller so as to not use up my whole piece:
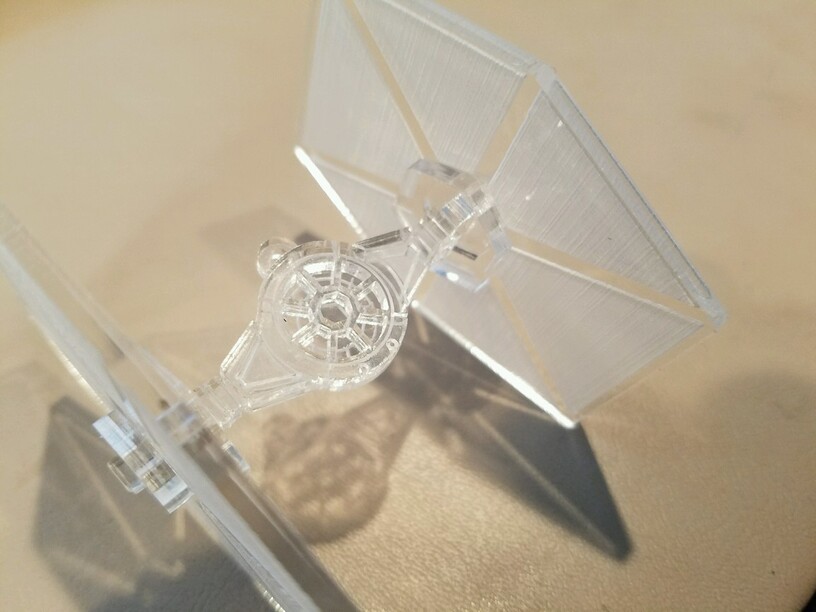
Close up, look how pretty!
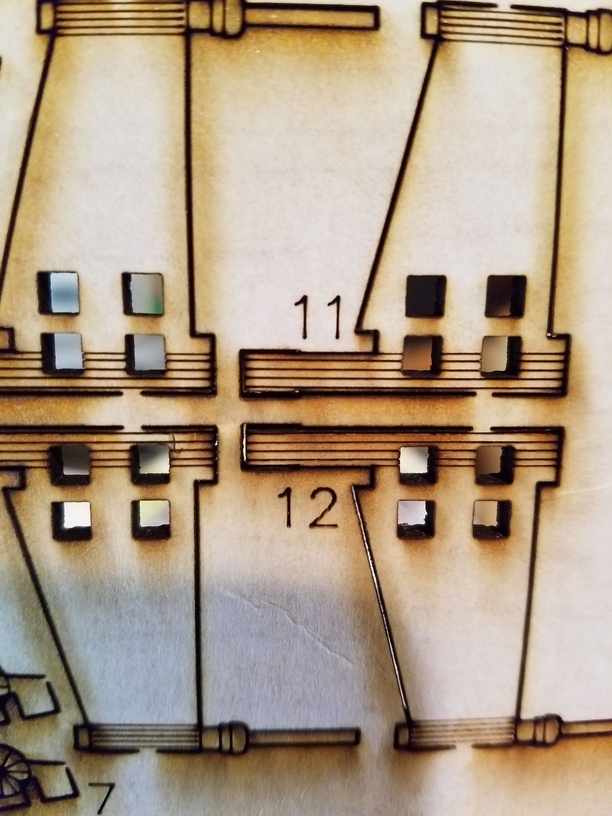
And that is when I learned the next thing:
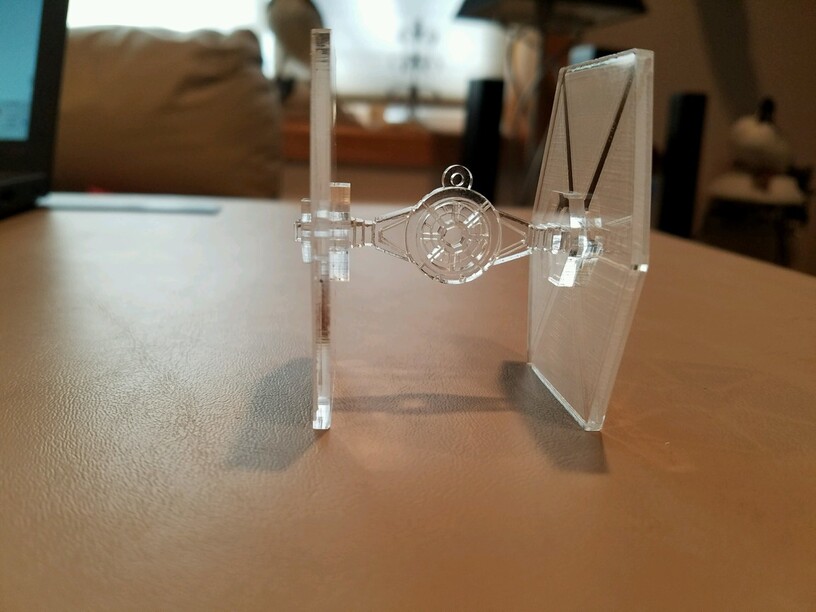
FOURTH thing I learned is that even if you are using the correct thickness that the design was intended for, you still CAN’T resize it.
Because if you do, then you will run into a separate problem: The width of the tabs and the slots will no longer match! And you won’t be able to assemble them, and you’ll have wasted more time & materials
![]()
![]()
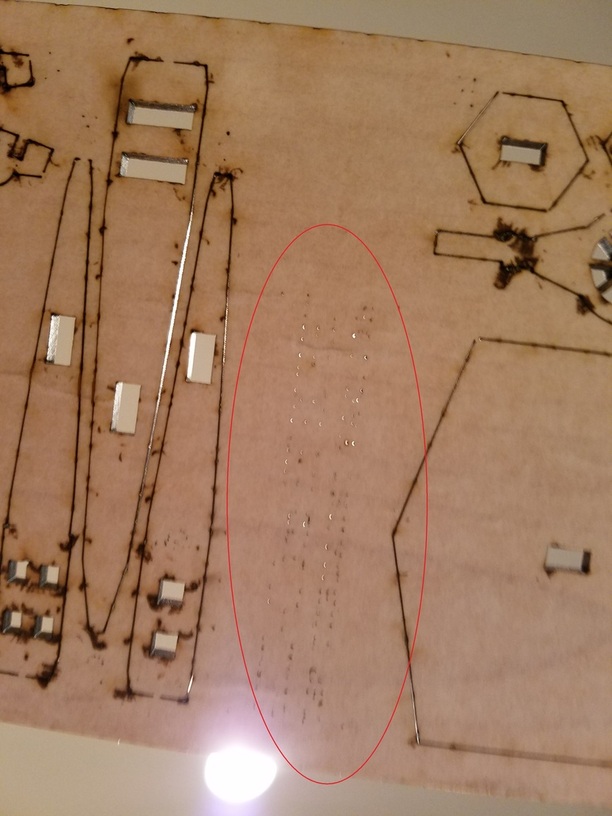
FIFTH thing I learned is that the ProofGrade paper needs to be perfectly flat, or at least that I need to not create creases! The paper on a lot of my PG hardwood pieces has been bubbling up / detaching in spots (I will let support know), and so I partially peeled it off, and then squeegeed it back on nice & flat, but I created a crease in one main engraving spot, and this was the result:

That’s right; the crease actually interfered with the laser, and the wood was engraved a bit less in that area, resulting in a ridge. Interesting, and maybe this can actually be used deliberately…hhhmmmm…
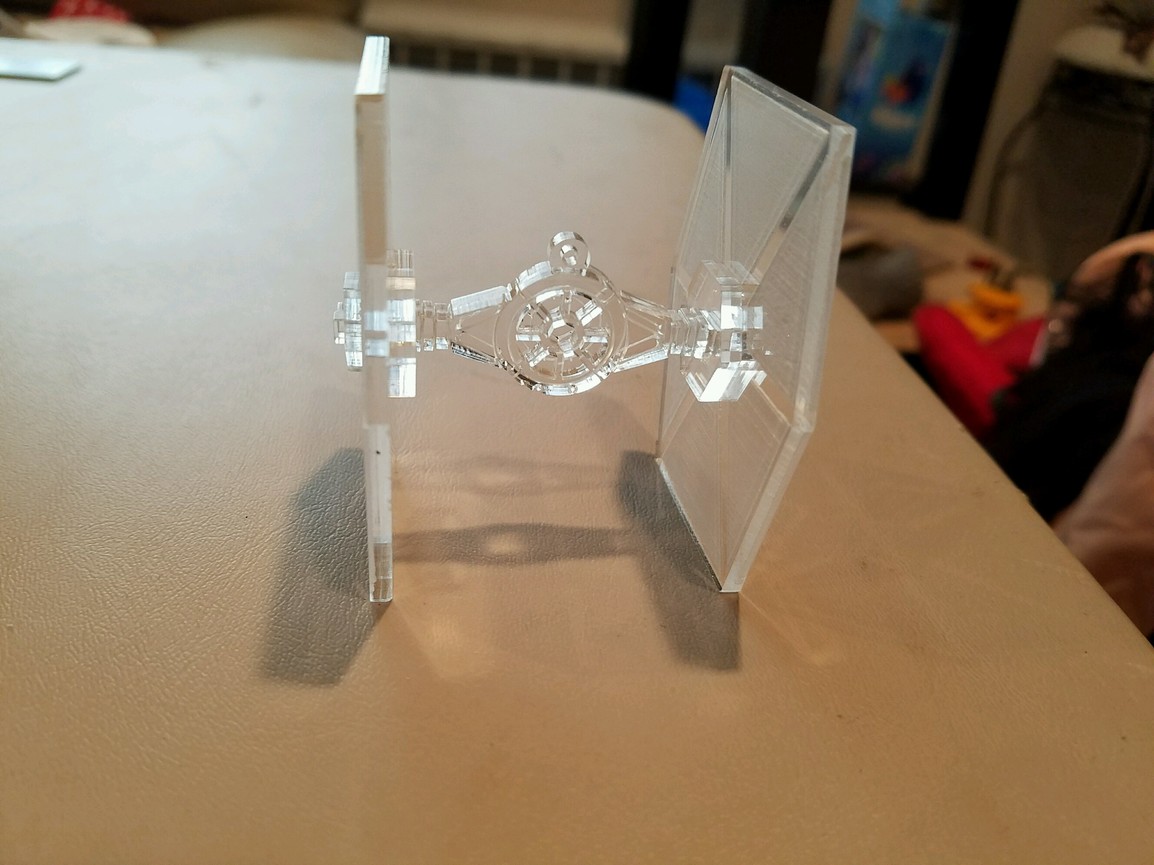
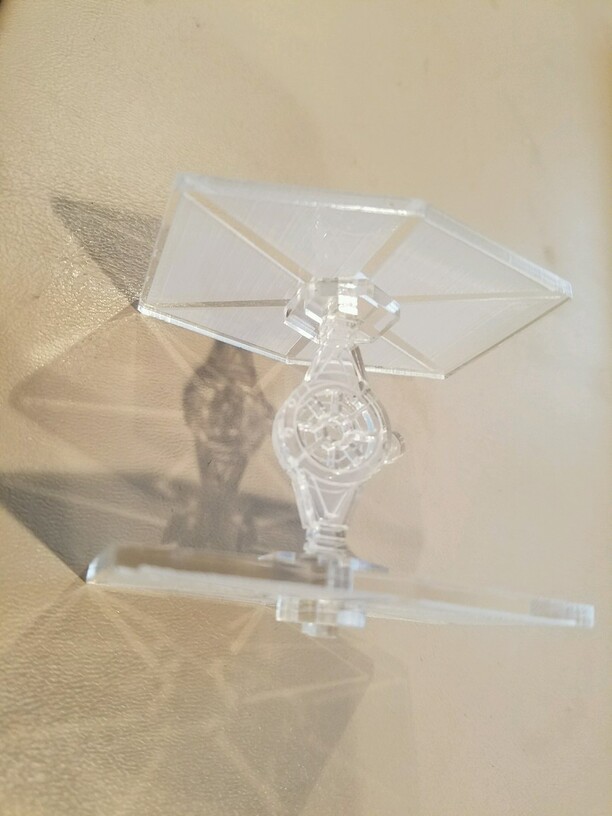
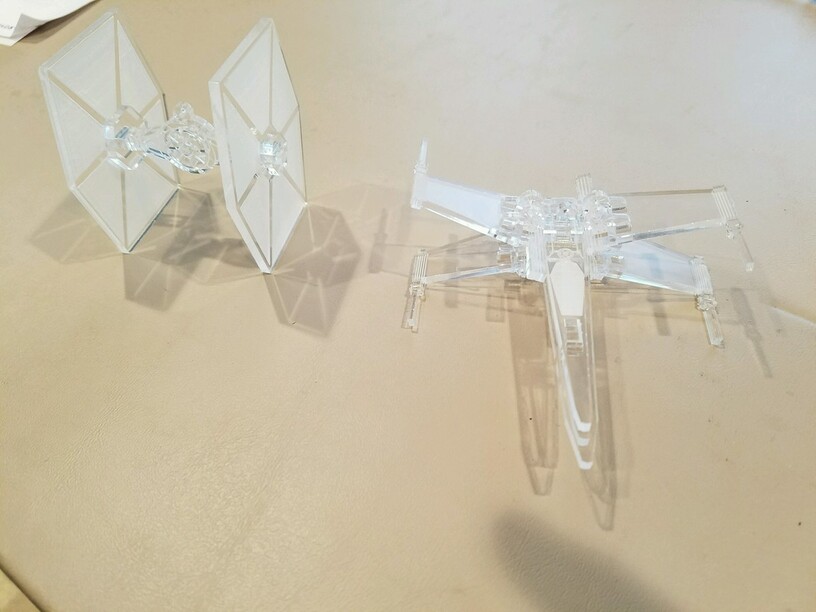
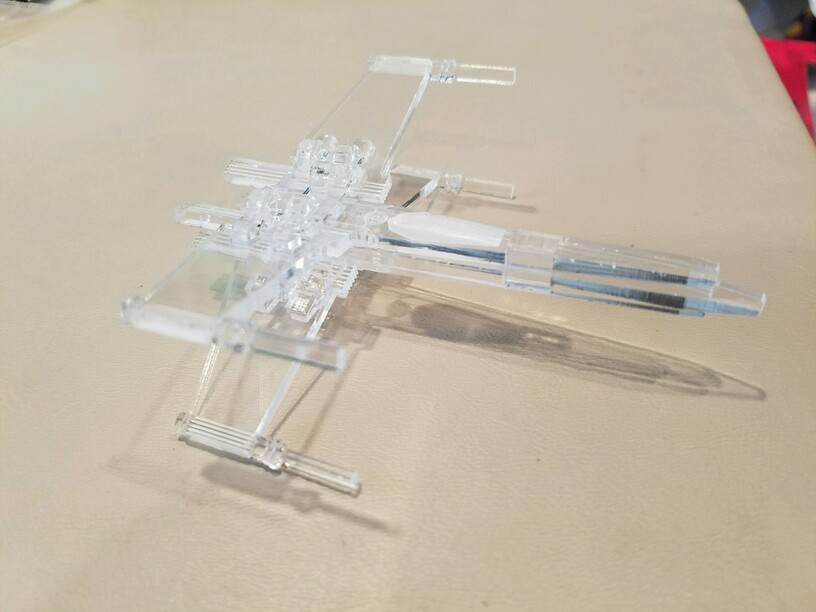
And, so, finalllllly, having learned all of that, I made what I hope is a correct version. Please don’t hate me, but I don’t have pics of the assembled pieces yet, because this was a gift to a friend. I gave it to him today and he will send me pics of them once they are assembled.
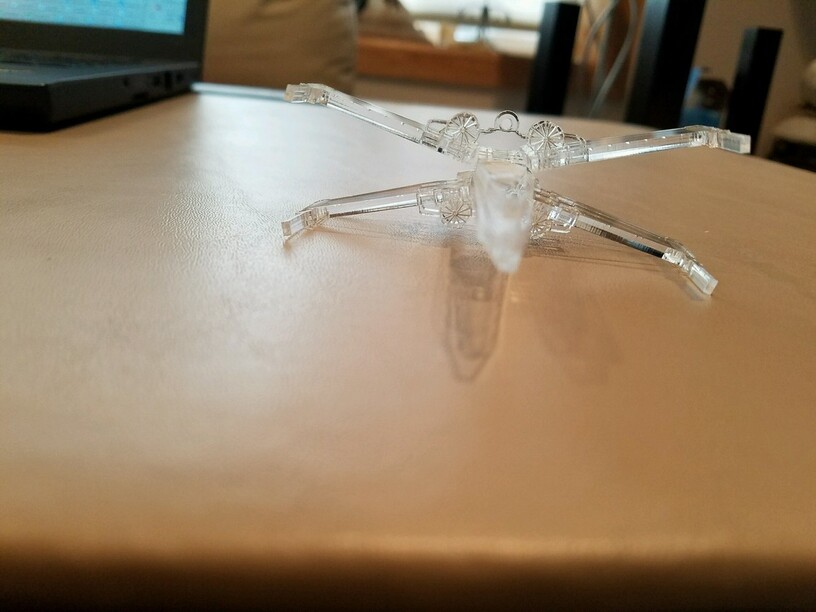
Look how prettttttyyyy:
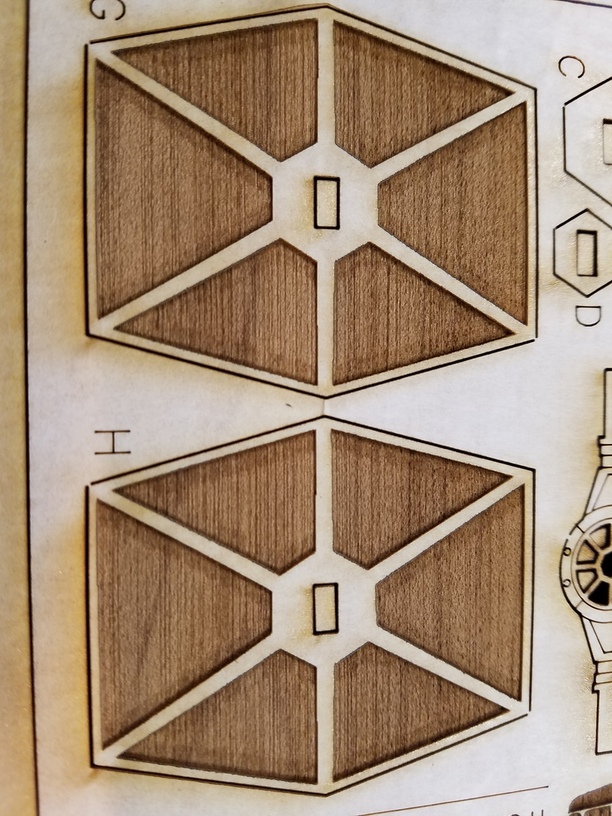
Comparison of the proofgrade hardwood vs non proofgrade plywood:
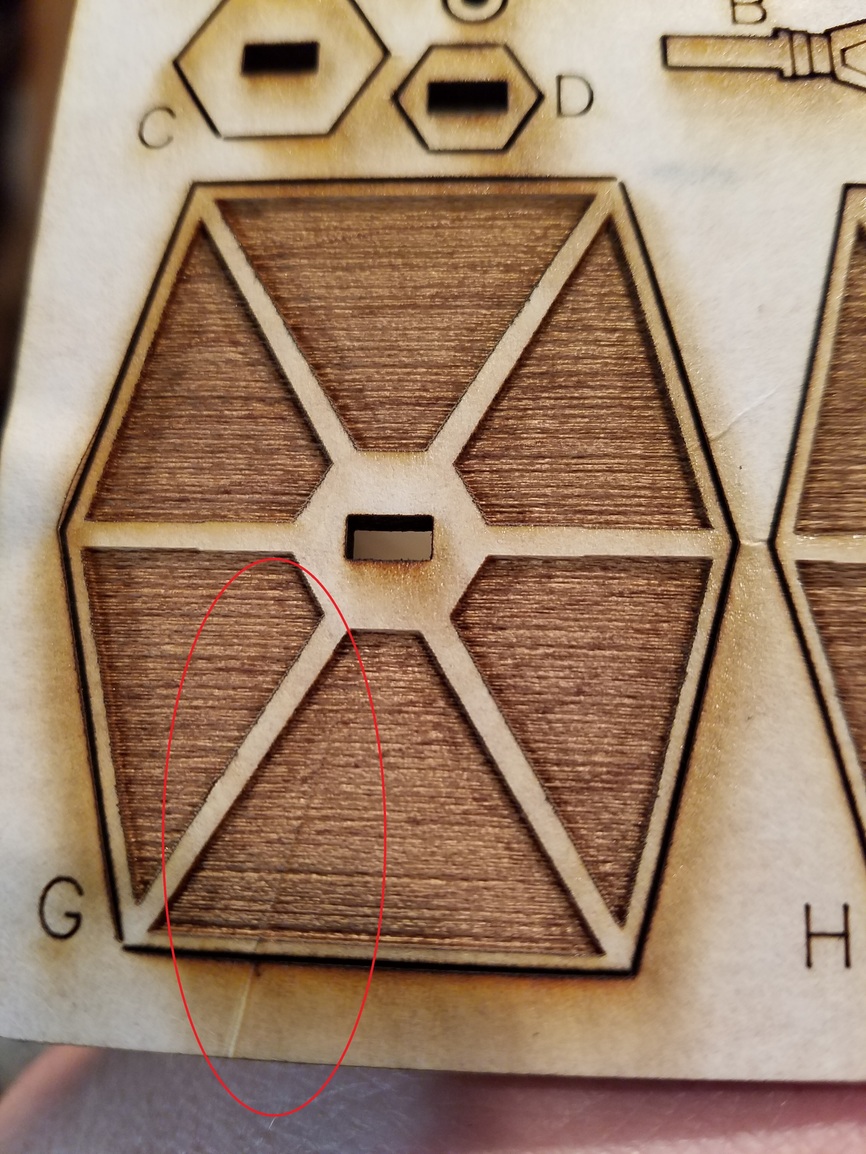
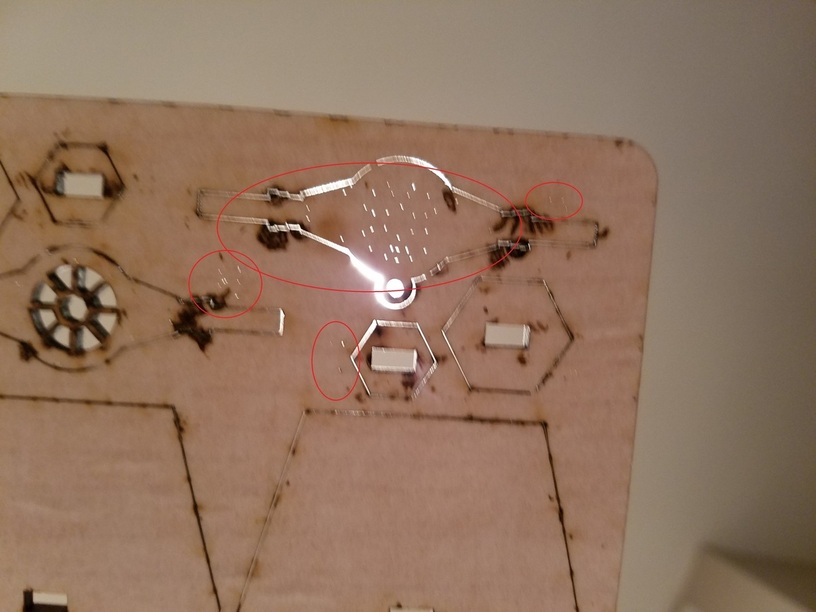
The scoring cutting all the way through in spots is still occurring, btw:


 ).
).