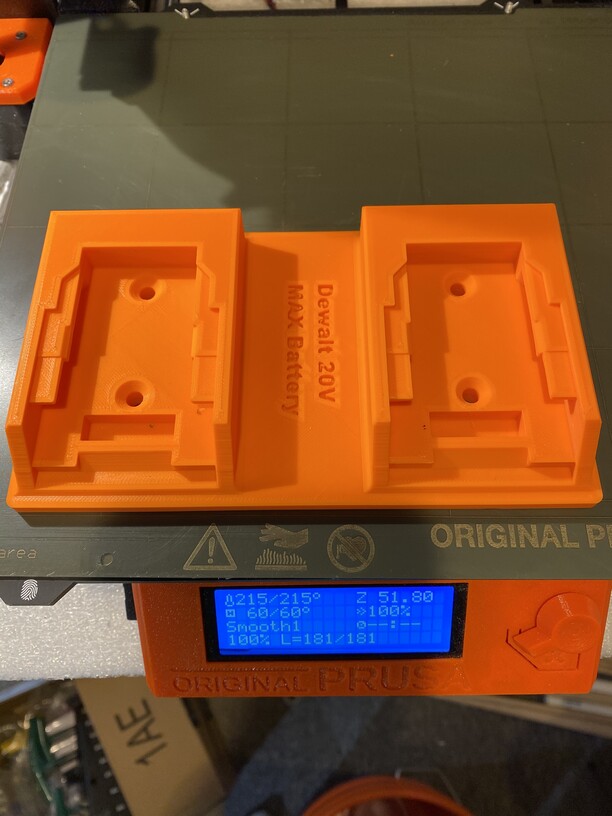
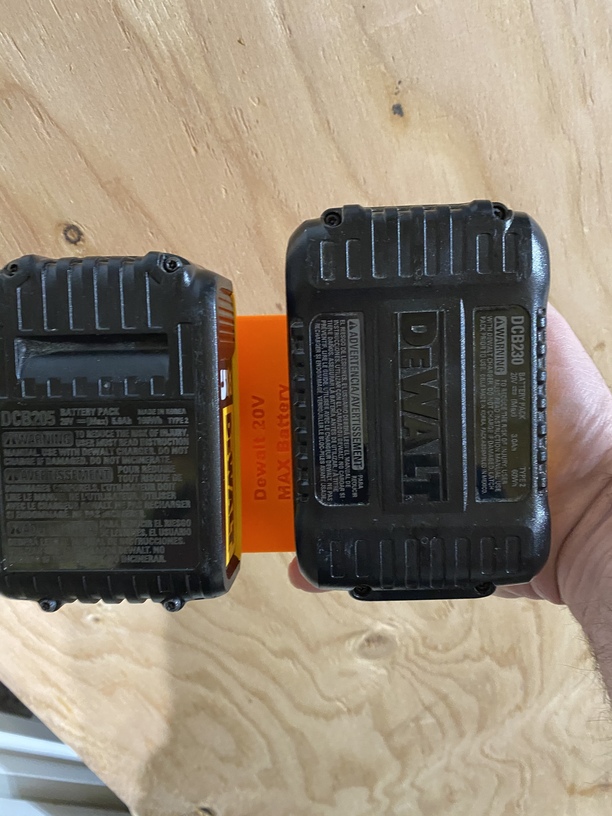
The cool thing about those, is they engage the locking pin of the batteries so they hold in any orientation. The clearance took a few trial and errrors to get it to slide in and out smoothly since these don’t need to make contact like they do in the tool.
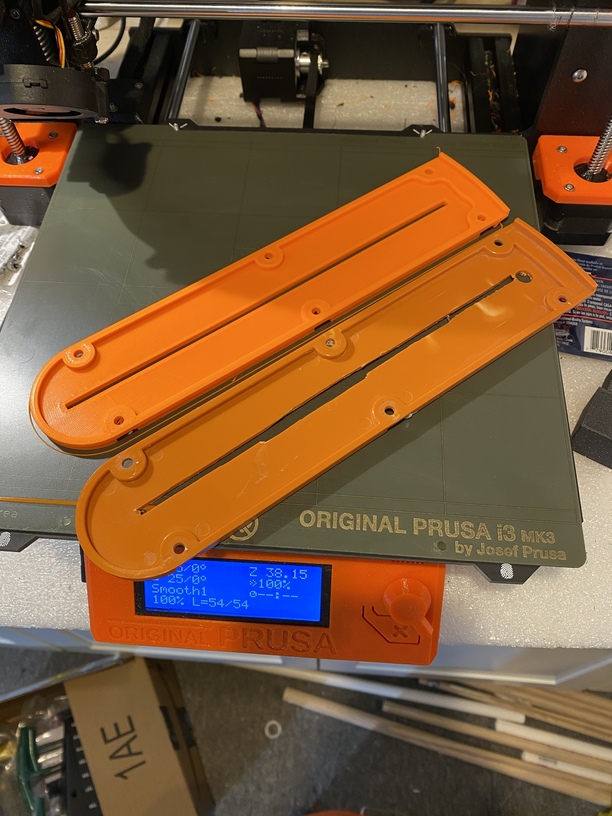
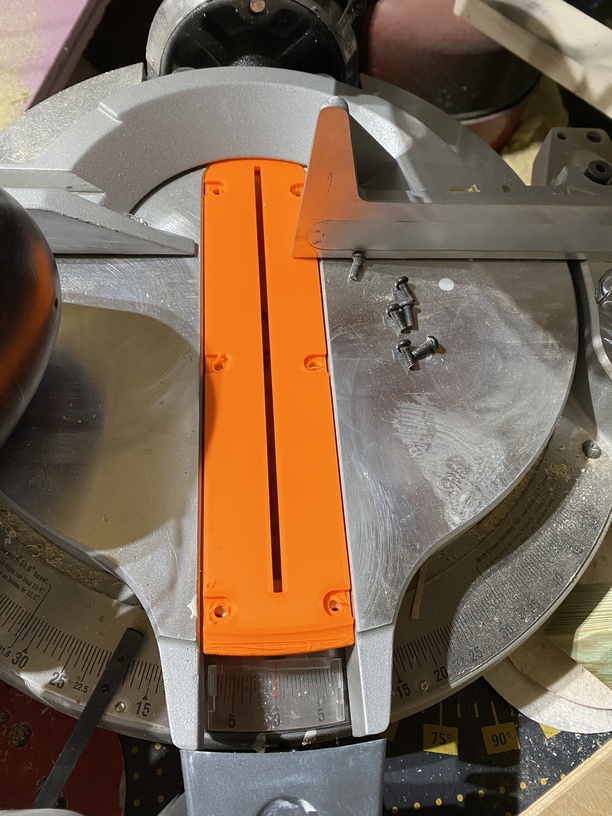
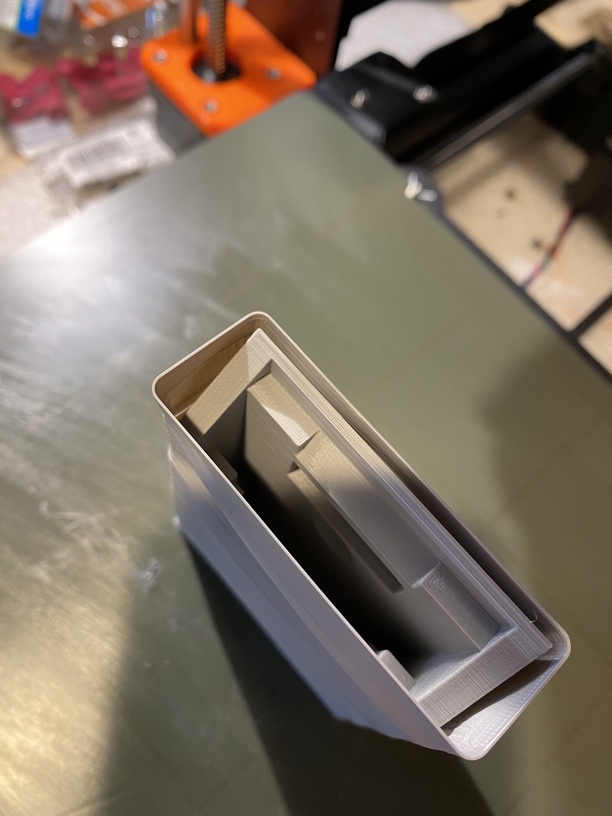
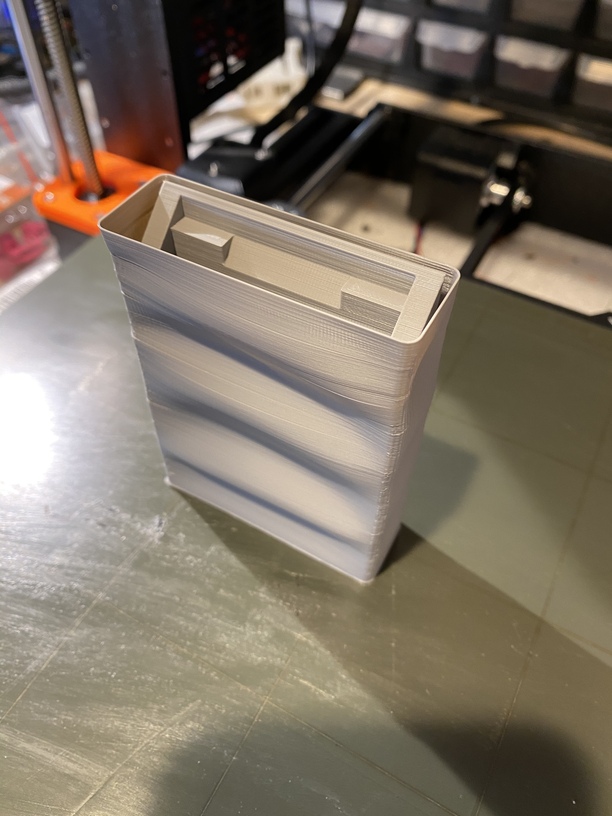
Next project was I cracked my insert for my Rigid radial arm saw.
I had to make a small change anyway to the front fillet, so added an embossed logo into the top, but I didn’t have that pic on my phone.
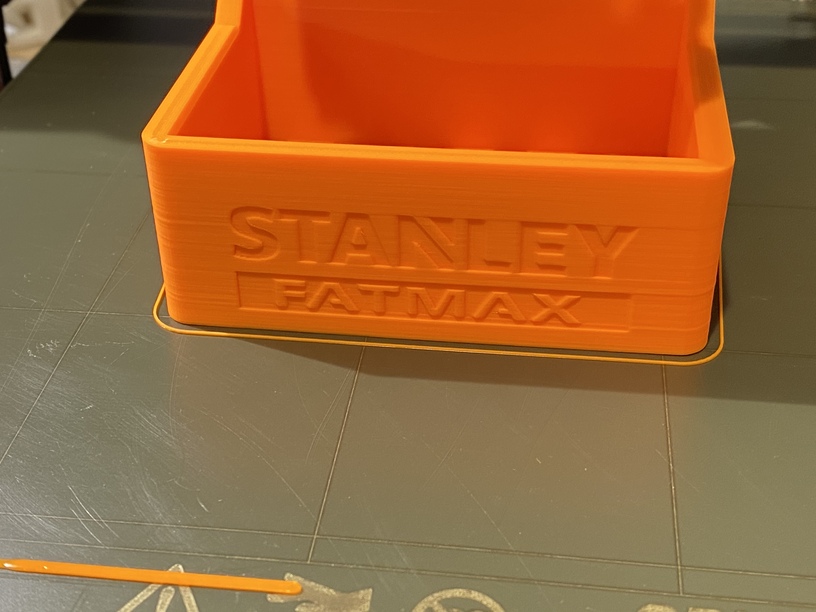
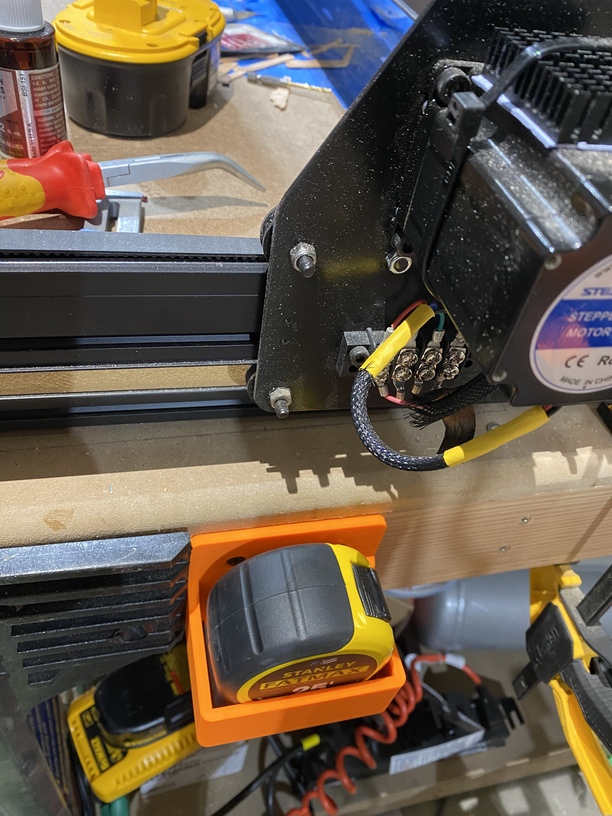
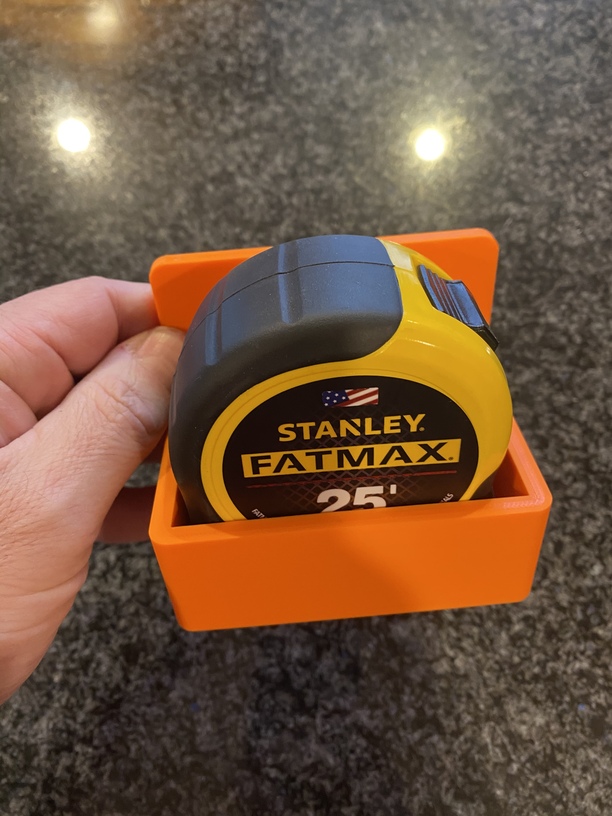
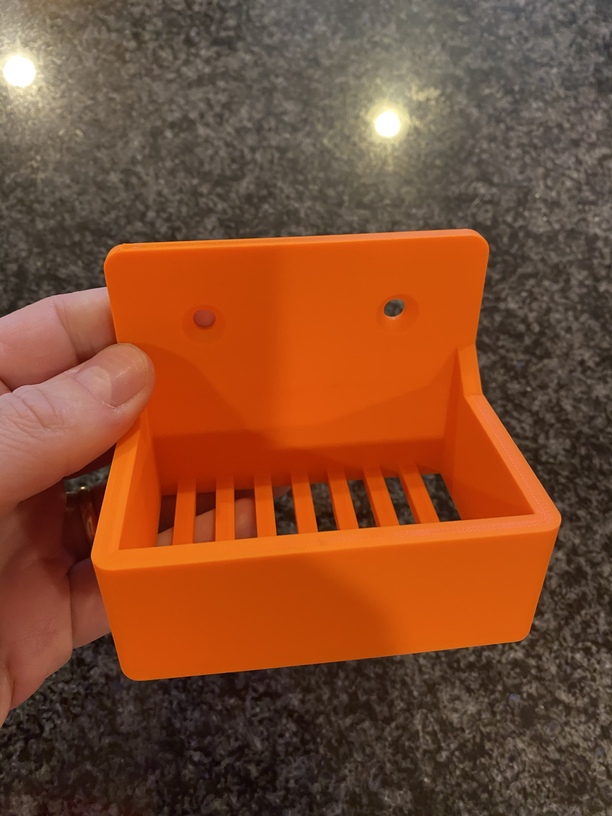
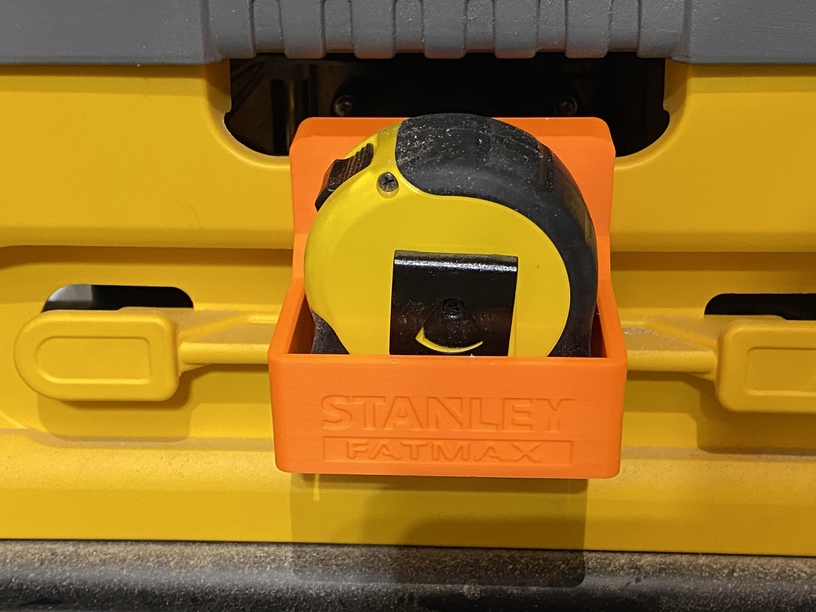
Next problem was the tape measure I have sitting next to my X-carve, since I keep knocking it onto the floor. So I made a holder (the FatMAX tape is an awkward shape). I needed a second one that clamped into the side of my dewalt table saw. So added a Stanley logo to that version. The bottom is slated to let the saw dust fall through.
Handy additions to the shop! It’s great that you’ve got the design now for the miter saw insert - they tend to get chewed up. You could do a zero clearance one for fine work - leave the slot out of the design, then cut into the insert with the blade you’ll be using, so the work is supported right up to the blade.
Having a dedicated tape measure holder is an excellent idea. Got to make a few myself someday. Otherwise it gets set down anywhere and is never where I think I put it last.
I hope you don’t mind a terminology correction. What you have is a miter saw, which has largely replaced radial arm saws (RAS). A RAS is more versatile but potentially more dangerous if not used properly. Still use mine, the first big tool purchase I made.
I tried a zero clearance one, but given the inside of it is hollow infill it sort of shatters. The slot isn’t perfectly aligned but is close enough that the blade cuts into perimeters so leaves a clean edge. Originally I was going to print it in polycarbonate, but was a little worried about shrapnel during that step… unfortunately they didn’t have a sliding model when I bought mine, and I wish I had one, but not worth replacing it
And I am embarrassed at how much crap is sitting on the wasteboard of my x-carve in that picture! Normally cleaner than that, but was cleaning up a pile of scrap so set down some tools there in the interim.
I would try PC. I had a customer ask for a couple of samples in PC and they were much stronger than I anticipated. I have used acrylic and PC for several inserts and they worked fine. You may need some DimaFix or something like that on the open Prusa since PC likes to warp.
I ended up using aluminum for my zero clearance insert on my table saw, but it is adjustable speed and has an aluminum setting.
Oh, too bad it didn’t work. How about doing a narrow slot with solid edges that the saw blade cuts in to? (I assume the point of hollow infill is to save material, so the slot would do that). I’d clamp something over it when making the first cut, as with any zero clearance insert, to prevent the blade from grabbing it and throwing it up.
I didn’t know you could print polycarbonate - what printer? What material did you use for this version?
I’m printing on my prusa i3mk3s. Prints super easily. You just need to use glue stick on the print bed (they include a stick with each spool ). The first reason I hadn’t used polycarbonate is the supports don’t seem to pop off like they do with PLA.
Polycarbonate is very temperature sensitive and can warp like ABS. Since I don’t have an enclosure on my printers anymore, you can handily print one dynamically as here:
That was my first test of the battery holder, with a “draft shield” turned on in the latest prusaslicer. The shield is so thin that it took all that warping without a problem and the part was perfect.
I suppose I could print the insert solid, which would get rid of the problem. I generally don’t have as much success on FDM printing with solid prints due to distortion.
Ooh, that’s good advice. Hadn’t thought about it, but it’s blindingly obvious when you say it. Well hopefully 14 years from now when I next replace it, I will remember this forum post!
Off topic but I have one of these Sears branded. Bought off a guy for 100$. Grew up with one my dad has had since forever(at least mid 80s or earlier). Still cuts fine. Also have a miter like @henryhbk but a Harbor Freight version instead of rigid.
They can require more adjusting to keep square when you are switching between setups a lot. For example, between ripping and mitering or crosscutting. There are ways to adjust operation to minimize those issues, and to quickly square up the machine. This is by far the best resource I’ve seen for accurate setup and use of a radial arm saw. No affiliation.