Maple Leaf made with Stippling&TSP technique

@dwardio shared a really very cool stippling + TSP technique that I had never seen before, and links to software and a tutorial to generate it from a raster image. I immediately thought of a scoring technique the Glowforge supports, which is like a raster engrave, or a shallow cut in the wood. Since it’s so quick and clean, I had been playing with the idea of using it to score lines in wood, between which a colored stain could be carefully applied. (Like a grown up paint by numbers, to borrow a phrase from @dan)

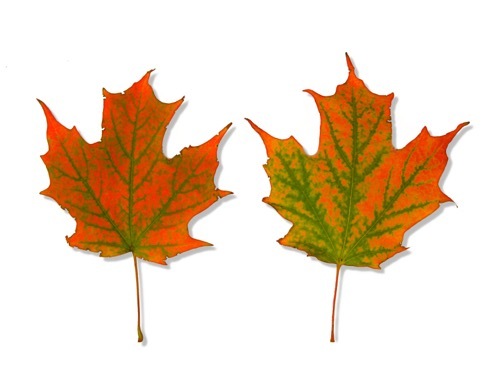
Originally I was going to use it to score a picture frame with some sort of fancy pattern, but @dwardio’s post struck me as an awesome way to make an art piece on its own. I have been thinking about fall colors recently, because the last of the trees in Seattle are giving up their leaves, and so I looked for a Creative Commons picture of a maple leaf. This one by Evelyn Fitzgerald was gorgeous and had the vein detail I was looking for, so I downloaded it and loaded it up in the StippleGen2 program.

After some puttering with the settings, the original image created this svg:


Cool! You can see the veins a little bit, yet I’m not really happy with the muddiness of the points at the bottom of the leaf and the big open areas. So, into Adobe Photoshop with the original image. Playing with contrast and brightness and deleting the drop shadow under the leaf helped, but the result still wasn’t great.


The points look better after removing the drop shadow, but I’ve lost almost all the vein detail. I’m not sure how StippleGen2 makes the image greyscale, so I’m taking some of the saturation out to try to really bump the contrast with the veins.


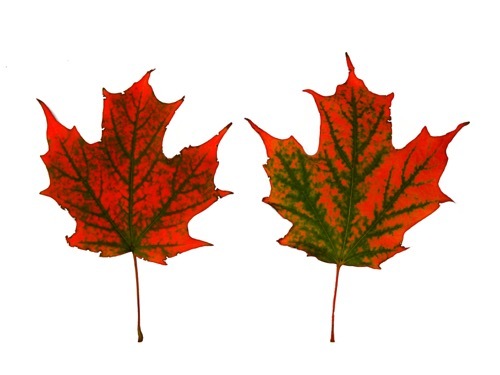
This isn’t quite right either. I’m realizing that I’ll never have a nice outline of the leaf because it’s so much lighter than the veins, so one final pass into Photoshop to darken up those edges with a brush tool.


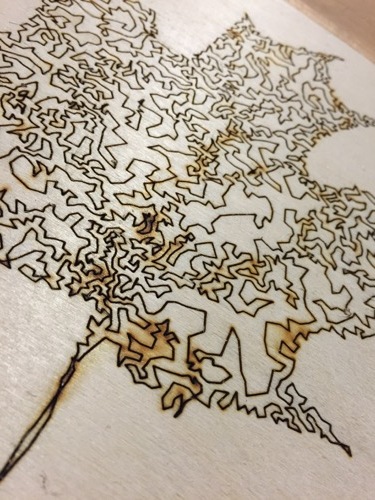
Promising around the edges, but not quite enough detail, so I bump up the number of points, and voila:

In Illustrator I broke the path connecting the two leaves with the knife tool and it looks perfect. Now for lasering.

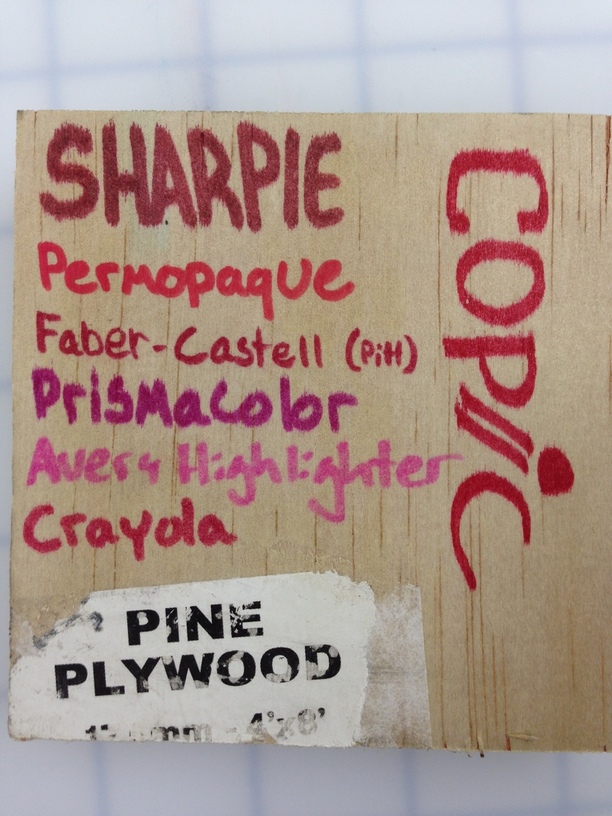
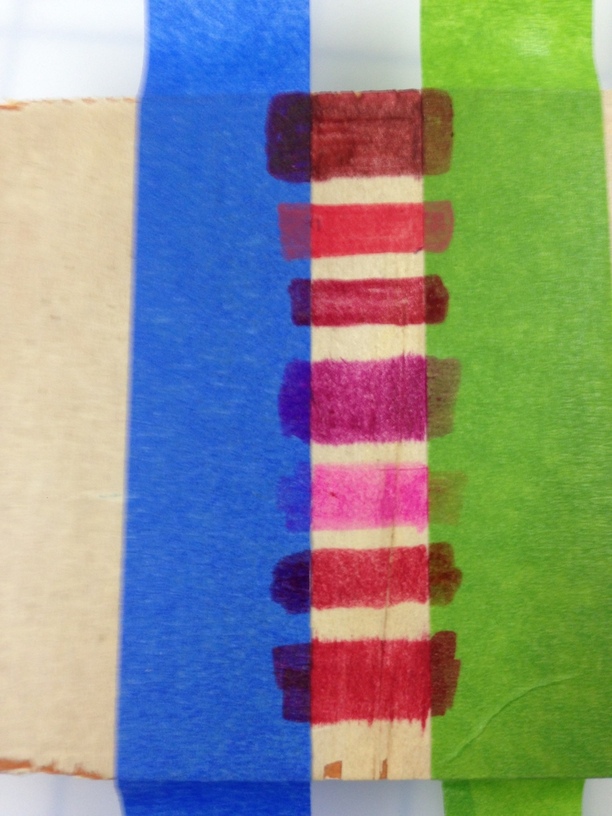
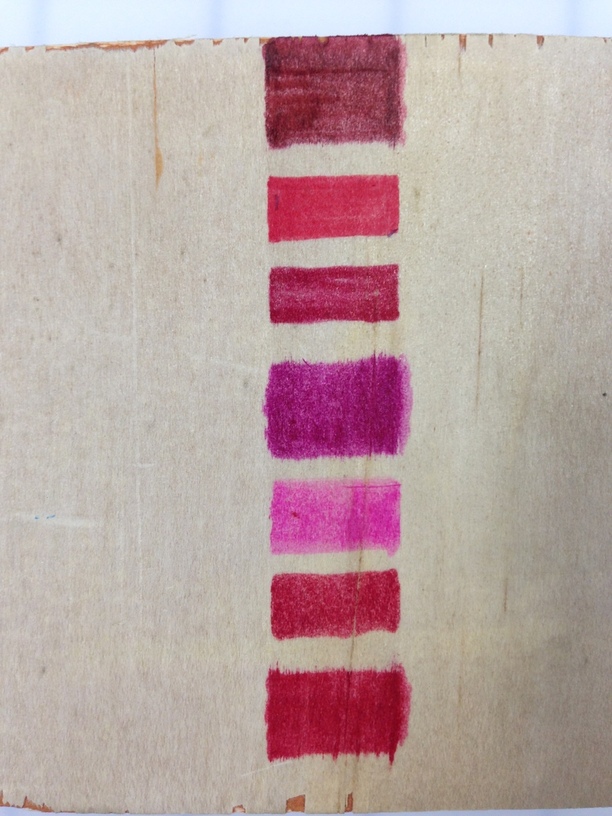
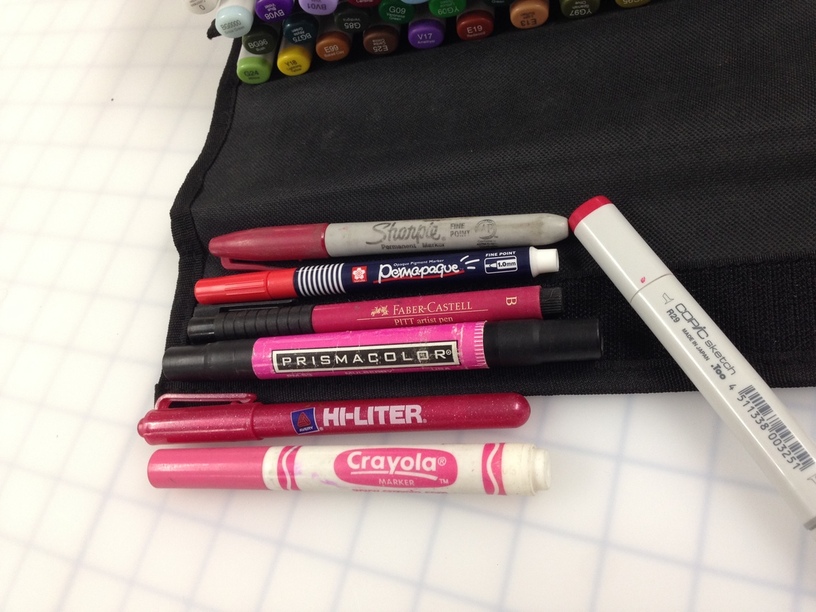
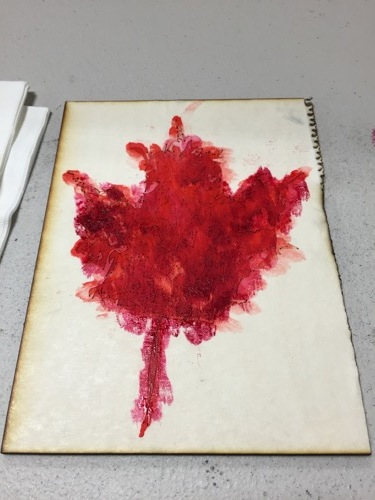
I made a quick test piece to try out a painting technique that I was hoping would allow me an easy way to add a splash of color to the lighter wood. I found that I need to use a different paint or technique, the watercolor paints still seeped in the edge of the wood under the masking paper.


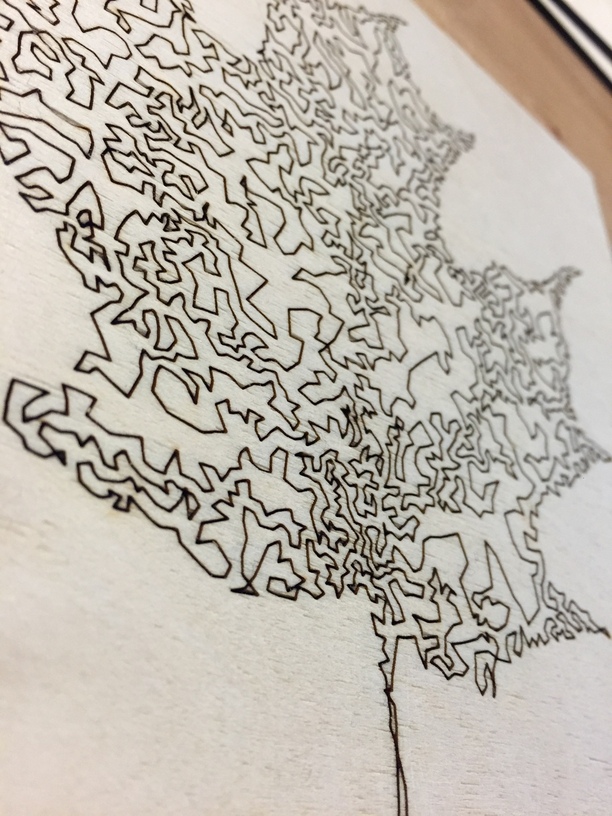
I also got feedback that people liked the plain cut better, so I left my final piece as a plain laser cut on light wood. The final piece came out great, but there was a little smoke damage where the masking paper peeled up on the thinner sections, so I sanded it down a little to clean that up. (The CNC’s compressed air hose was super useful for clearing the wood dust away):


18 Likes

Very, very nice. Side note: it just occurred to me that when GF begins to offer their own materials, especially wood with paper mask, you will have no real idea how the wood grain or slight imperfections will affect the overall look. My wife spends a lot of time choosing and orienting a piece of wood so that the wood grain complements her art. Can’t be helped with pre-masked material, just something to keep in mind.

2 Likes

Wow that is great, i need to hone my skills with Illustrator…Thanks for sharing…

Wow, gorgeous! I can’t wait to try something similar. My plan is to color in enclosed areas with Copic markers (an alcohol based marker that would act like a stain).

2 Likes

That’s an awesome idea! With the deeper score line, I don’t think there’s a chance that it’ll wick past any of the lines. I’ll bring my copic’s in next time and try it out!

That is very pretty!
Now you just have to find some maple faced plywood…

1 Like

Nice work @Kusmeroglu, thanks for sharing. It’s cool seeing what you guys are creating on the GF.

I think you are right.
Ok, this got me curious about which of my pens would bleed most on wood.
I gathered a selection of pens from around the shop, and some scrap cabinet-grade sanded pine plywood.


I’m calling a win for the Sakura Permopaque for lack of bleed/wick at the un-engraved surface-level, but they don’t blend. That would be my first choice for an outline or fine lettering with a pen. They also work on metal and plastic.

The copic went on the smoothest and quickest, and would be my first choice for fills or blends with a pen. Copics come in an immense color range.

Also, a win for 3M Blue Painter’s tape over GreenFrog tape.
(Your Results May Vary)

10 Likes

This is awesome, thanks for sharing. I also have the Prismacolor markers, bummer that they bleed a lot… Maybe I’ll add Permopaque markers to my wishlist, looks like they have really nice color coverage too.

My pleasure.
I have never used it, but copic offers an airbrush system for use with their Original and Sketch pens, which seems like something that could be perfect for glowforge-sized work.

Awesome analysis! I’m surprised about the GreenFrog tape. I’m glad I have a bunch of Blue Painters tape around, though. :smile:

Have you considered using a variation of the technique shown here? Basically it goes:

1.) Laser cut your design into the wood (use some sort of masking material to protect against flare ups)
2.) Remove mask and seal with a clear lacquer then allow to dry.
3.) Paint your etched design. The lacquer will prevent the paint from bleeding into the wood while protecting the flat surface so no need to be super careful.
4.) Once the paint is dry, sand. The lower etched areas with paint will remained untouched while the original flat surface, which has been protected by the lacquer, is sanded to remove the slop over.

It works kind of like a paint wash but the lacquer keeps the porous surface of the wood from soaking up the paint and instead of wiping off wet paint, you are sanding off dried. Provided your design is deep enough and you sand off all the lacquer, you could stain the original wood just fine. The same technique could be used with things other than paint. Imagine the veins of your leaf filled with a polymer clay? Or what if you filled them with copper metal resin, polished to a high shine and stained the whole slab a rich red?

3 Likes

Super interesting, I have never heard of that technique. We do have some sanding stuff in the back, might be worth experimenting with. Copper metal resin sounds really cool, going to look that up. Thanks for sharing! I think I have a lot to learn about woodworking :slight_smile:

What would be nice is if they can print and image of the wood surface on the masking paper so that you know what is “under the skin” so to speak