Sharing settings and how to since I spent the morning looking for the info and found nothing but unanswered threads and failed attempts at marking aluminum.
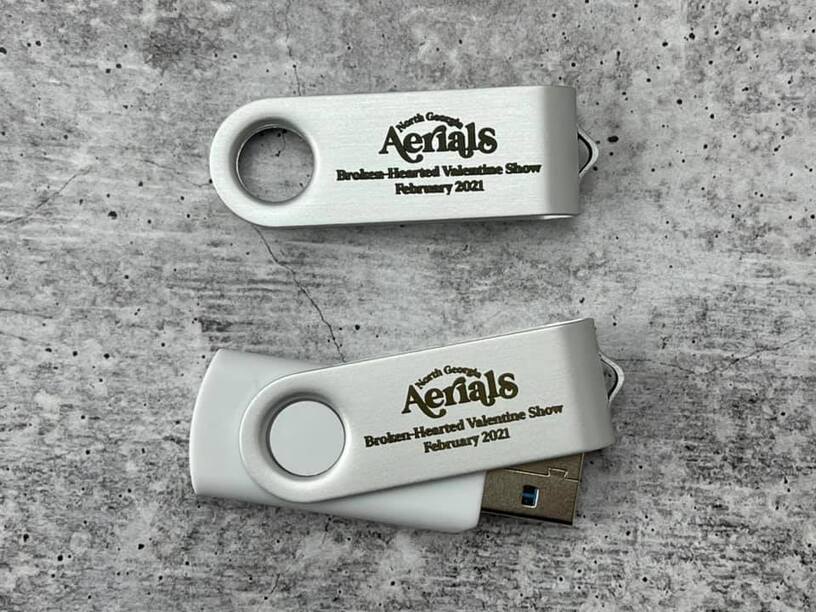
These are USB drives from Amazon with an aluminum flip cover. I used one good coat of Laserbond 100. According to their instructions aluminum dissipates heat so quickly you have to use much more power than you would for steel, but the question was how did their settings for 30W/50W machines translate to a 40W glowforge since speed on GF is not in in/sec or mm/sec. I called Laserbond to see what they thought might work. The suggestion was something around 4in/sec for speed. Then I ended up finding a forum post explaining that GF used to have mm/sec but it was changed to an arbitrary number. This person had a spreadsheet so I was able to convert and find out that about 364 should be equivalent. So then I had to test.
Also recommendation by LB is 1000LPI but when I put that in, it said 58 minutes and I didn’t think it was worth it to wait that long for a test so I chnaged it to 675.
Another detail to note is that at least at this size, there’s is “bleed” to the design (seen on top). I ended up changing the text from bold to medium and adding about 10/20 tracking between letters. Then for the logo I did a -.0005 offset to shrink it a tad.
Final settings for bottom version:
300 speed / Full Power / 675LPI / 1 pass
EDIT: Looking at them in sunlight, the 300 is slightly lighter so I’m dong to default my setting to 200.
The top one was done at 200 speed. I increased to 300 since my converter implied it should work there.
I washed these and scrubbed them with the sponge and seemed fine. I’m happy with the results!