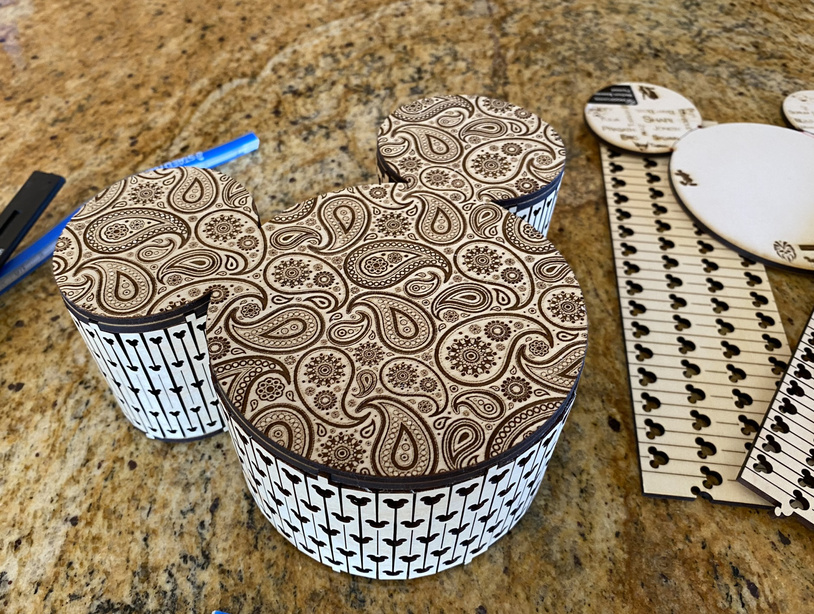
One of my coworkers, a big Disney fan, is leaving to go to Disney+. This is what I made her. It would not have been possible without help from folks here who helped answer my questions. Thank you all!
98 Likes
That is really Amazing!
3 Likes
This ex-Disneyite approves.
2 Likes
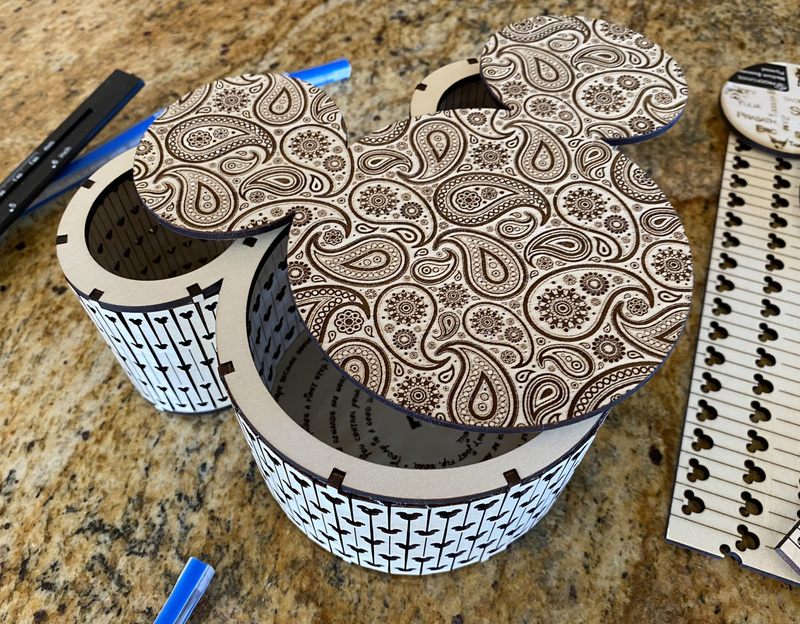
Oh man - the mouse living hinge is just a step beyond
NICELY done!
11 Likes
Nicely done!
2 Likes
Very impressed. Might need to make one for my coworker lol
3 Likes
Well, that’s the most fun thing ever. Love this!!!
2 Likes
WOW.
That is terrific.
2 Likes
Fancy! I like it, and I know your coworker will too.
2 Likes
Oh wow, amazing!
2 Likes
Wow - just wow!
1 Like
Woah, such a cool living hinge! I had no idea you could do that!!
1 Like
The whole project is incredible from start to finish, but the Mickey living hinge is the topper! Very impressive!
2 Likes
Very cool! I like keeping the mouse motif on the sides as well. Nice work!
1 Like
This is MAGICAL!!! Amazing job!!! <3
1 Like
Oh, wow. I am a big Disney fan and I’m now in love. If you ever happen to sell the files (which I’m not advocating because trademark and all, but still), let me know. I’m first in line. 
2 Likes
Amazing execution!
1 Like
Here’s a little bit to get you started, the least I can do to thank you all for the support.
mickey-live-pattern.svg.zip (45.7 KB)
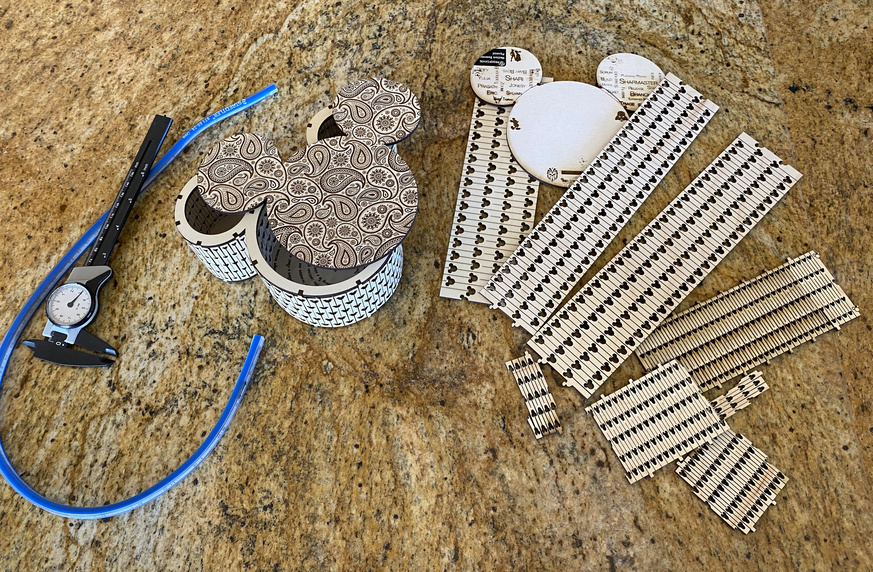
This is the pattern I used for the curved parts. The top one is one of the stronger designs. The middle one has a nice balance of strength and flexibility, and the last one is basically what I had to do to get more flexibility on the ears, given the smaller size of the oval.
If you make it any smaller, then shrink down the mickey heads as you need to leave more wood between the ears and the next line over. If you increase the size, or need less flexibility, then you can increase the size of the mickeys.
The reason the bottom shape is so light colored in the SVG is that I could only get it to print at the right size by making the line strokes 0.1px. I had assumed that a cut is a cut and minimally wide with no regards to stroke width. However, it seems like I was getting smaller tabs because the stroke width was being subtracted from the desired cut. I wish I had a better fix.
If you need the clasp area to be stronger, turn the mickey heads on each end, 90° so that both ears anchor into the other side.
If whatever you use this for, has no up or down, then you can have each row of mickeys alternate between ears in one direction and the other. Or alternate direction in the same row.
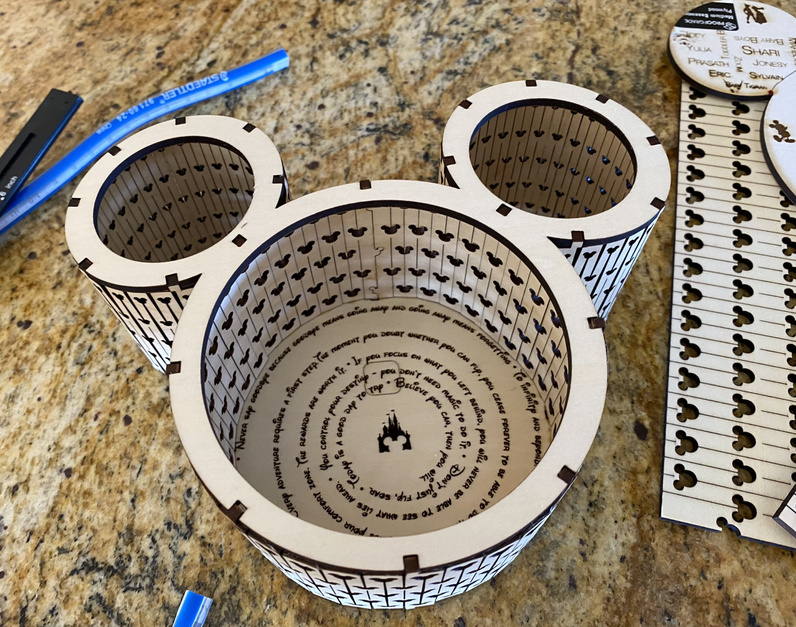
I will be posting my entire project, but I have to correct an error. I measured the circumference of the larger circle from its edge. That is the size of the middle live hinge design I have posted here. I was wrong. The circumference should have been measured 3mm in from the edge. As it is, the circle created by the live hinge piece is slightly cramped. I’ll be fixing that, and then I’ll post it for you all to enjoy.
What I wish is that there was a way to trace a complex curve, placing ticks on the traced line as needed, and then to be able to lock the line from stretching, yet to be able to straighten that line and have it be the exact length of flexible live hinge material needed to match the curve that was traced. Maybe someday…
Lastly, I think you can speed printing by combining the mickey heads and the lines in one curve so that the GLowForge can do each line in one continuous motion instead of doing lines first and heads later, etc.
-mahboud
24 Likes
What a very Mikey worthy project! Your co-worker is going to love it.
1 Like
Really nice of you to share!
1 Like