This issue just arose yesterday, but it’s been happening since.
When engraving, the Pro randomly misaligns some parts of the image. I cleaned all the lenses, turned the GF off, and waited a while before turning it back on, but it still continues. I am hesitant to proceed with cutting boards until this issue is fixed. I already wasted a bunch of PG maple ply.
Any advice or help would be greatly appreciated!!! Thank you!
Either a belt is loose or it is bumping something. Probably need to tighten the gantry belt.
2 Likes
Thank you. How do I tighten the belt and how could it have happened? I never place anything in there that it would bump into or would be higher than the allowed height.
It doesn’t take much. A piece of masking being blown about getting on the belt will do it. First make sure the machine is off before messing with the gantry.
There is a wheel at the right end of the gantry that is loosened or tightened by a 3mm Allen wrench to slide left or right so the belt can be removed or replaced. It needs to be pushed to the right to tighten the belt. And the Allen wrench tightened.
While you are at it check the wheels on the carriage that none of them are cracked
3 Likes
Check for debris in the belt or on the rails. Check also for cracks in the wheels. This example looks like the printhead bumped something which threw off the engrave in one area only.
5 Likes
On adjusting the belt…
4 Likes
Pretty sure this would be the carriage belt, not the side belts.
1 Like
The mechanism is the same but I fixed the reference
3 Likes
Are you using holddown pins or anything that sticks up above the material? The scoop for the air assist fan on the carriage plate, underneath the print head, is not even half an inch above the surface of the crumb tray. If anything is sticking up more than half an inch above the crumb tray, it will bump into that at some point during the engrave. That bump would shift the rest of the engraving from then on until you restart the machine.
2 Likes
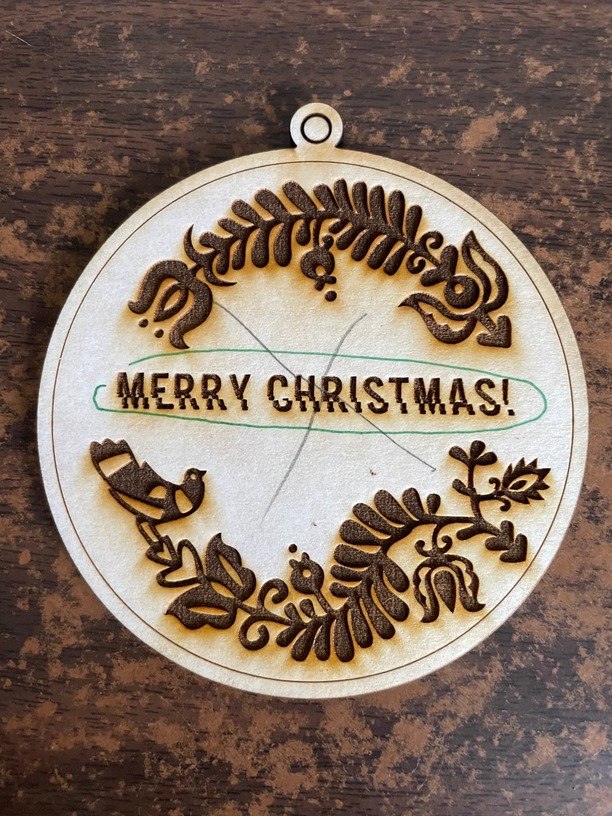
I’m not using pins of any sort. There’s nothing on the tray the laser head could bump into. To make sure the end result is perfect I’m actually using PG maple ply. Wish I just used regular birch ply.
When you finally get things worked out, being very careful to not move the material you can drop in the ones messed up upside down. Then you can buy cork with a sticky back at 4" round and cover the messed up side that nobody would ever see it. Then those can be good for around the house or for Christmas presents ![]()
1 Like
I love that idea! Thanks for the suggestion!
1 Like
Hi All,
I ended up watching a YouTube video on how to take the belt off (was a pain to do it for the first time) and cleaned the air assist fan behind the carriage plate. I cleaned all that and the sides, practically everything that could be cleaned - if I had to muscle the Pro to get that belt off, I was going to clean it well ![]()
Then put it back together, calibrated the camera as well. Not sure what helped in the end, but my issue has been fixed finally. Thank you all for your help and advice!
This topic was automatically closed 30 days after the last reply. New replies are no longer allowed.