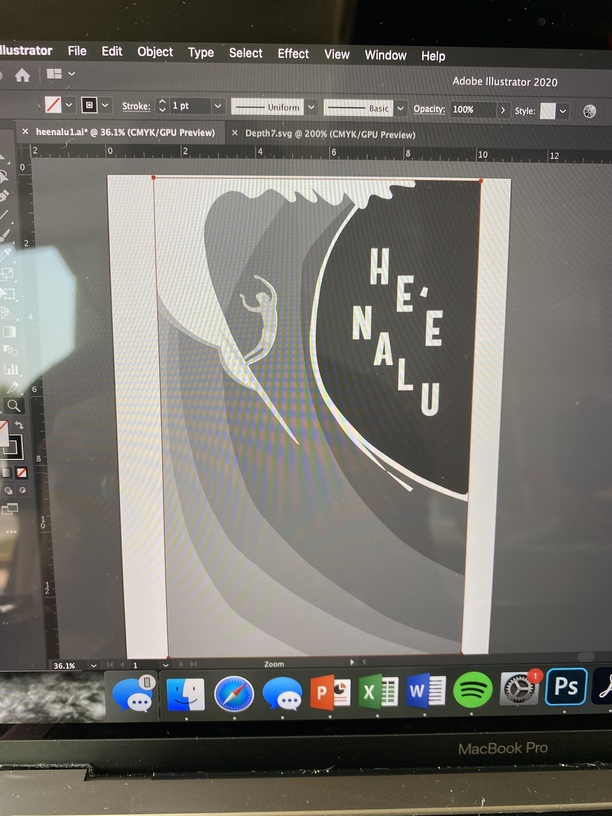
Referring back to my layout, each color is an individual layer in the file.
If white equals 0 passes and each layer increases by one pass then the darkest grey equals 9 passes.
So total set time for the project is giving me 20 hours.
Is there another way to think about this to achieve the same look but cut down time table?
Any and all help is greatly appreciated.
Thanks
BG
Here’s the thing with 3D engraving…it’s all the same color. You will have a shallow black layer, followed by a deeper black layer, followed by a deeper black layer…etc. etc. etc.
Burning wood only produces one color…black.
If you want to make that actually appear to have shades of gray, you will need to rasterize it and use one of the Photo Engrave settings. That will dither the results and give the appearance of shades of gray by spacing the burned dots farther apart.
The Photo Engrave will also run more quickly - you will basically just be making one pass, and can reduce the amount of time back and forth needed to deepen the steps.
So that’s what I’d do, if I wanted the appearance of different shades.
If you’re just engraving for depth though, it’s going to take a while. Be sure to turn the design horizontal - the vertical travel time is the killer on large designs.
As an impatient person I avoid engraves for the most part. I think your proposed artwork would look great as layered cuts and would cut in less than half an hour even with changing out multiple boards.
The short answer to this question is to adjust the settings so that the whole thing is done with one pass, and darker shades have more power.
Find the speed & power (likely FULL) that give you the depth you want for the darkest shade, then the lighter shades will not engrave as deep.
If you want to get really precise, you could then use those settings and “calibrate” the lighter shades in your image to match the depth you would like for each.
As stated above, however, deeper does not translate to darker, as it’s all just burned/vaporized wood, so the result may not be exactly what you are expecting.
One other thing about engraving: if you orient your job so the bulk of the engraving is in the horizontal direction, you can shave a lot of time off compared to vertically oriented designs.
Thanks,
That was what my original thought was too.
Im wondering, is there any way to increase the depth per power in the settings?
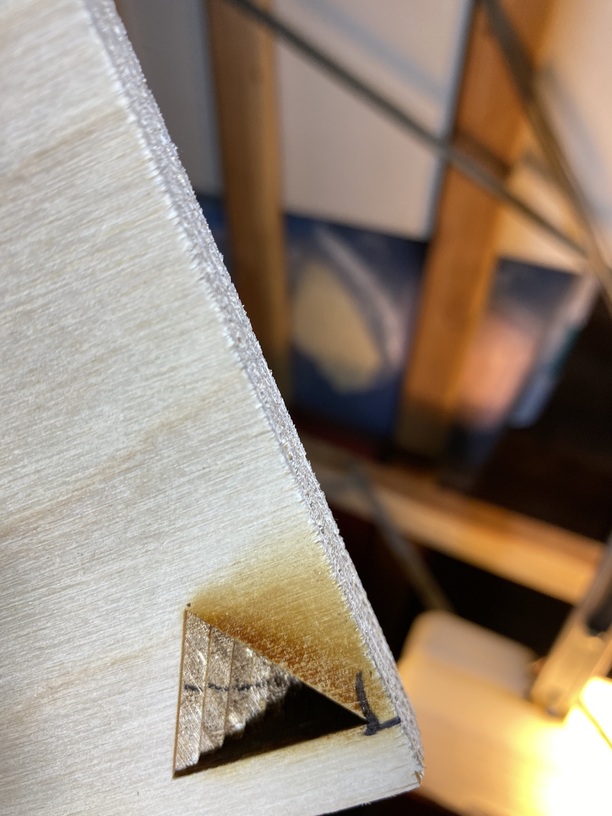
Again for thick plywood material at existing manual default, the full power engraves about a single ply or around 1/16"
I think that may be the short and quick of it… unfortunately more prep with wood purchase and gluing… but I think the desired effect will be the same.
Would have to get crafty with the lettering so that the spacing and such would be exact.
Maybe engrave the positioning on that single layer or cut the silhouette and fit the lettering in like a little kids circle/square cube thing!
Would need to run a test engrave with the outlines of the layers to make sure the pieces are too small by the dudes hair or some of those edges…
I do a lot of engraving. There is a special thing called variable power engraving that has 256 levels of cut if you can use them, I normally use many as I am looking for 3d images but what you are doing can be done also. The thing is that in order to know what depth to cut each pixel you need to provide those pixels i.e. a raster image rather than vector. That would cut your engrave time to a third but with such simple lines there are better approaches.
Considering your design you might find cutting three or four pieces of 1/16" inch thick ply (like say Baltic Birch) and layering them together to get the effect you are looking for would get cut in under a half hour, and not have a scorched surface.
It is possible to clean up the scorched surface but that could take anther pass at high speed that could add back another third of the 20 hours. and then many hours with sand paper or brushes or both.