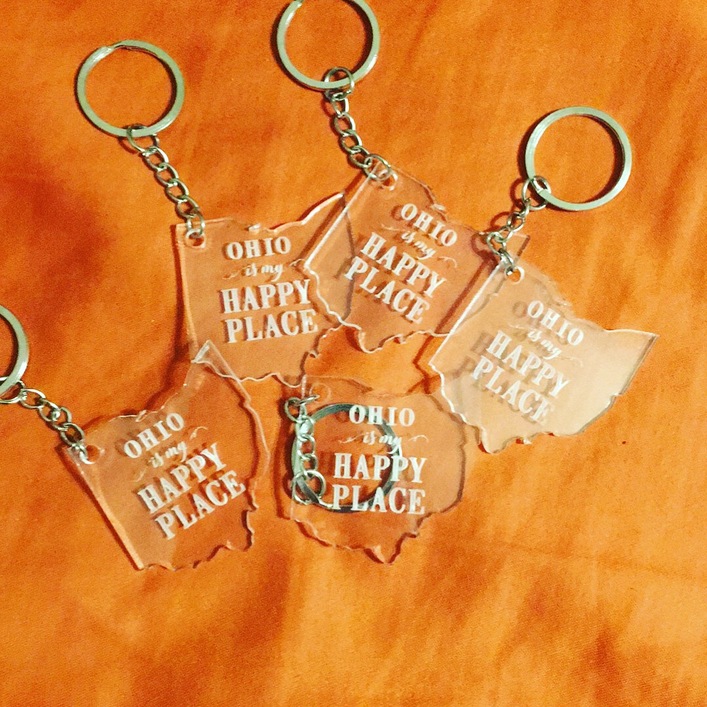
So today I made some little keychain blanks. Used tinkercad to get the outline of my state, then added some text from an old file I had. I will find a font I like and actually re-do the file though. It wasn’t the best when I used it before for a quick project, but, I figured since these were small it would be fine. Also did some practice on some 4x4 ceramic tiles that were painted black. This is actually attempt #3 lol, but, getting the photo laser ready was a bit tricky. Let me know what you all think!
22 Likes
Go on…
You painted it black and then engraved the paint away? Or something else? Curious about the process you used.
Nice job on both.
1 Like
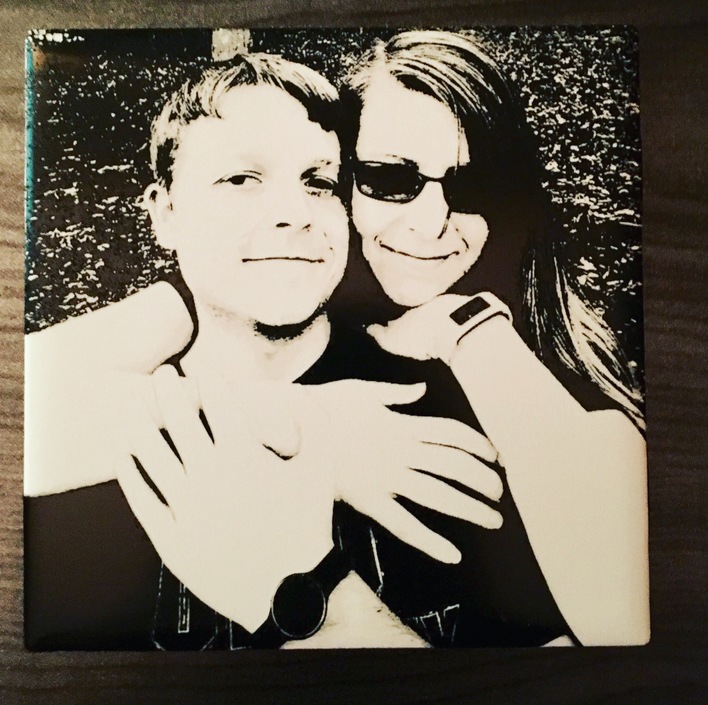
Yeah, sorry. I took some 4x4 white ceramic tiles that I got for like 15 cents at Lowes. I hit them with some semigloss black spray paint and let them dry over night (actually it was a couple days because I got busy lol) I had a picture of my, then girlfriend, now fiancé, and soon to be wife (6/15/19) when we went for a little hike at a local state park.
I took the picture into Photoshop and cropped it down to a square. I converted the image to black and white and tried to get as many shadows out and get it as close to only black and white as possible. It actually still isn’t quite where I wanted it to be, but, I’m not a patient person haha. Anyway… After you get the image to as close to only black and white, invert the image and save it. I just saved as a jpg, but, thinking maybe another format may work better? Not sure. At any rate, upload your inverted image into the Glowforge user interface and I applied the following settings. 800 speed / Full power / vary power / 340 LPI. Be sure to measure the thickness of your specific tile as they are all a bit different. I placed a thick piece of paper under my tile just so I could line up my picture a bit easier. I did not come up with these settings, they were from user @wenning08, be sure to check out his Facebook page Fresh Start Custsoms. Super great guy that has helped me out a bunch already.
After all of that, I hit the print button, pressed the button on the GF and 34 minutes later, I had a tile. It works because when you invert your image, it engraves away the white sections of your picture, and the black from the paint stays. This is going to be a project that I mess with often I think.
9 Likes
Thanks for the process breakdown.
Just a guess but I think you’ll probably get pretty good results with lower LPI, in much less time. 4x4 tiles generally take me about 15 mins.
Also yes jpg is full or artifacts and doesn’t support transparency, you might want to look into pngs.
4 Likes
Lower LPI? I would think that wouldn’t look as good lol, shows what I know. I will try some different file formats too, but, it was probably just my editing skills slacking. I haven’t had to do much with Photoshop for several years
Well it’s complicated which was why I said probably 
Your focus height and speed and vary power settings all radically change the look of it too. Engraving is a balancing act, what “looks good” is entirely up to you
2 Likes
Hey, congratulations in advance! Did you make a bunch of wedding reception decor items with your Glowforge?
4 Likes
Well thanks! Sadly no, we are actually just going to run off and get hitched haha. Less work that way
4 Likes
Since you made it almost B&W, you might want to try using dots instead of vary power. You should get a newspaper quality image.
2 Likes
That could look cool, thanks!
Kind of…
JPEG artifacts come from two sources pretty much: 1) being saved over and over and over (and it takes a ton of saves to really start reducing the quality IF you save at the same quality level), and 2) JPEG quality levels when saving, which is a compression algorithm to reduce the size of the image.
If you have the original images in hand, it really shouldn’t be much of an issue. It can definitely cause problems when people take images off of the internet (google searches, Facebook, etc.) Just saving as a PNG won’t fix the problems that are already there for those types of images though.
1 Like
Yeah, all true, I was simplifying. This assumes you know to clean up artifacts from your original jpg and replace the white areas with transparency and save at high quality png.
Suppose that was too much assumption given the topic at hand.
1 Like
I’m a pro at assuming. But, then I also see questions daily along the lines of, “I saved it as an SVG and it won’t let me cut it” (embedded raster image).
4 Likes
Congratulations on your upcoming wedding day!
Being from Ohio … I like the key chains! Nice first tile also.
1 Like
Thank you to all the above! I live in southern Ohio right where Ohio, Kentucky and West Virginia all meet up, so I’m going to make some keychains and slate coasters of the rest of the tristate too
1 Like