As with most of my projects it all started with browsing this forum and finding inspiration to try new things and improve my skill set. Special thx to @pubultrastar and @evansd2
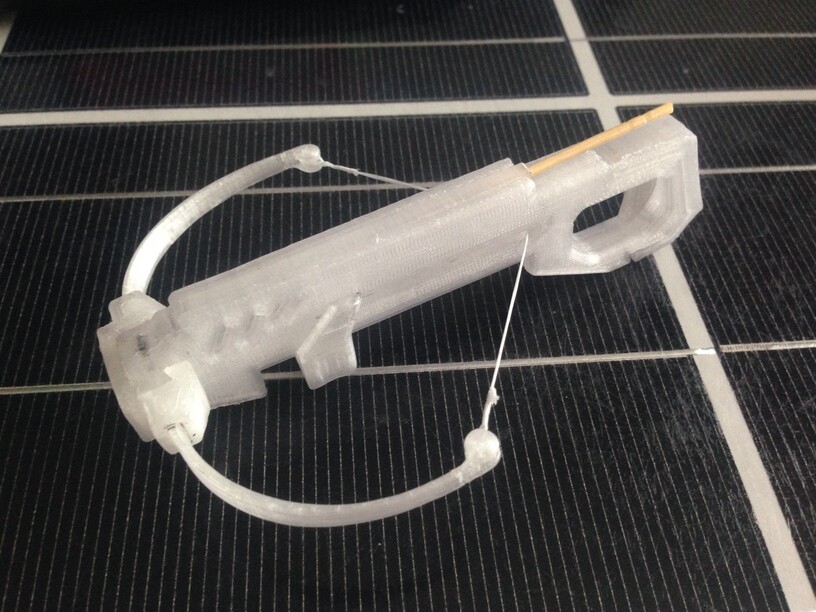
Started out by downloading some free files off of thingiverse to test out. With those I was able to 3d print some brackets on a printer I borrowed from a friend.

And after playing around with some things that will eventually end with with me losing an eye lol
After I had the brackets all printed I moved onto doing a test to see how well I could get the corners to fit on the external tiles. Just printed the tip of the triangles.
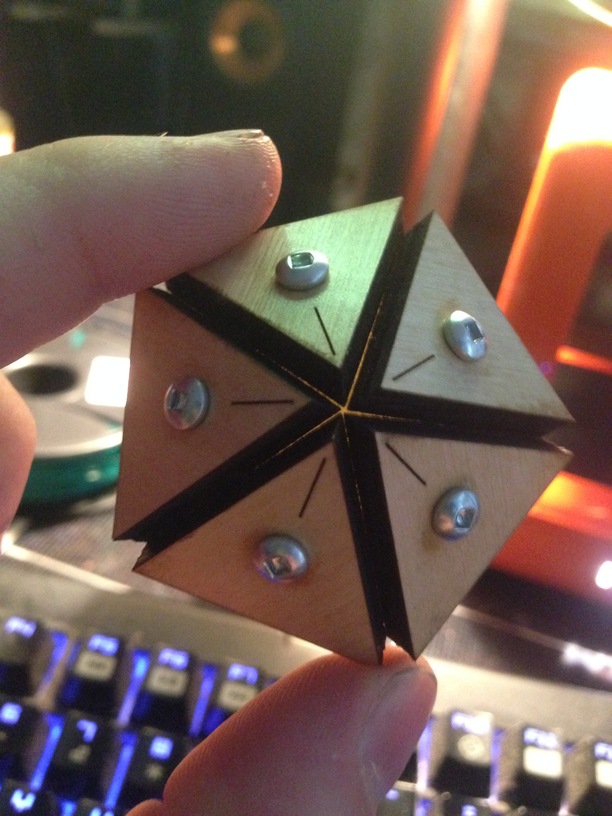
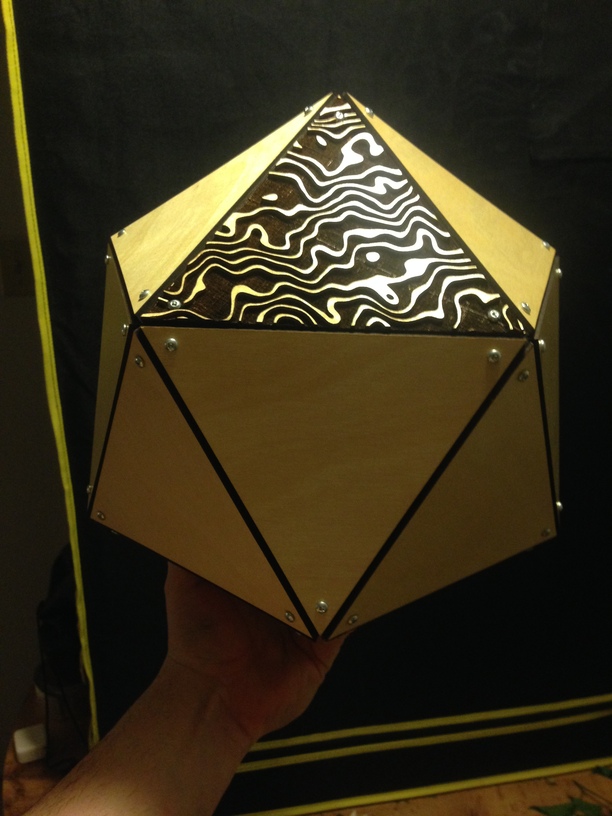
Once I was happy with that result I moved on and printed the full size tiles and assembled.
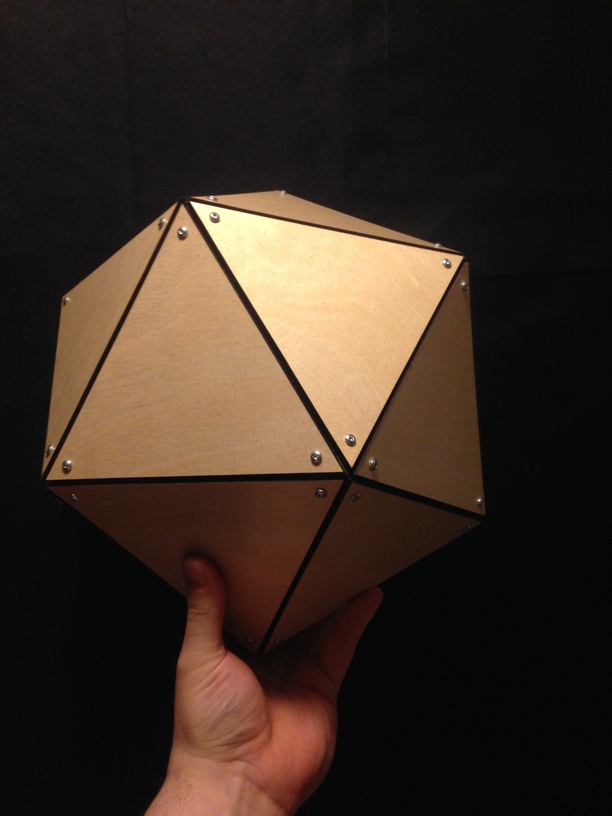
Which I think turned out nice and clean imo.
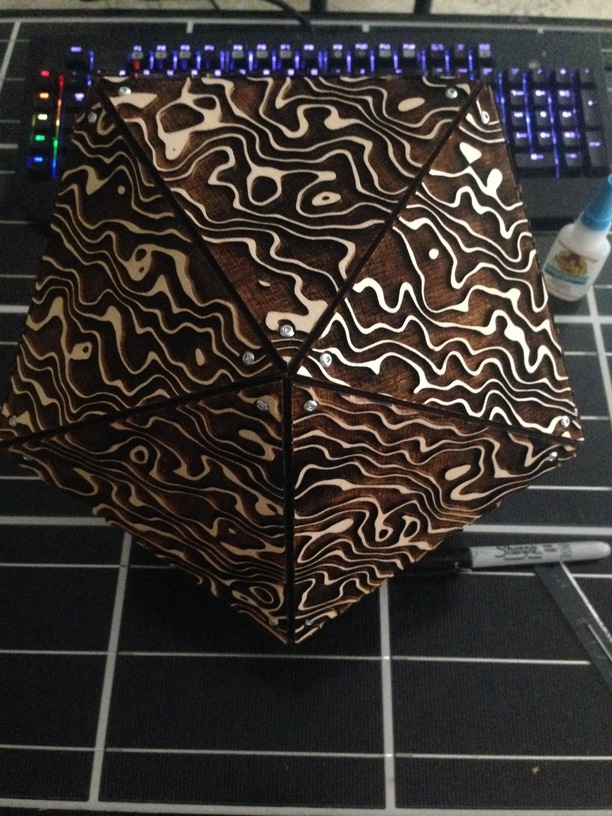
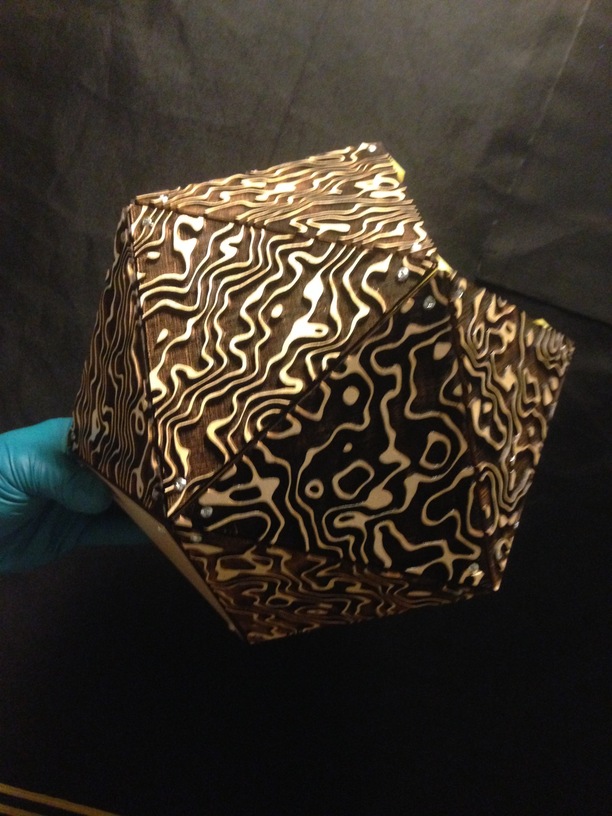
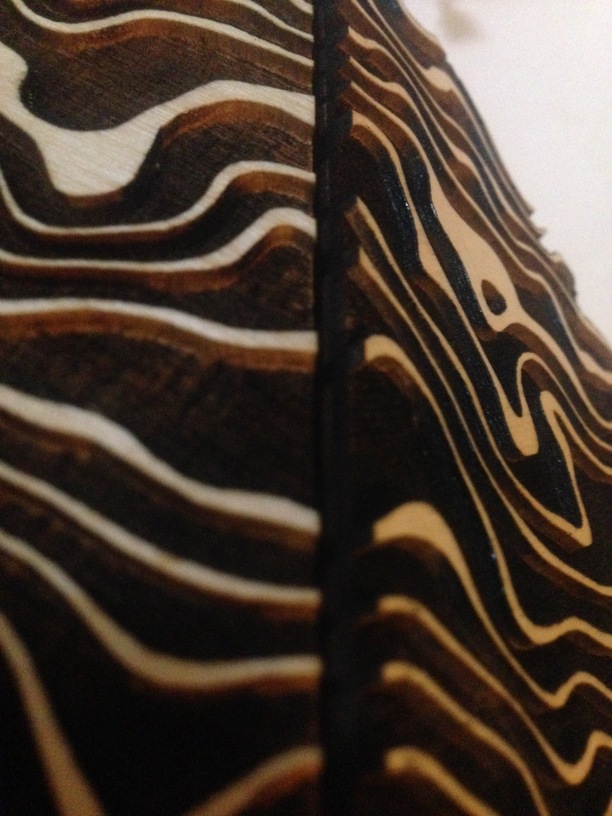
But wanted to do more with it, so I moved onto engraving the outside. I’m lucky that I have a brother that knows more about 3d modeling than myself and was able to create the object in blender for me and wrap it with a neat looking pattern he called inky but not sure if that is the real name for it. He then was able to flatten the wrap and separate the tiles for me and export them at 8K.
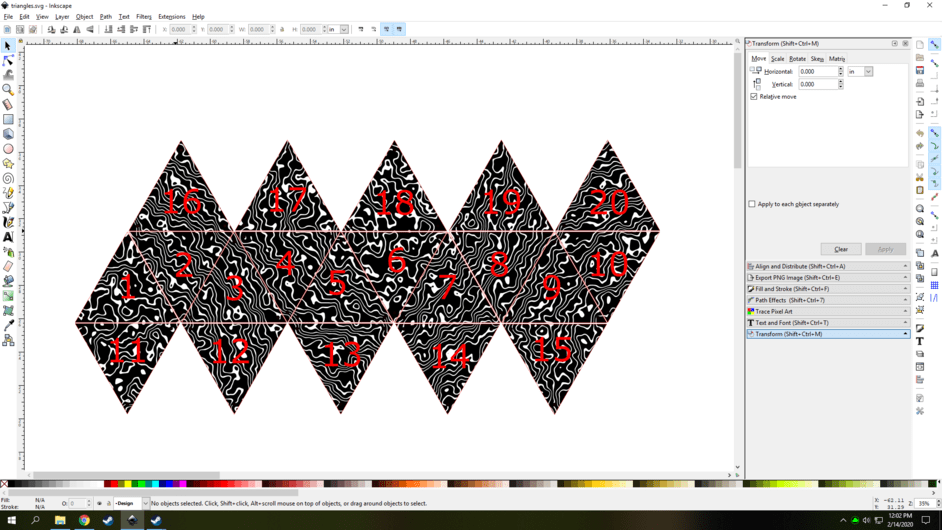
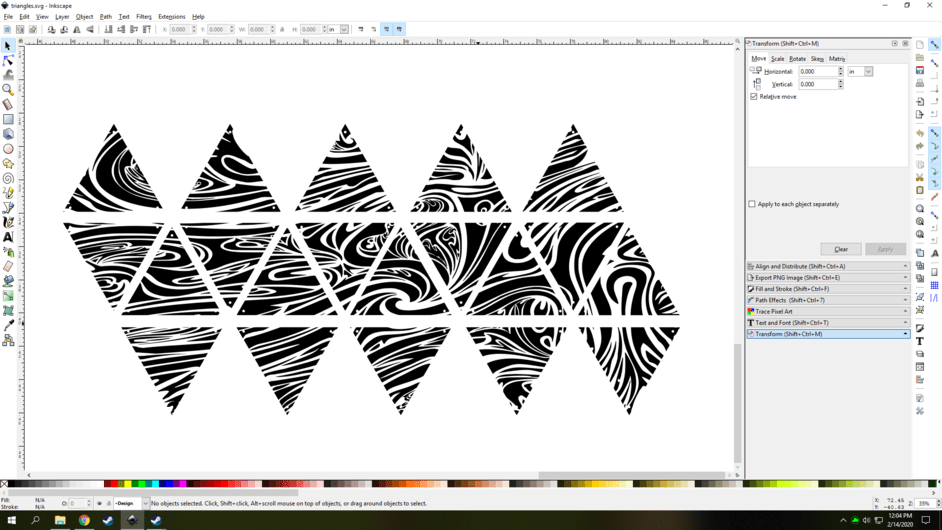
From there I imported the image into inkscape and converted it to a bitmap and separated all the tiles setting them into the original triangle cut file used to make the outside. I modified it by adding an area around the holes to accept the head of the screw (in hind sight I should have excluded that area so all the screw heads would still be at the same level ). Then arranged and numbered them to keep track as they are all different.
Exporting from blender was super easy compared to my original attempt where I lined them all up manually by editing nodes and I think the blender file looks nicer in the end.
(My attempt)
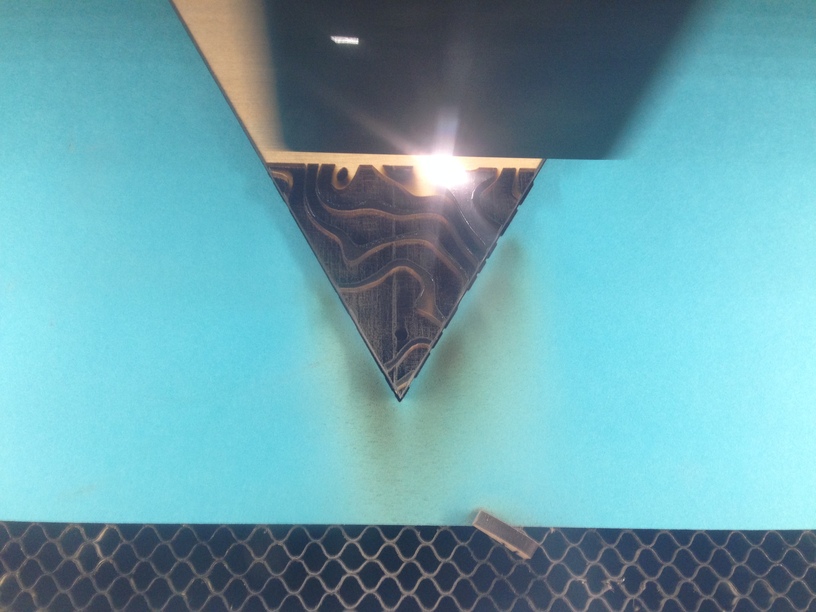
Next step was just to engrave but not wanting to waste my previous material I made a jig for the bed of the glowforge by taking my original cut file and reducing it by a few thousandths laying my design over that new cutout and then cutting the tile shape out of a piece of paper. And then start the 10 hrs of engraving it took to finish this ball lol. If I had done it all from the start I could have saved a lot of time buy grouping but time is something I have a lot of these days.
(The later tiles i used masking to speed up clean up)
(Test fit for sanity then off to the very slow races.)
(4 more tiles to go)
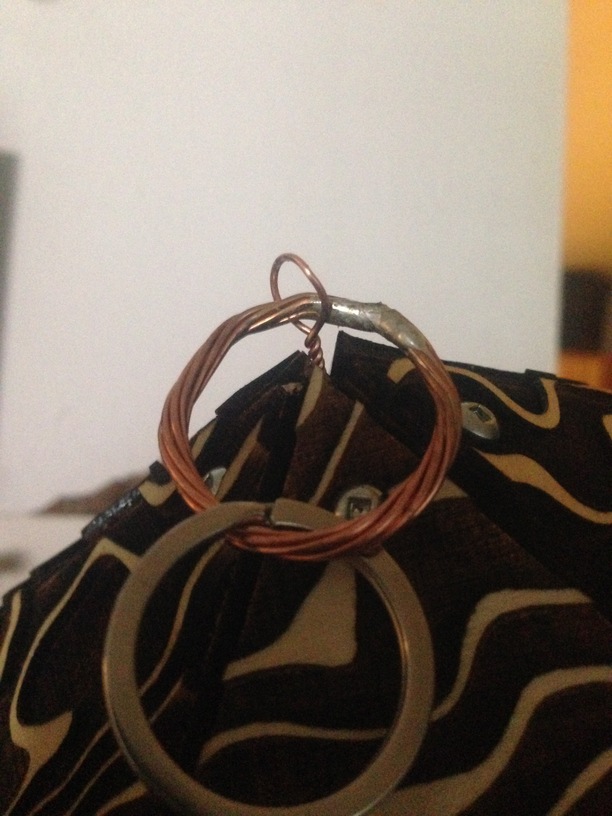
I made a quick hanger out of some scrap copper wire laying around the house and a soldering iron. Heated the wire to melt a path through the connector and crimped them on the inside so it will not pull out.
And the “I’m too tired to mess around with it anymore right now final result.”
And now it goes on the shelf to collect dust with the rest of my learning experiences
![]()

 Thank you, it was a great learning experience all tho will be hard on the wallet in the end as i now need to buy a 3d printer lol.
 was a really fun project and learned a lot of new skills