I got a sheet of low odor rubber from Laserbits (along with a few other types of materials that await testing). I have no experience making rubber stamps other than taking big rubber bands in junior high and using an ink pen to write my name backwards on to make a quick stamp for wasting time in math class.
@dan requests that I do projects as separate posts so that they are more easily tracked and studied by everyone; however, I’ll just stick an update and another example of a stamp here while I can still edit since this stamp is pretty much an extension of the first one but with a standard handle. I used 50% power 335 in/min and 675 lpi. Took about seven minutes for this 1/2" by 2" stamp.
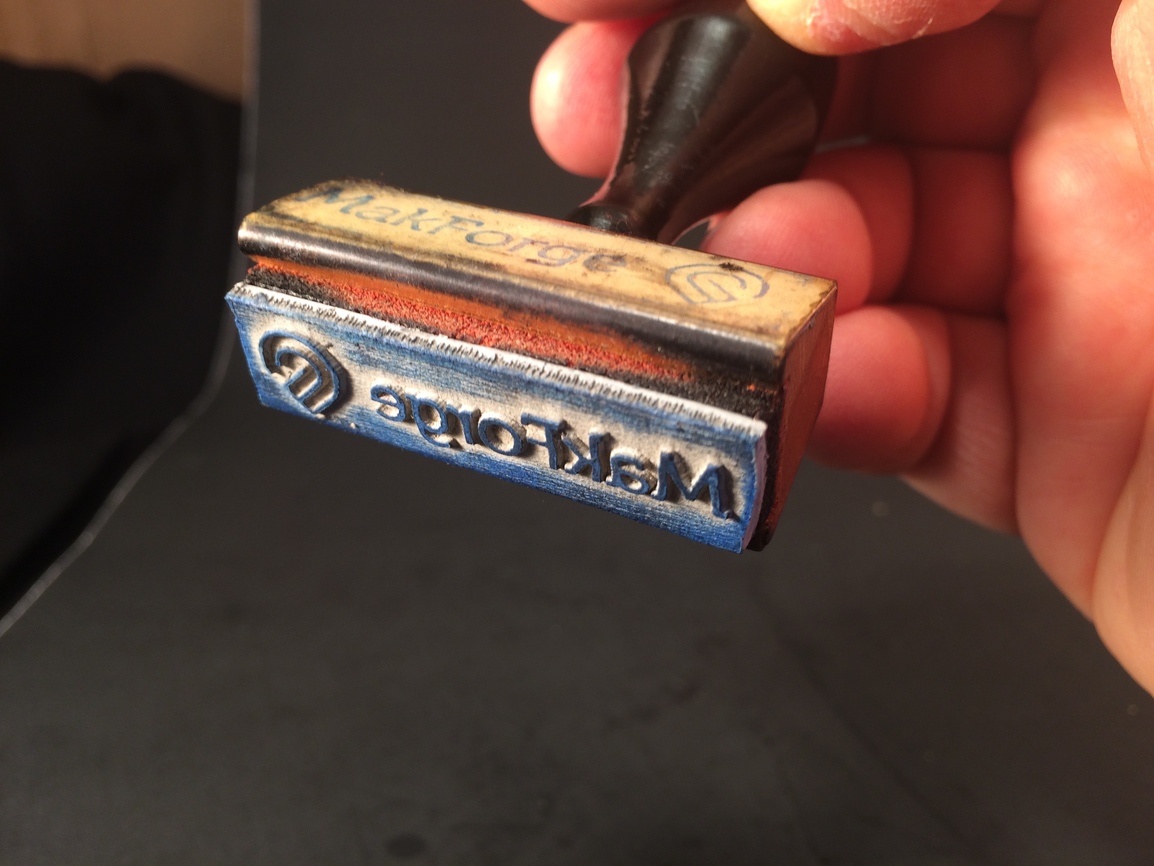
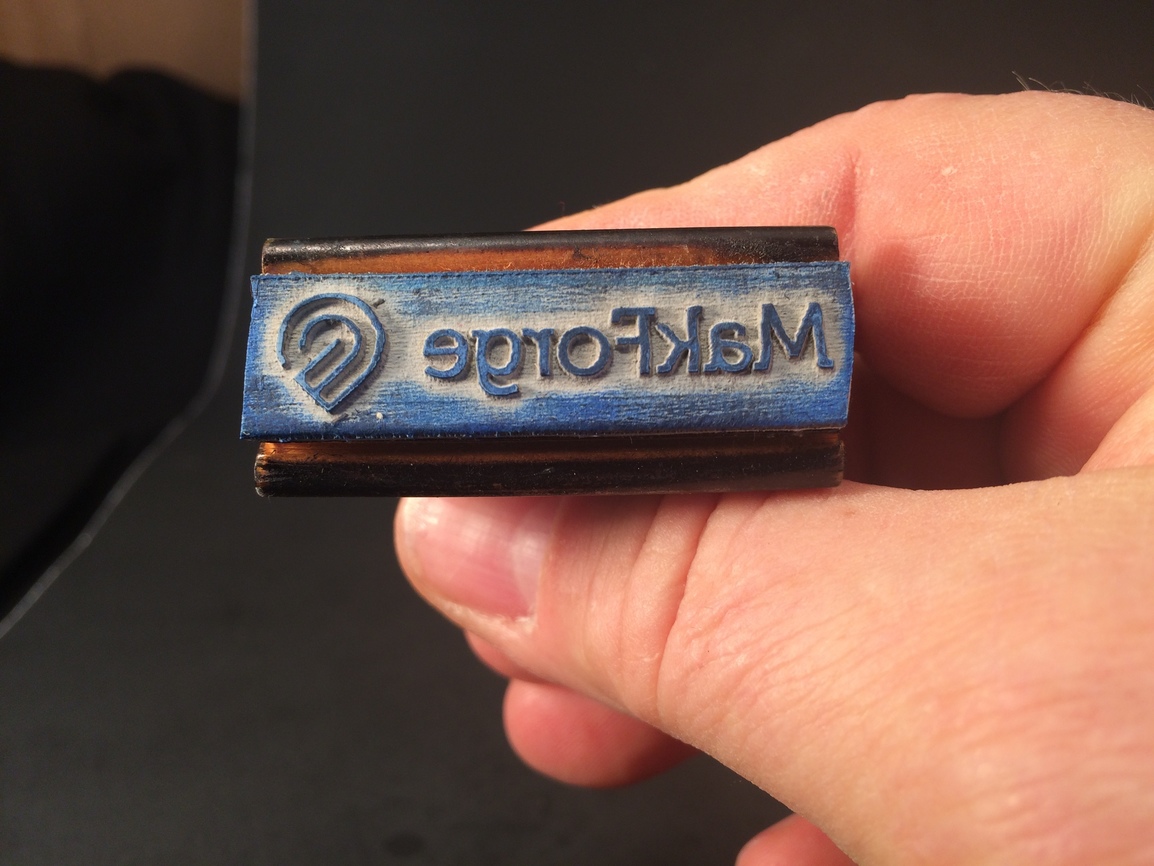
Here is the final result after making a stamp handle tonight.
I do use a rubber stamp every day as I go through the parish’s bills and approve payment. I write my initials and date on each and that’s that. I’ll probably keep using the pen to do my initials but I have made some digitized files through the years of my signature and my initials for various and sundry reasons, so I had the initials ready.
I put the 12x12 sheet of rubber in, it’s about .02 inches thick. I had read the Laserbits tech specs on natural rubber and was surprised at how much power it took to engrave and cut, So I made an image reverse image bitmap of the cutaway of the initials and imported it into the user workspace and set it for 50% power and 20 in/min feed. I stopped it about a minute into the engrave because it looked like it was bubbling up and I couldn’t see what was going on. Definitely should have taken a screen shot of my settings for documentation, but I think I did 450 lines per inch.
It turns out that the rubber turns into ash and that accumulates on the surface. The settings were correct for the depth I wanted to etch away and so I did the whole engrave.
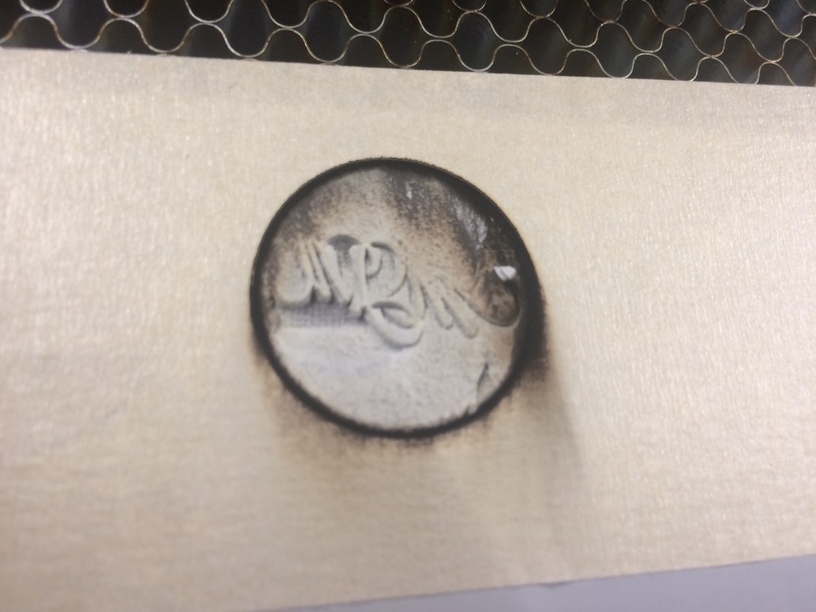
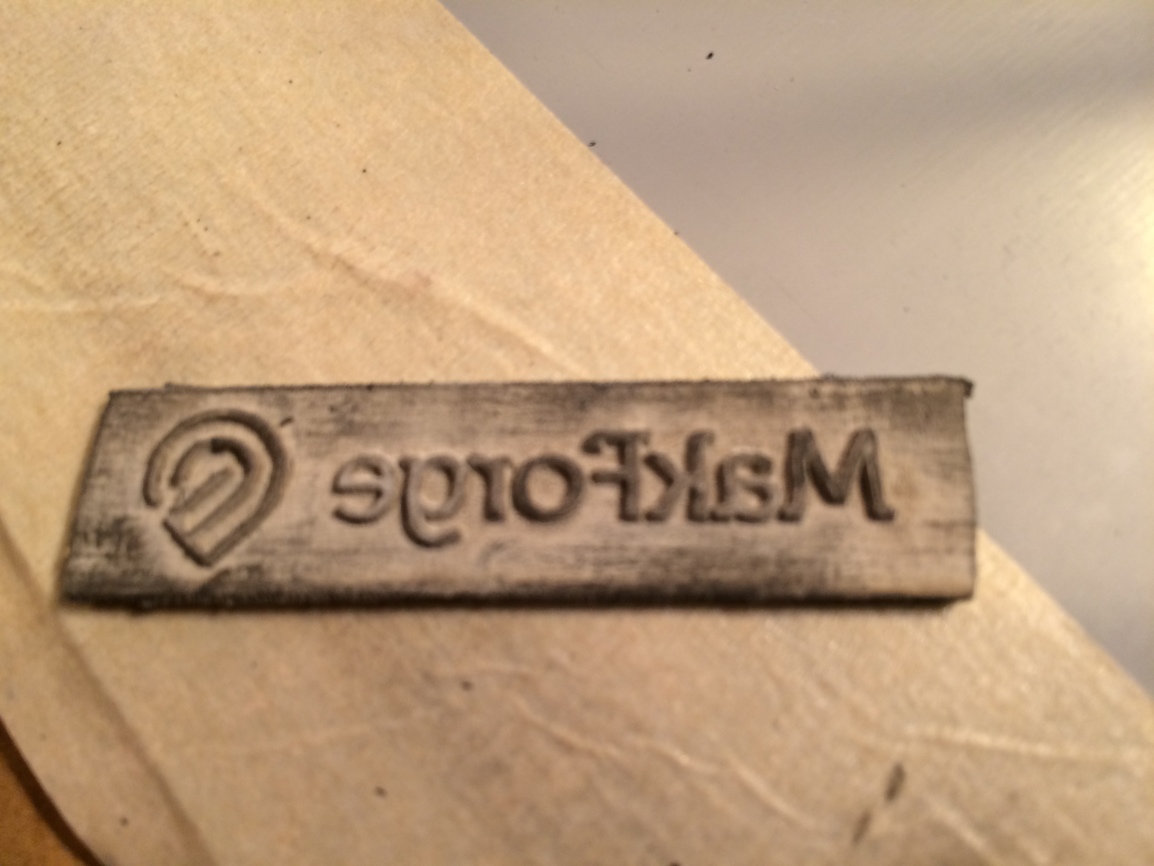
This is the result on engraving and cutting the rubber with some masking tape over it. The white/grey stuff is the ash. It brushed away and revealed a nicely detailed rubber engraving.
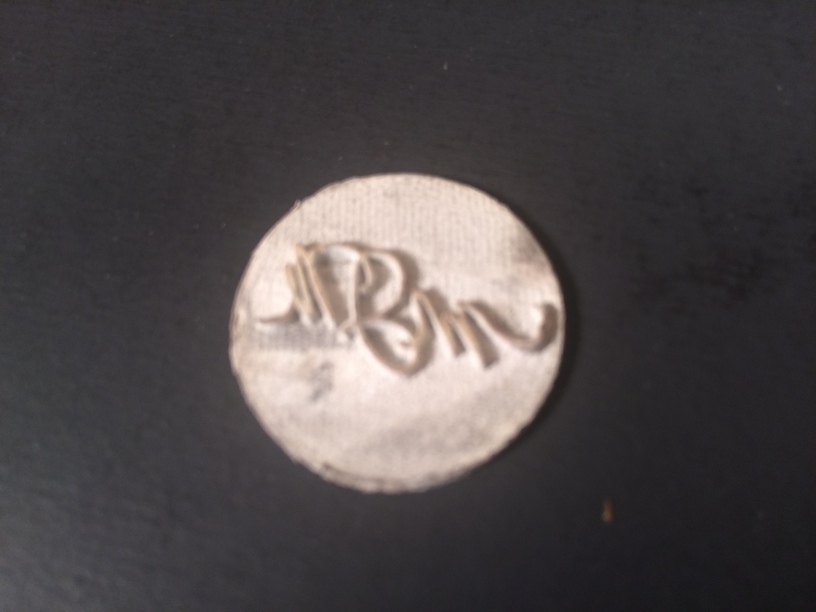
Which is hard to see from this badly focused shot.

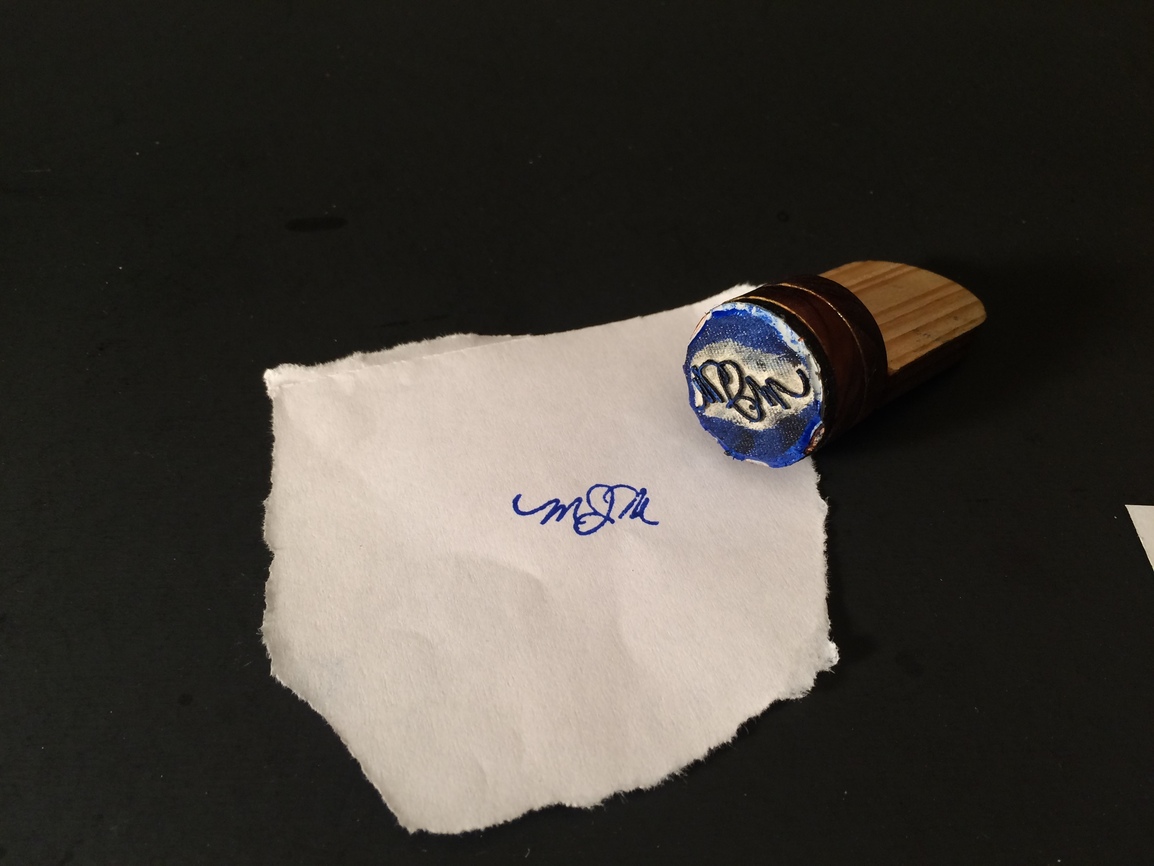
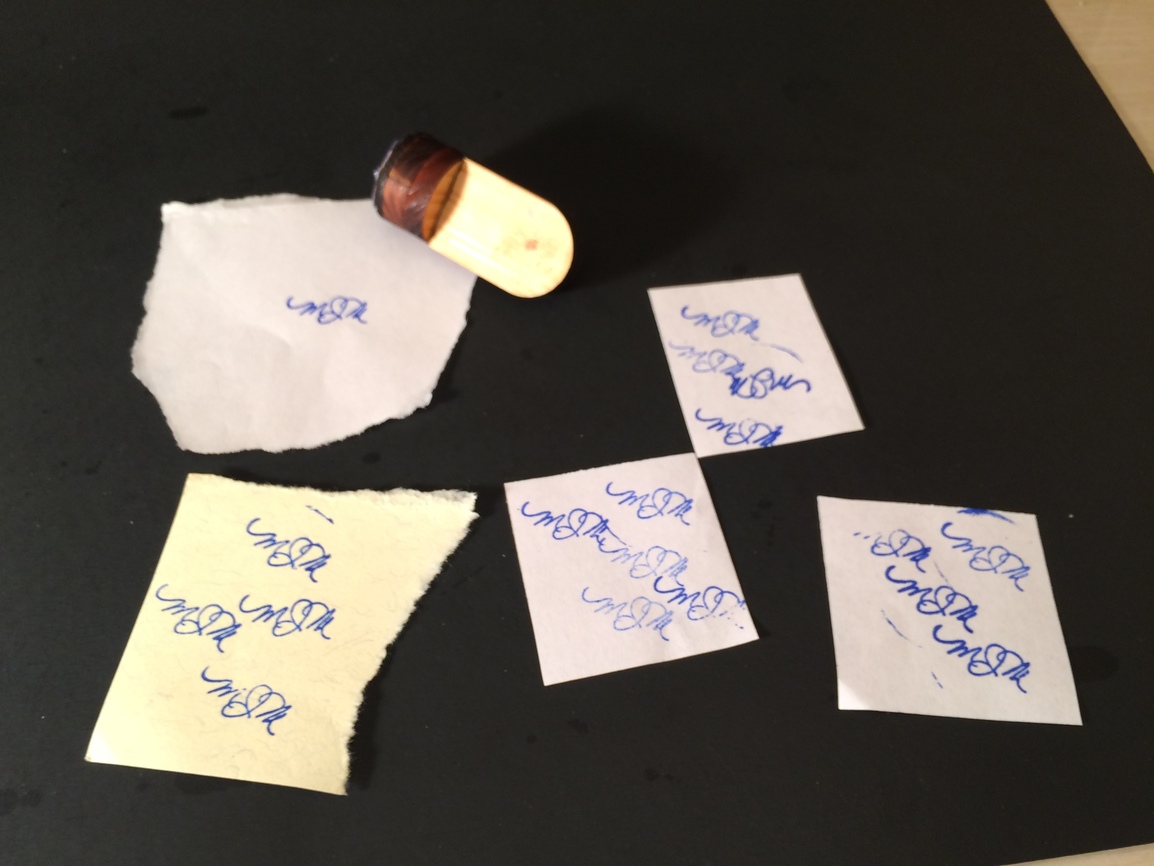
I took a giant marker and inked up the surface and took a few shots of the result. It was hard to fine white paper at that moment. I was happy with the results for a first attempt. I did not have a stamp to affix it too.
When I took it into the office for the daily, “Look what I did on the Glowforge last night,” session, the staff quickly found me some ink pads and a few obsolete stamp handles.
It was then that I noticed the little bits of material hanging from the stamp around the relief. Of course, I had forgotten to take off the masking. It was still there over the whole surface of the stamp but had started to come off from repeated stampings. After I took the masking off, I realized just how detailed the relief had been left. I got pretty excited.
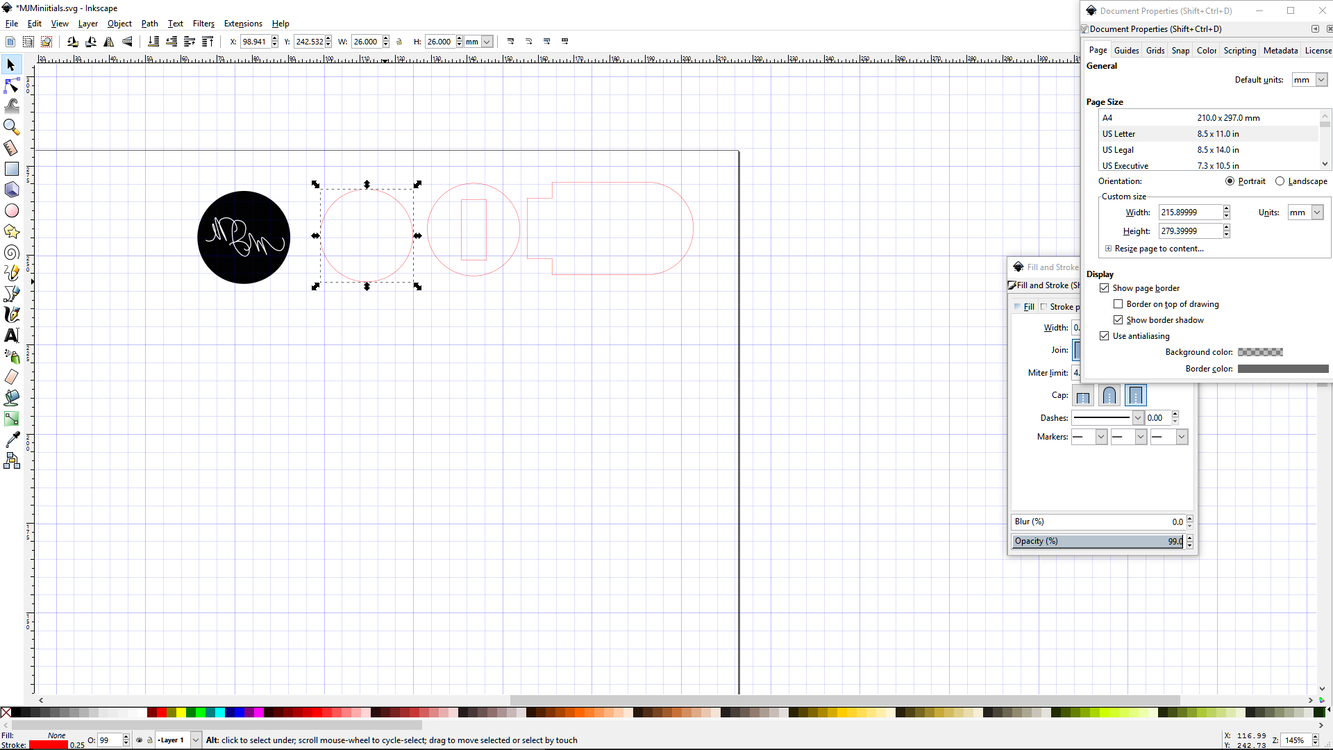
So I came home and whipped out a stamp handle in Inkscape. I used some white cedar I had planed up on Monday to a smidge over 1/4". The Glowforge cuts through in one pass.
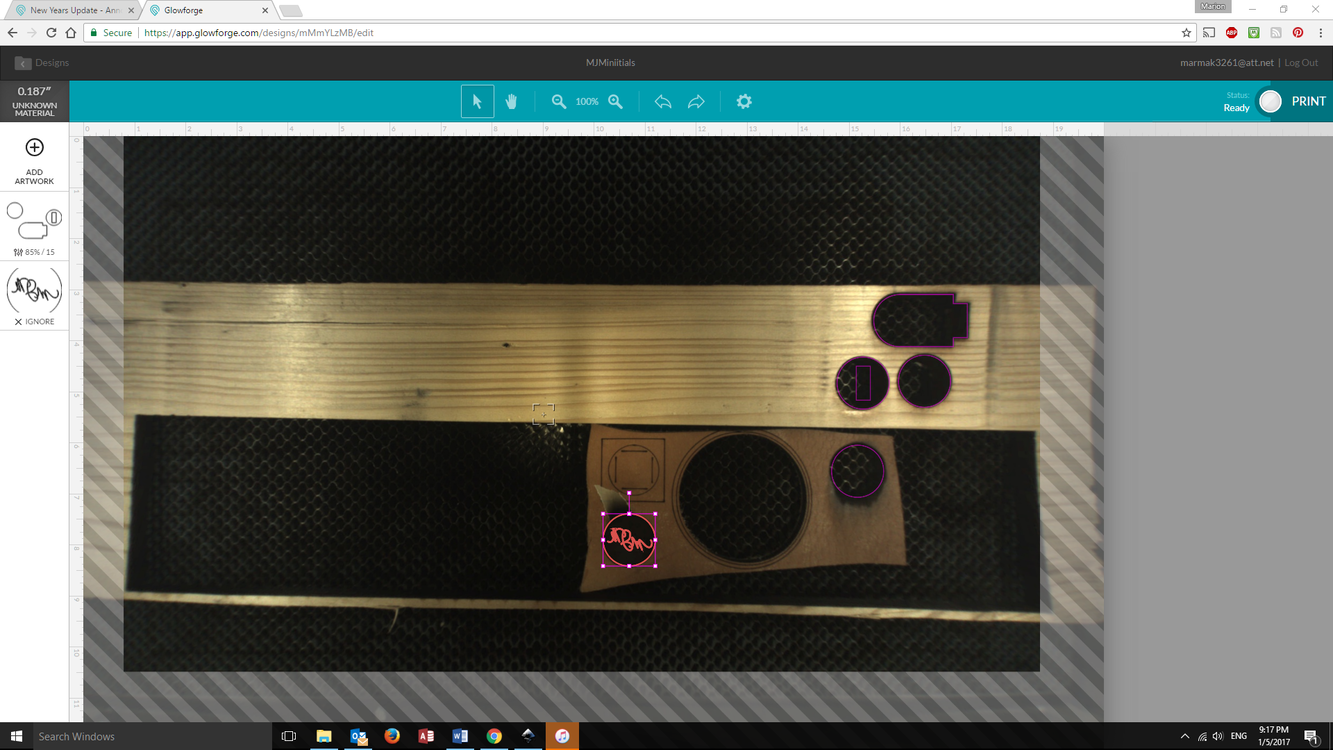
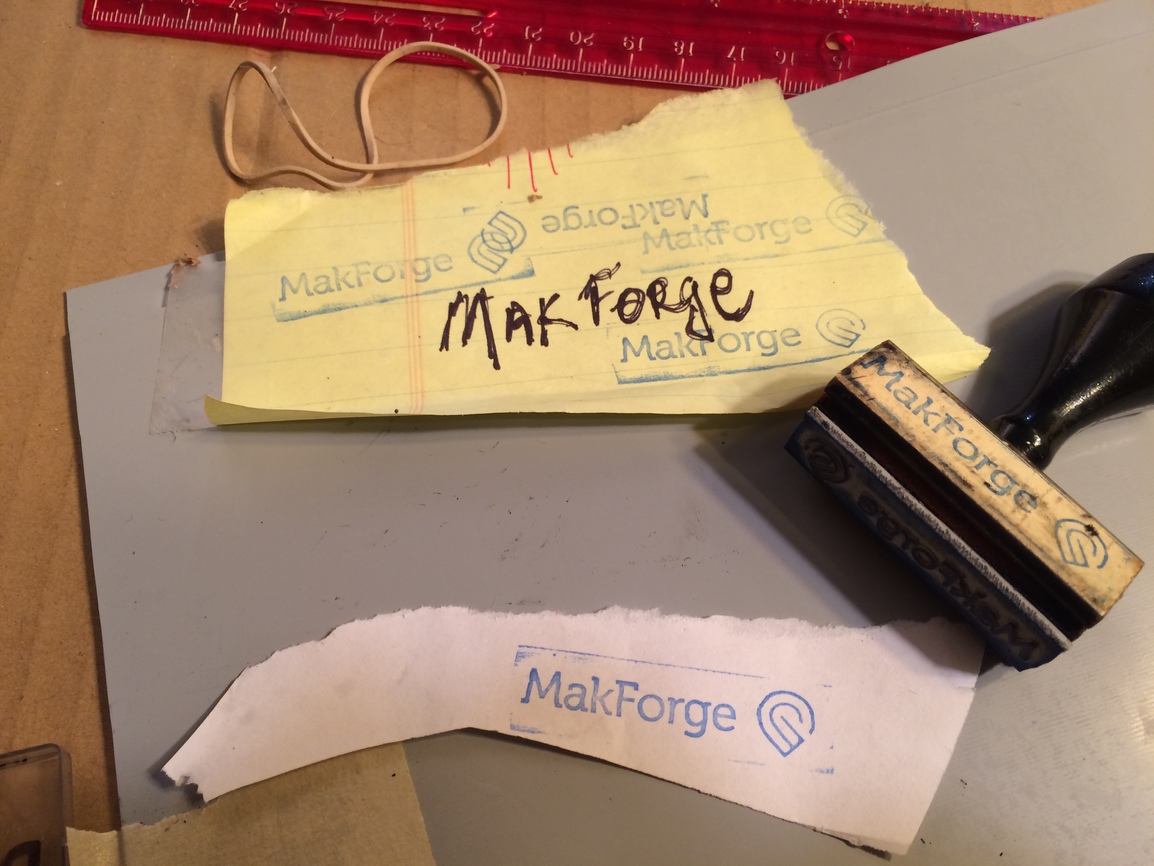
This is a post cut shot to demonstrate one possible work flow. I finished the wood before I did a print for the leather, but the same design could do all three materials.
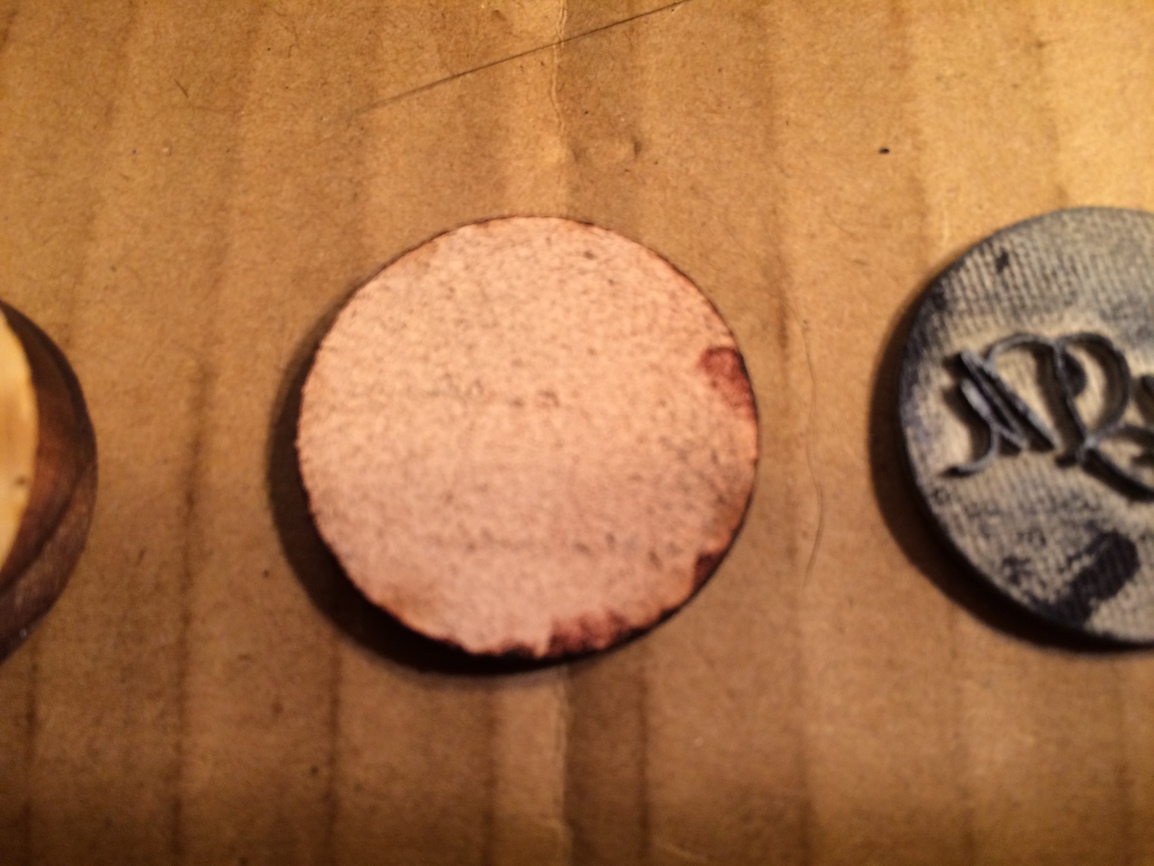
I cut a leather backing to the rubber stamp for a bit of of give that seems to be part of every stamp.
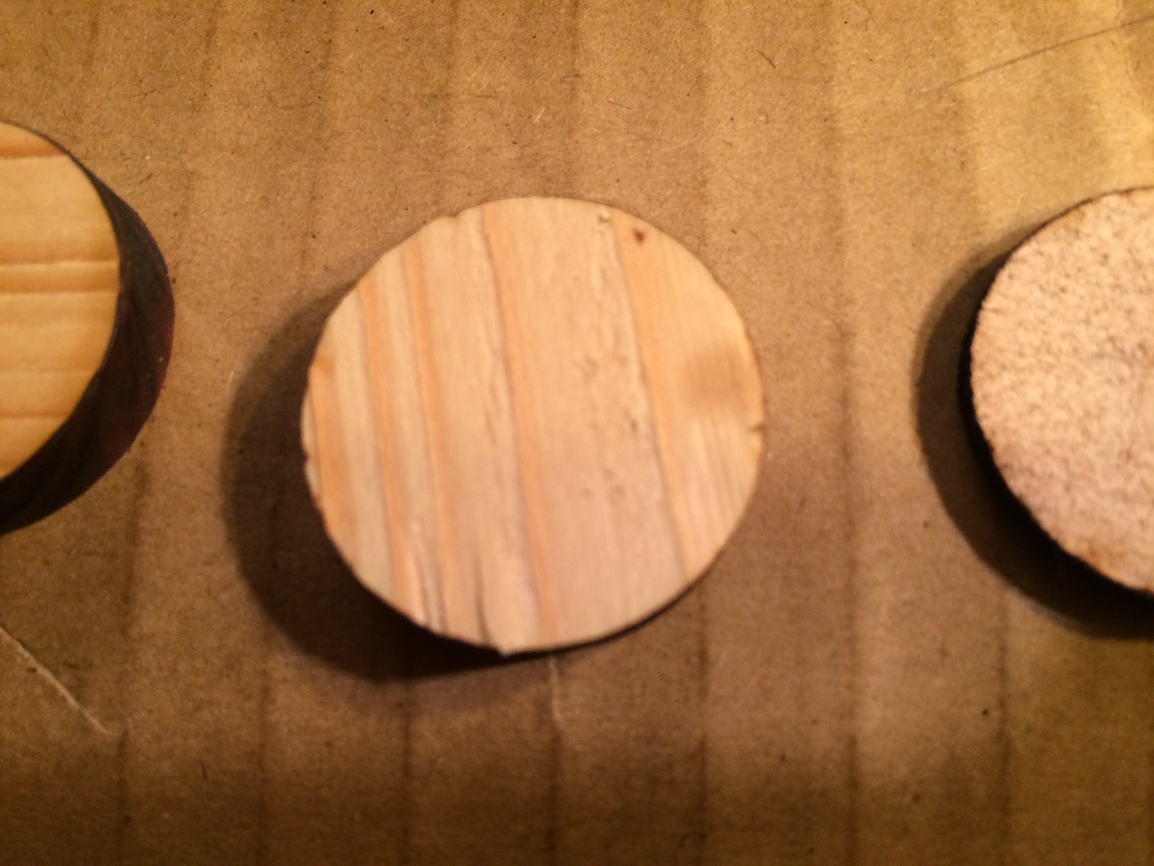
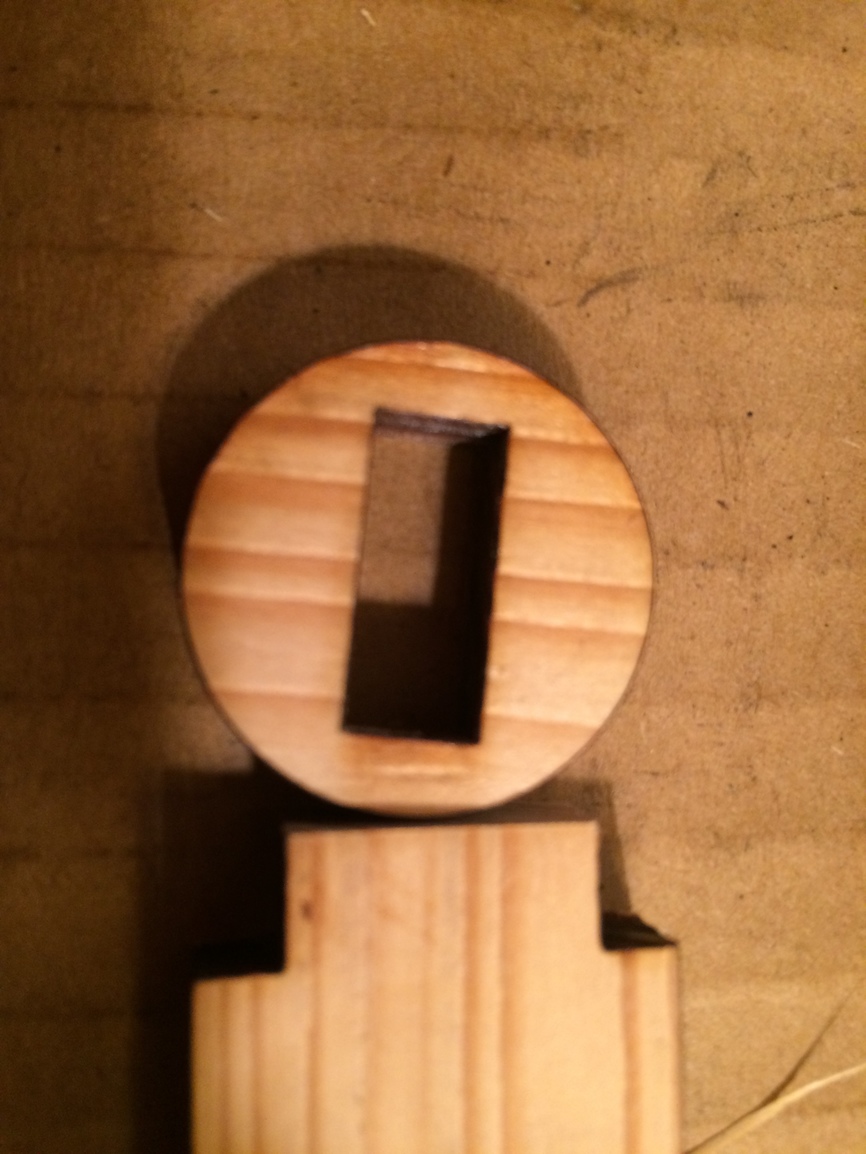
I cut two circles, one with a slot in it to hold the tab on the handle.
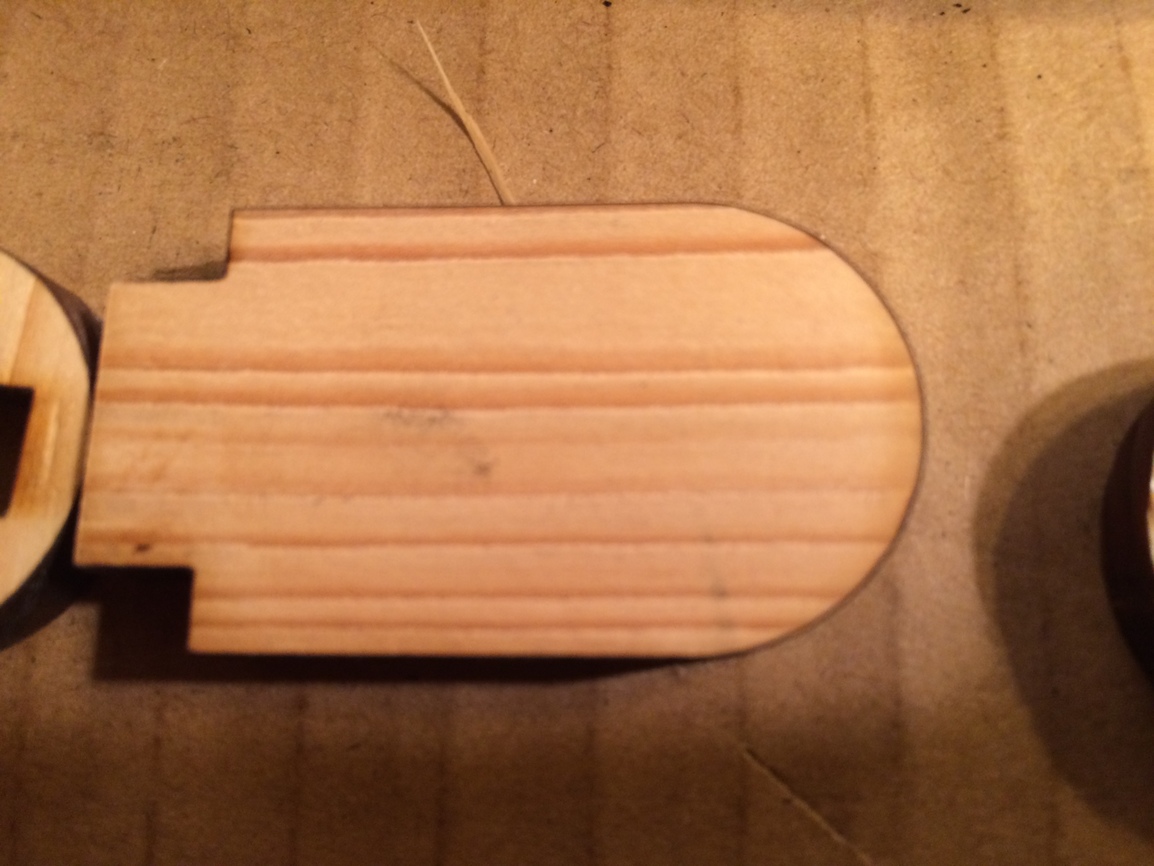
And then there is the handle which fits into the slot. I stacked them all up and used CA glue (60 second work window) to put it all together.
I trimmed a little around the edge of the rubber to give it a bevel. When I sized the engraving (I imported a separate bitmap for it that was 5 x 5" for a 600 dpi resolution., the edge of the engraved circle was just scant of the cut so there was a slight lip around the edge. Might be a good practice to engrave the edges a little deeper to be able to avoid edge prints. I know a lot of stamps have a border built in.
@cynd11 I am sure will be able to give lots of tips on how to make stamps, but this was pretty cool for a first shot I think.

