So this file isn’t clear in terms of what it’s trying to do, but I can take a guess.
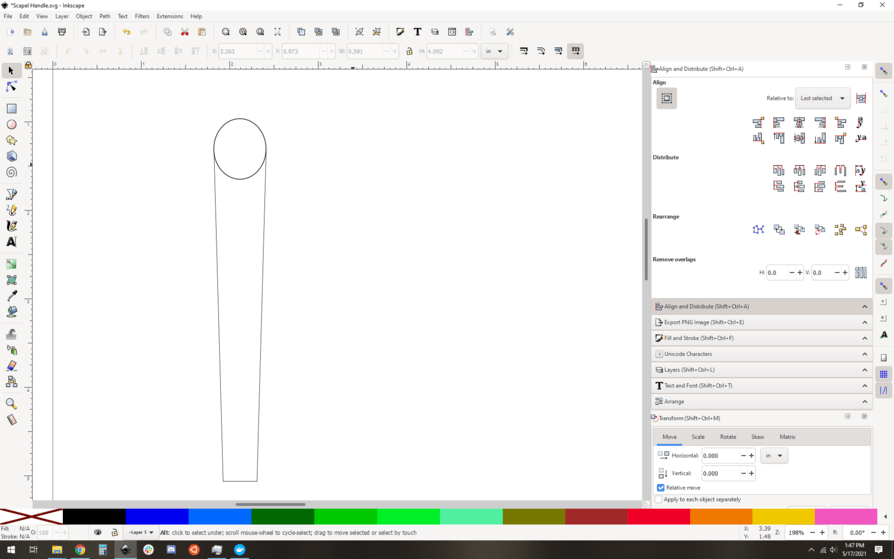
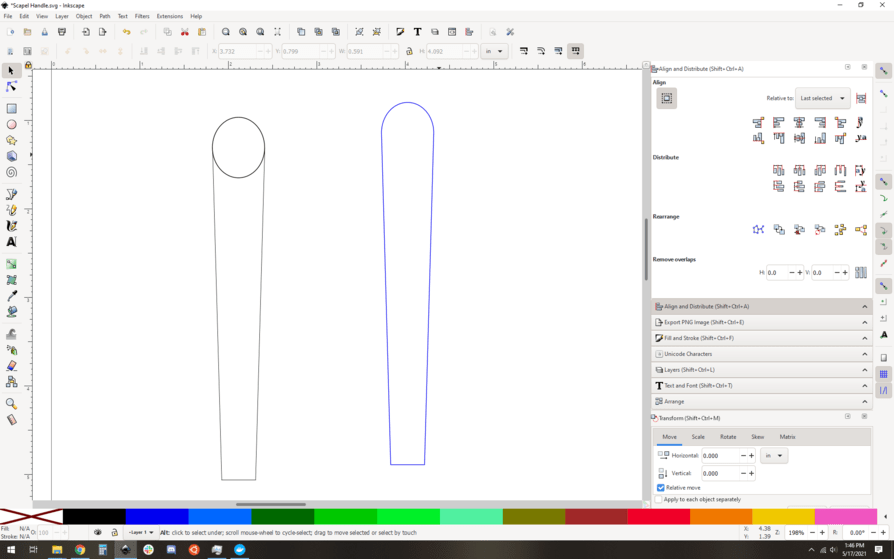
I think you are trying to make a handle with a rounded end. So far you have an oval and a basic shape for your handle:
Good news, you’re not that far off… bad news, you’re off by a little bit in a few places. It can all be fixed.
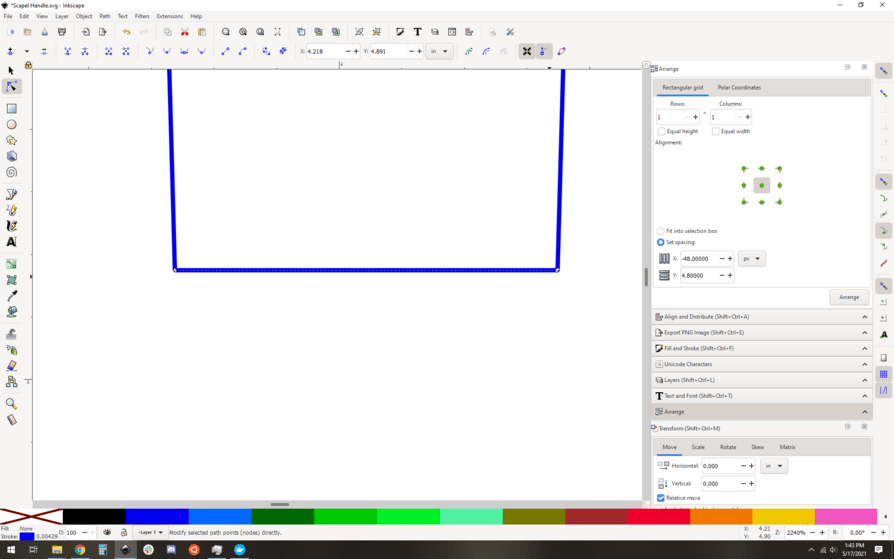
First up, let’s look at your blunt end. The horizontal “bottom” doesn’t line up with your sides. You can see it if you zoom way in, look at the little tabs. The horizontal is too wide by a bit:
You can use the node tool to snap those back into place, no problem, and then you get this:
Great. OK so now you have three lines, but you want them to be a cohesive shape. First up, join the nodes at the bottom. Looks the same, but now they are joined (google inkscape node editing for more details):
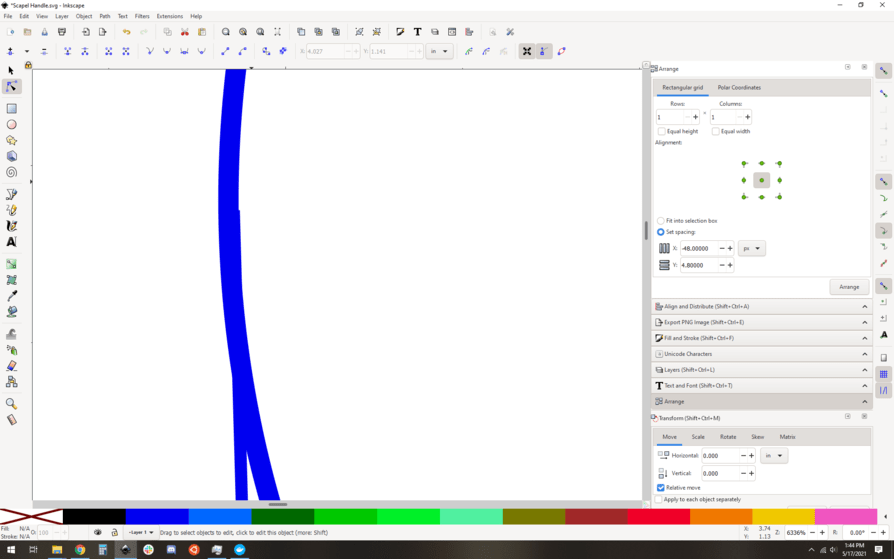
Now you need to close the shape of the handle. Go to the top and join the end nodes with a line segment… but when I get there I notice that your handle isn’t aligned to the oval properly either. (too far to the right and a little low):
Right…
and low:
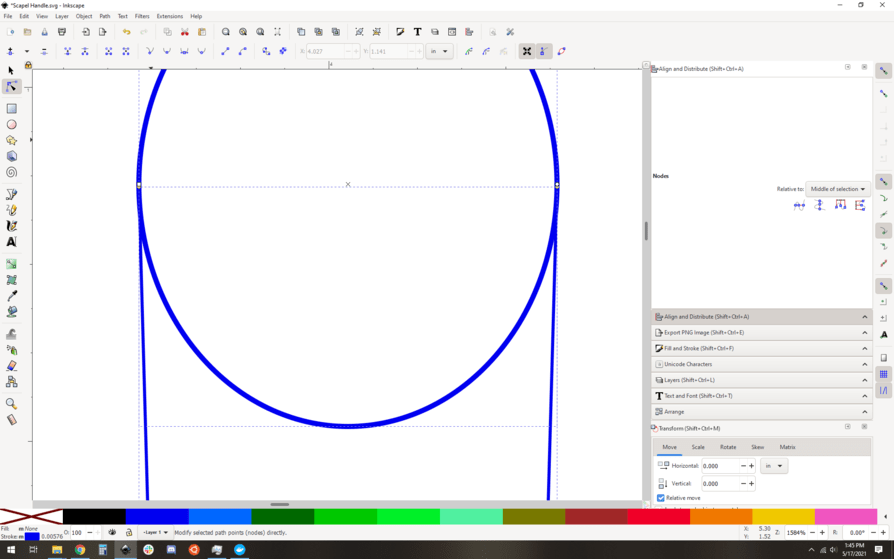
But we can snap that into place and things are aligned.
Now, let’s join those two nodes on the handle with a sgment using the join selected end nodes with a segment button… and you get this janky looking thing:
Now you have 2 shapes, and you can do Path->union on them like so:
And now you have your handle shape all squared away.
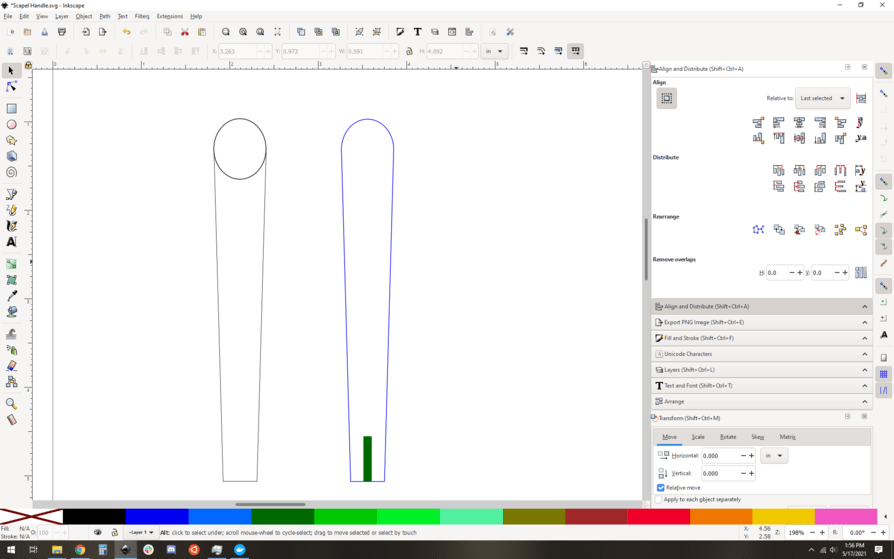
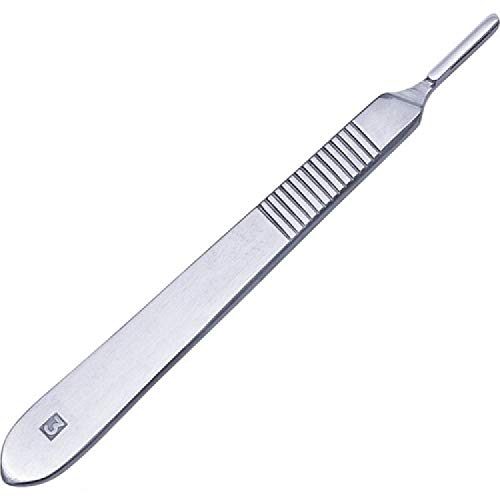
Next up, you want to add some sort of solid shape to engrave a pocket for your blade. For that we need to know the “approximate” shape of the scalpel blade end, lets assume it’s a rectangle…
And now you have a handle with a filled rectangle aligned to the bottom middle of things. It’s ready to go. Engrave the rectangle, cut the shape, and you’re all set.