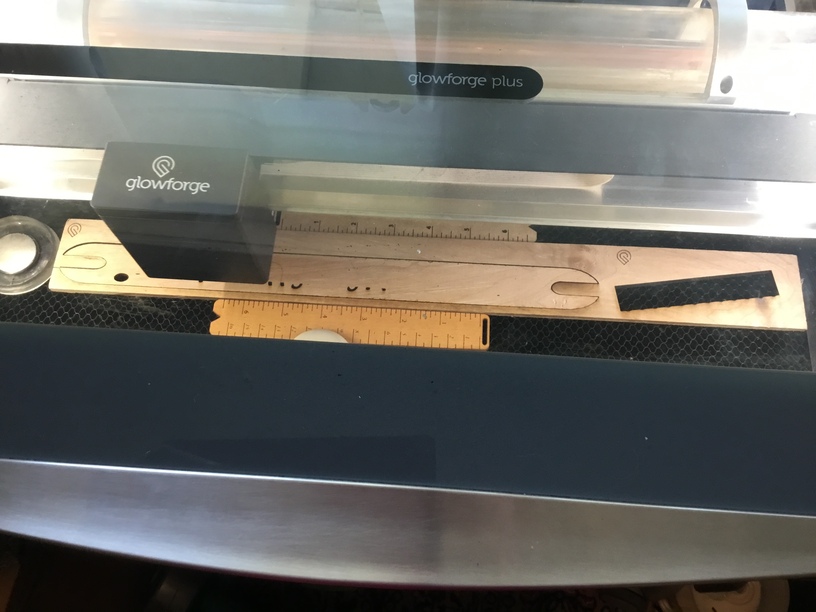
My last job prior to boxing up the Glowforge for travel. I’ve been agonizing over how to offer customized weaving/spinning tools once the object is made. After reading a lot of comments especially the making of the ukulele (sorry, don’t have the link), I made this one with a large enough piece of wood to act as a jig to hold the piece again after the first side and cutting were done.
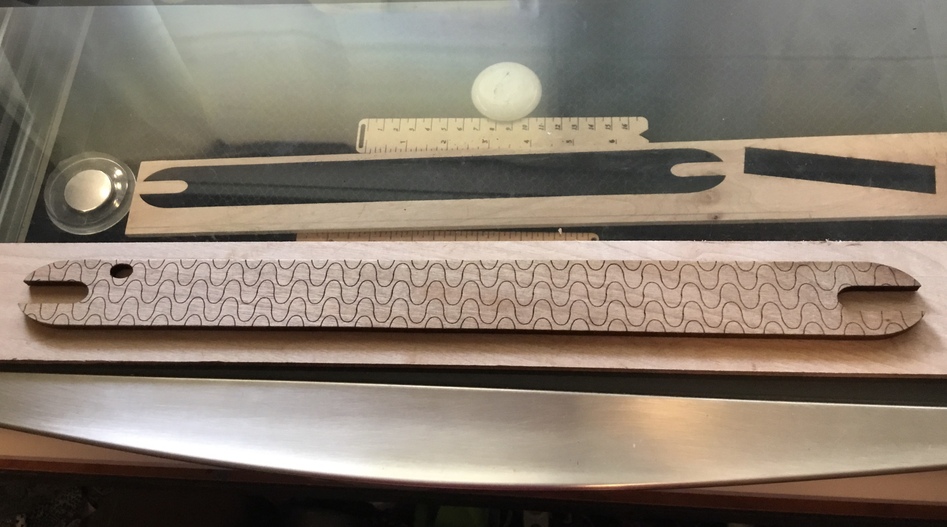
My jig was pretty basic, just straight edges and magnets to wedge the board in. Then, with careful manipulation, I could see if the cut went all the way through (it did, except for at the knot). After the first side, I just turned it over while observing the ‘up’ orientation and did the backside (personalization).
I realize that for later jobs where the object is made one day, but customized on another, I will need to make the fiducial rulers I’ve read about for accurate placement.
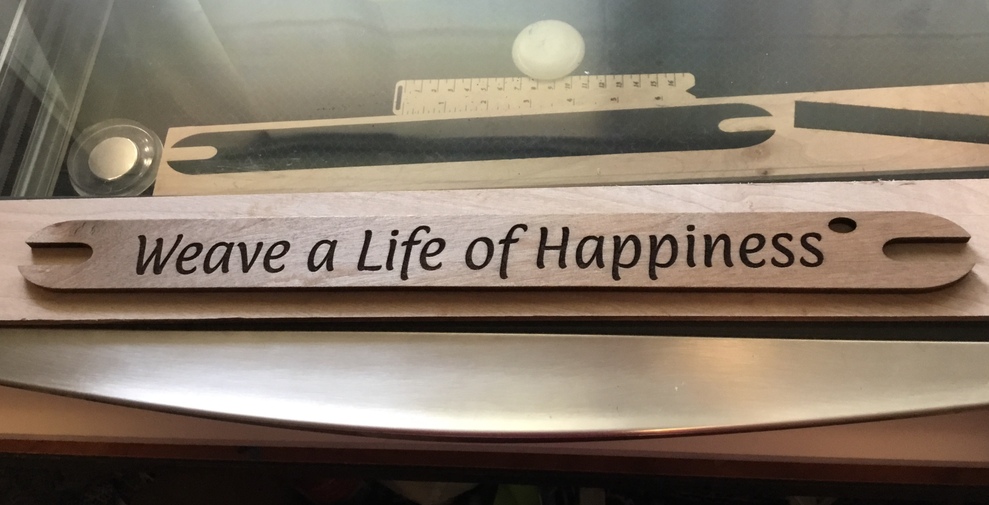
Thanks! I’m looking forward to making more, “Weaver of the Year”, “Happy Birthday [name]”, etc. Now that I have my mini-sander, I can bevel down the edges for a better hand feel.
If I remember correctly, snapmarks are a beta feature only available on some machines. If your machine has them you will find them under the three dots.