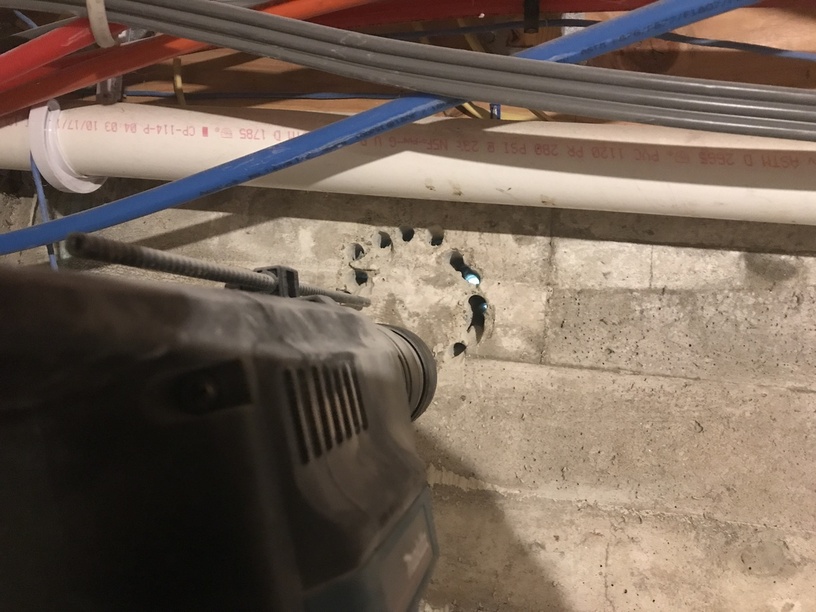
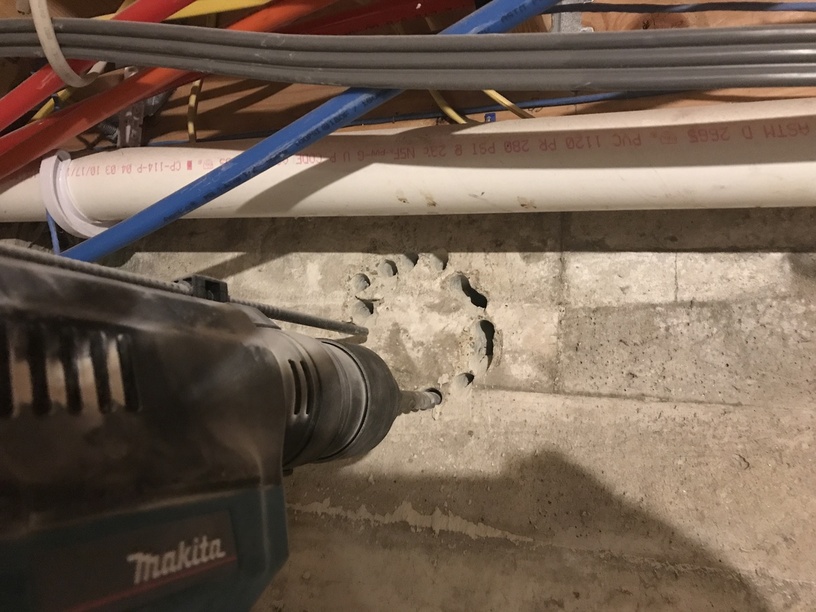
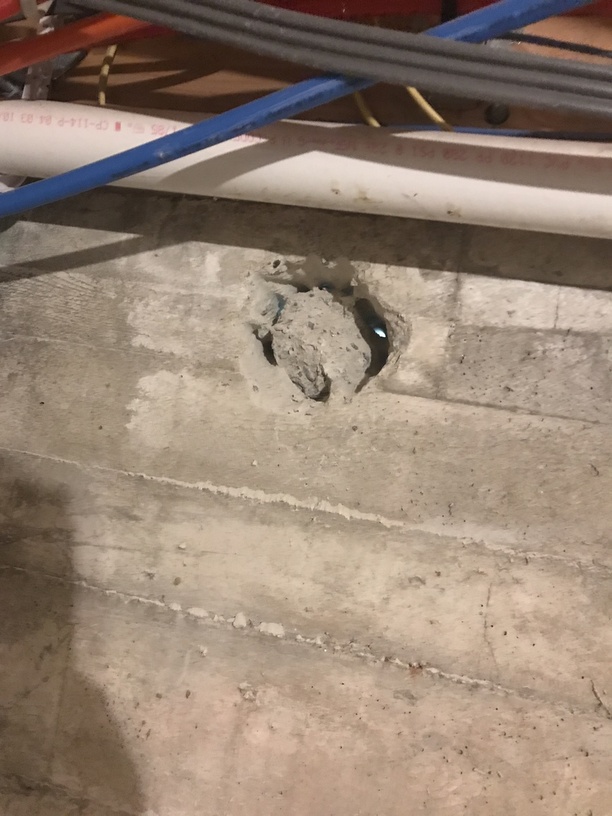
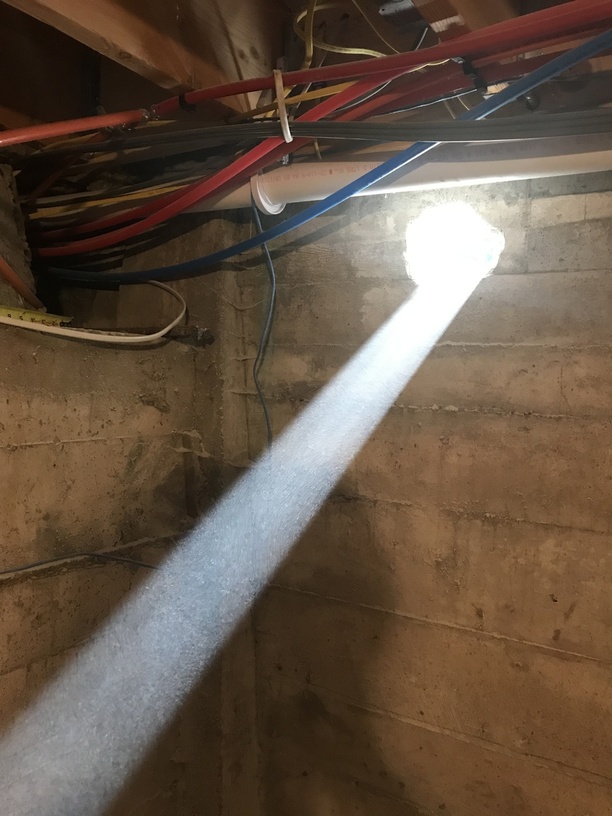
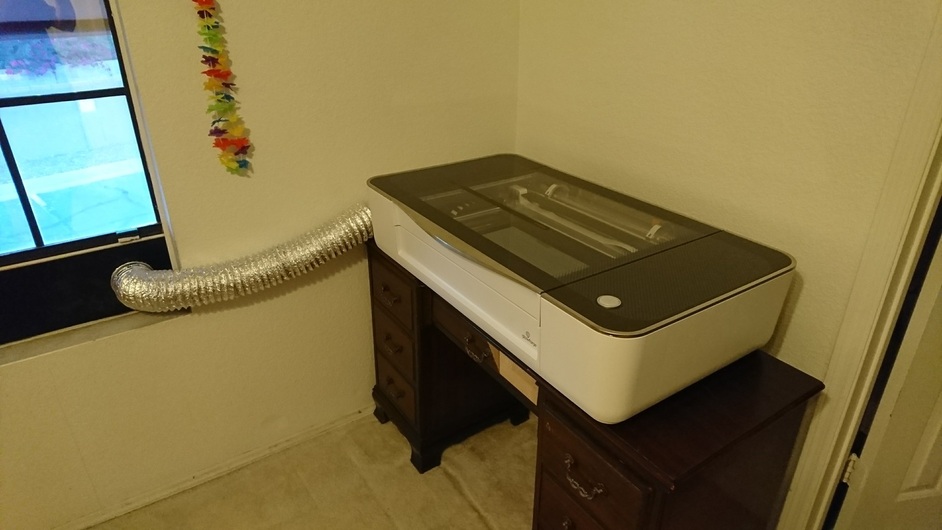
I did not have a vent in the room I’m creating for the 'Forge, despite it’s use by the prior owners as the “Laundry Room”. The prior owners of the house had not run a vent for the dryer. I bet it made a miserable basement. I happened to be working with an SDS drill today, so I took it home and blew a hole through the 8" thick concrete wall, so I could vent the Glowforge outside. I bet there are a lot of creative vent solutions out there. Lets see them!
Mine is pretty normal, I guess. I had a section of melamine covered 3/4 hardwood that I decided would fit the window sash groove. I used a louvered vent painted to match the black satin melamine. I think there is a little gap somewhere because I smell smoke during operation, but I am going to see if I can seal the vent in place a little better. It is pretty temporary.
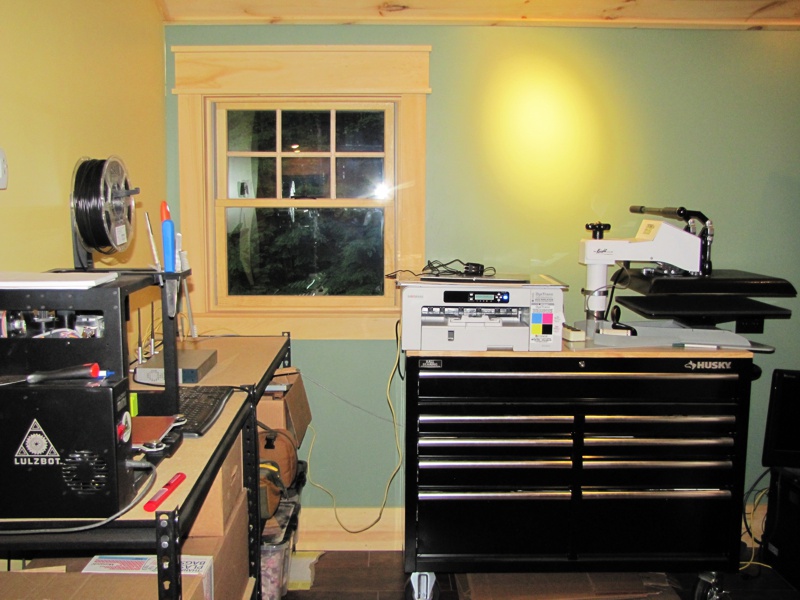
My current plan is to move the sublimation printer and heat press to other locations and place the Glowforge on the Husky toolbox. Initially, I’ll run the vent through a sheet of 2" rigid foam insulation fitted in the window until I determine if that is, in fact, the best location for the laser. If so, I’ll knock a whole through the wall directly behind it.
That’s what I did with my PRU. I may keep the vent (it’s going out one of those small basement windows) even after I get my Pro & filter.
A trick I’m using on the Husky toolbox is opening the 2nd right side drawer and putting a piece of 12x24x1/4" ply across the top of it and use it as my GF design “desk”. My laptop easily fits on it along with calipers, wireless mouse, etc. and it’s high enough to roll my chair under. My initial thought was I’d take the ply off everytime I was done and then just close the drawer. Then I thought I’d make a couple of stand-off blocks to put the ply up to the drawer edges but cut it narrower than the 24" and I could leave the ply and still close it. And then I thought "who am I kidding, I’m not going to be that neat everytime I want to use the laser so I leave the drawer open unless I need to get into one of the ones under it.
Good to know that toolbox is working out. I’m still on the fence about the filter. I have one on order assuming I’ll want to use it in the winter when it’s below 0 degrees F. Then I’m concerned the toolbox will be too tall for the Glowforge plus filter. Are you concerned about the height with the filter?
No. It’d be different if I wanted to just lean over and look in it. Right now I just stand up to swap out materials. The extra 6 or 8" shouldn’t change that.
If I wanted to do it sitting down I’d likely do some combo of either a slide out panel for my laptop and/or a barstool height chair.
Is it a basement window that slides across like a normal window or one that folds out on a hinge? I’m fairly new to living somewhere with basements so I’m not sure what is typical, but ours fold out so I can’t use a vent panel that goes in a slightly open window like this. If yours is the same, I’d love to see how your vent works. Is it weather-proof enough that you (do or would) leave it in place long term?
It’s one that slides to open. A couple feet long and 10ish inches tall. One side slides to reveal a screen. The unit fits into a frame that’s put in place during the foundation pour.
I was originally going to just slide the window open and put the insert in the open half. But the screen is fixed. So I ended up taking the window out of its frame and made the foam panel take the whole space.
Take a look to see if yours can pop out (I think they all can).
Right now it’s a press-fit and is weather tight. If I keep it I’d seal up the edges with foam or tape. Or both.
I’m currently considering options for venting as well. I purchased the glowforge for my Museum, which is in a 1920s heritage building and I can’t modify the exterior without applying to the heritage branch for approval. I’m thinking of venting through a basement window using a dryer vent extension.
I’m hoping it’ll work…is dryer venting (the aluminum tubing) sufficient?